


Best Eyebrow Dye techniques in 2024
written byMyriam van Engelen
In This Article
What is Eyebrow Dye?
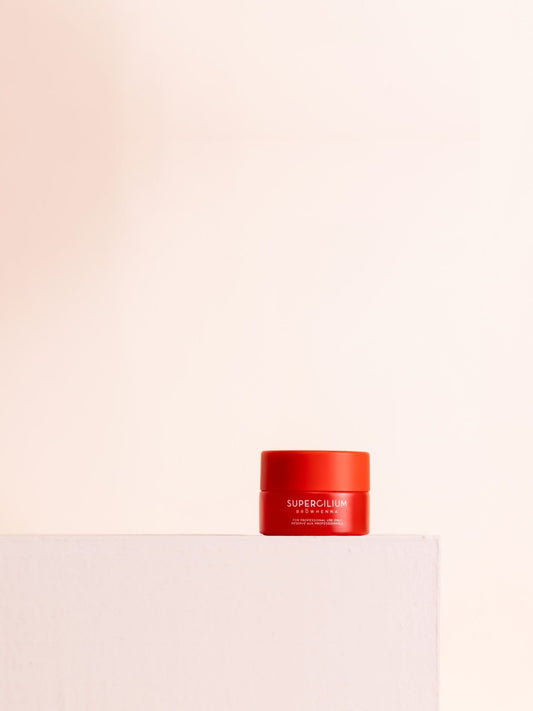
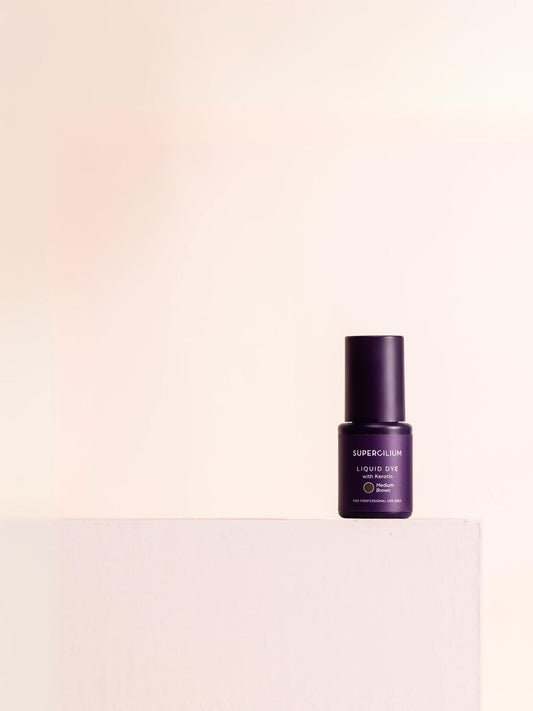
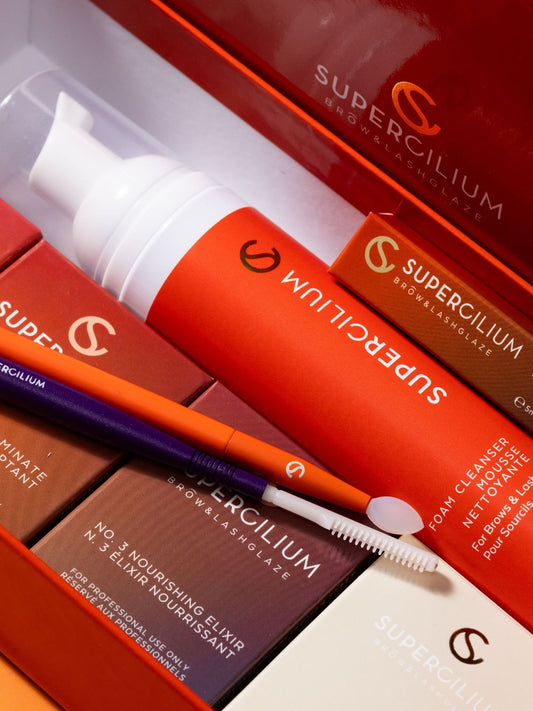
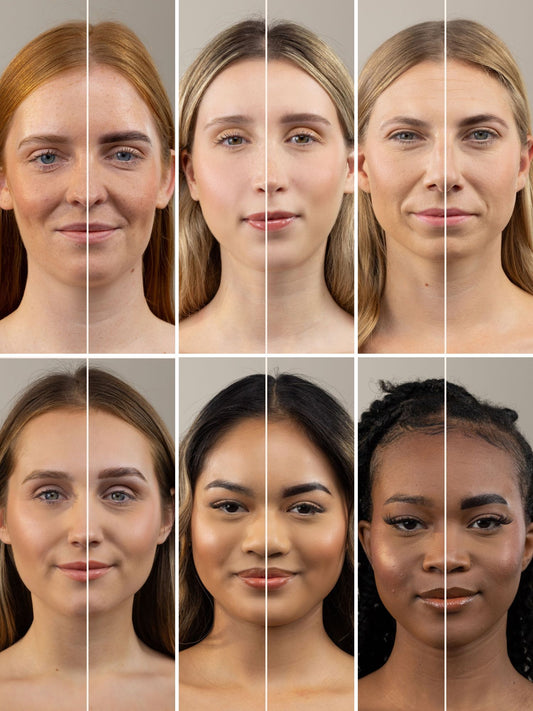
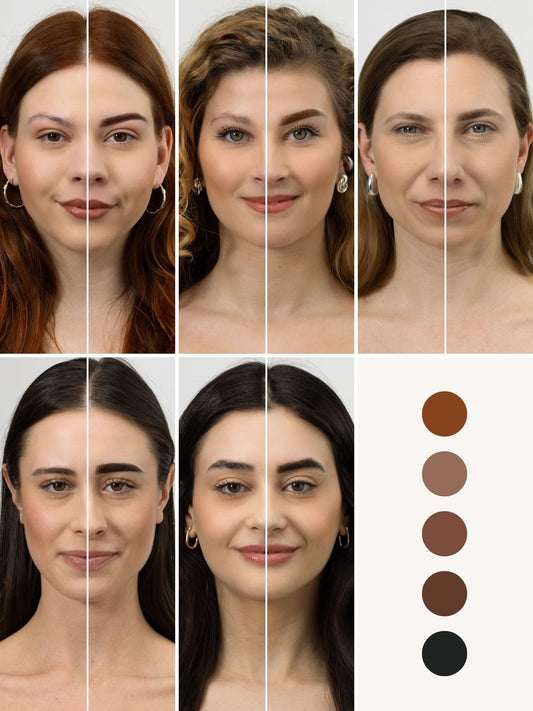
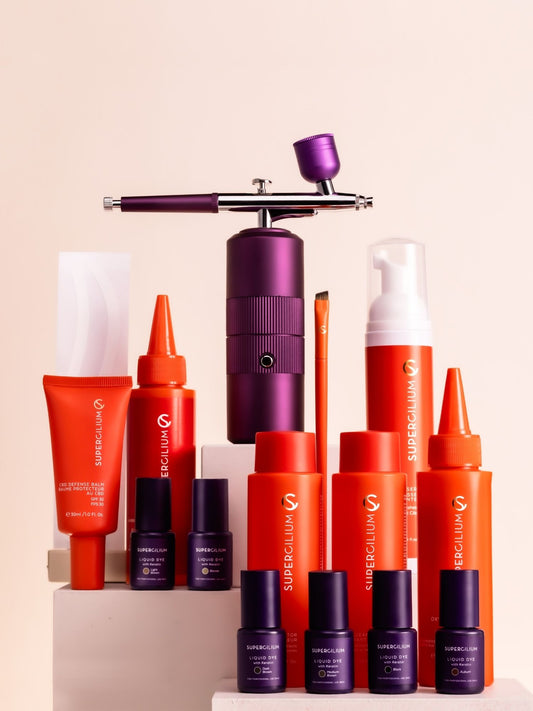
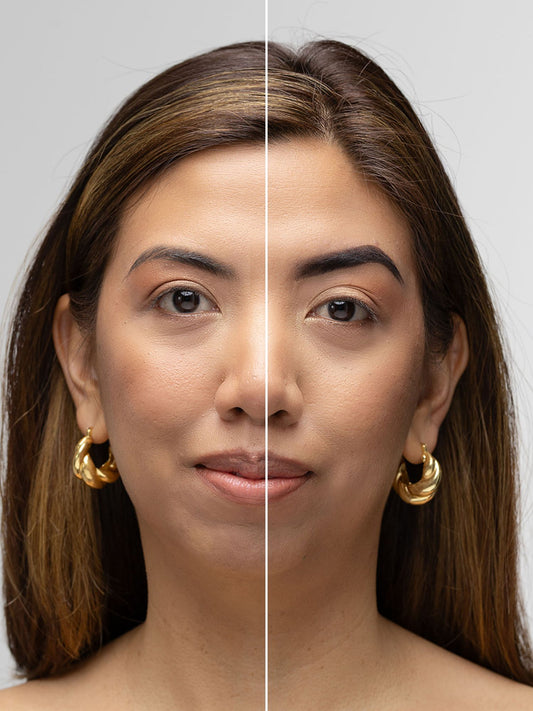
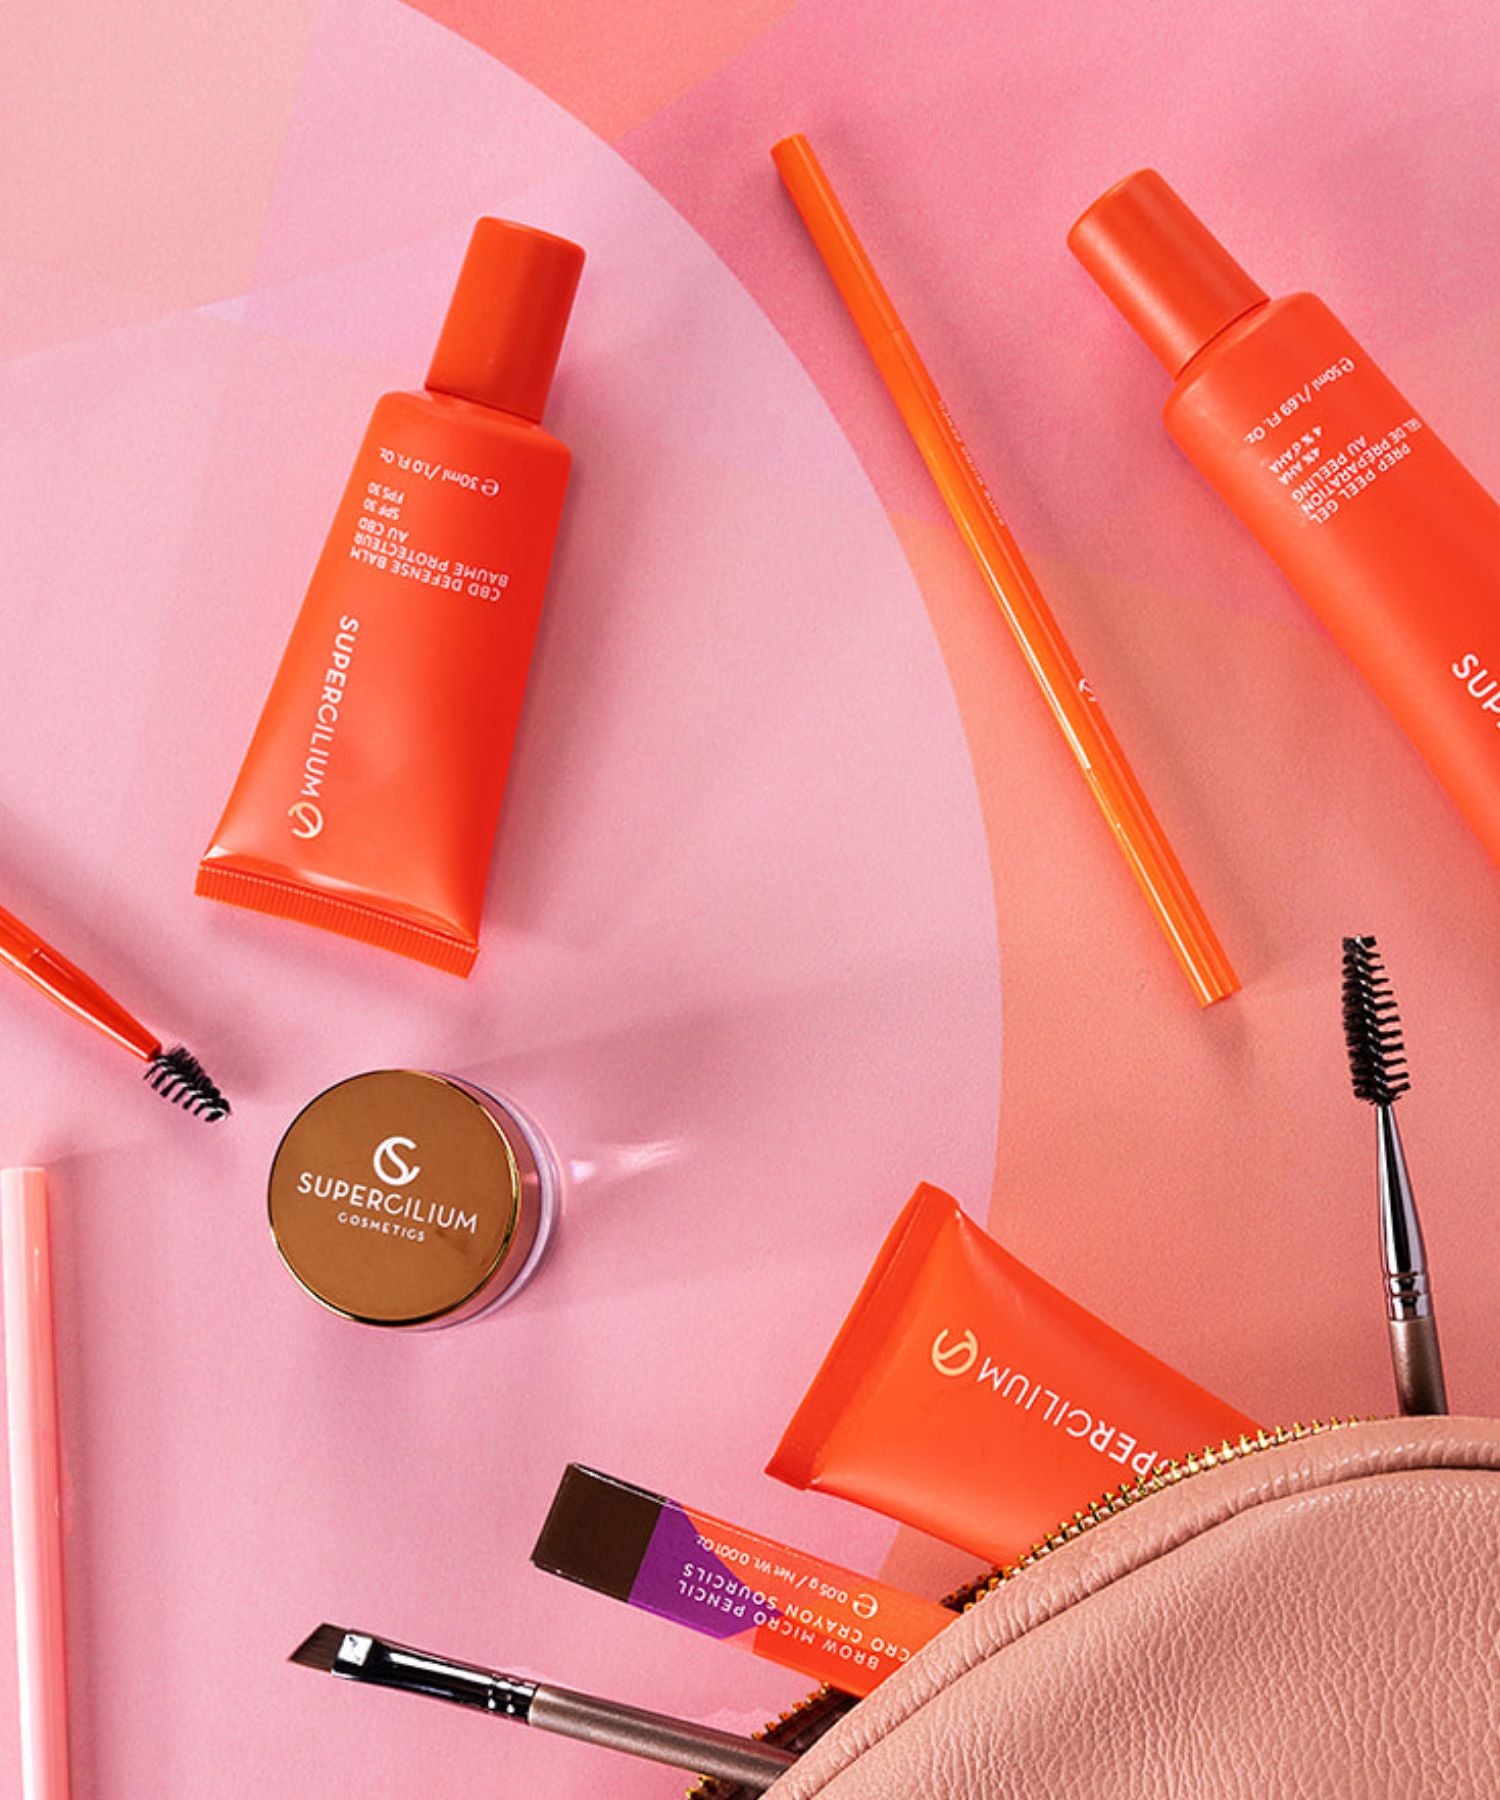
You probably already know what an Eyebrow Dye is, but for the very beginners, let’s repeat the basics! Eyebrow dyeing is a beauty treatment used to improve and define the natural brows by applying a tint to the brow hairs. This process not only darkens the brow hairs but can also add depth and fullness, making the brows appear more structured and well-groomed. At Supercilium, we offer two different eyebrow dyes: Brow Henna and Liquid Dye!
Brow Henna vs. Liquid Dye
As the beauty industry continues to evolve, so do the products and techniques we use. Today, we're diving deep into the world of Brow Dyes, and talking about insights (and tips) that will help you make the right decisions about your brow game and what products work best for you. Let's get started!
Differences between Brow Henna and Liquid Dye
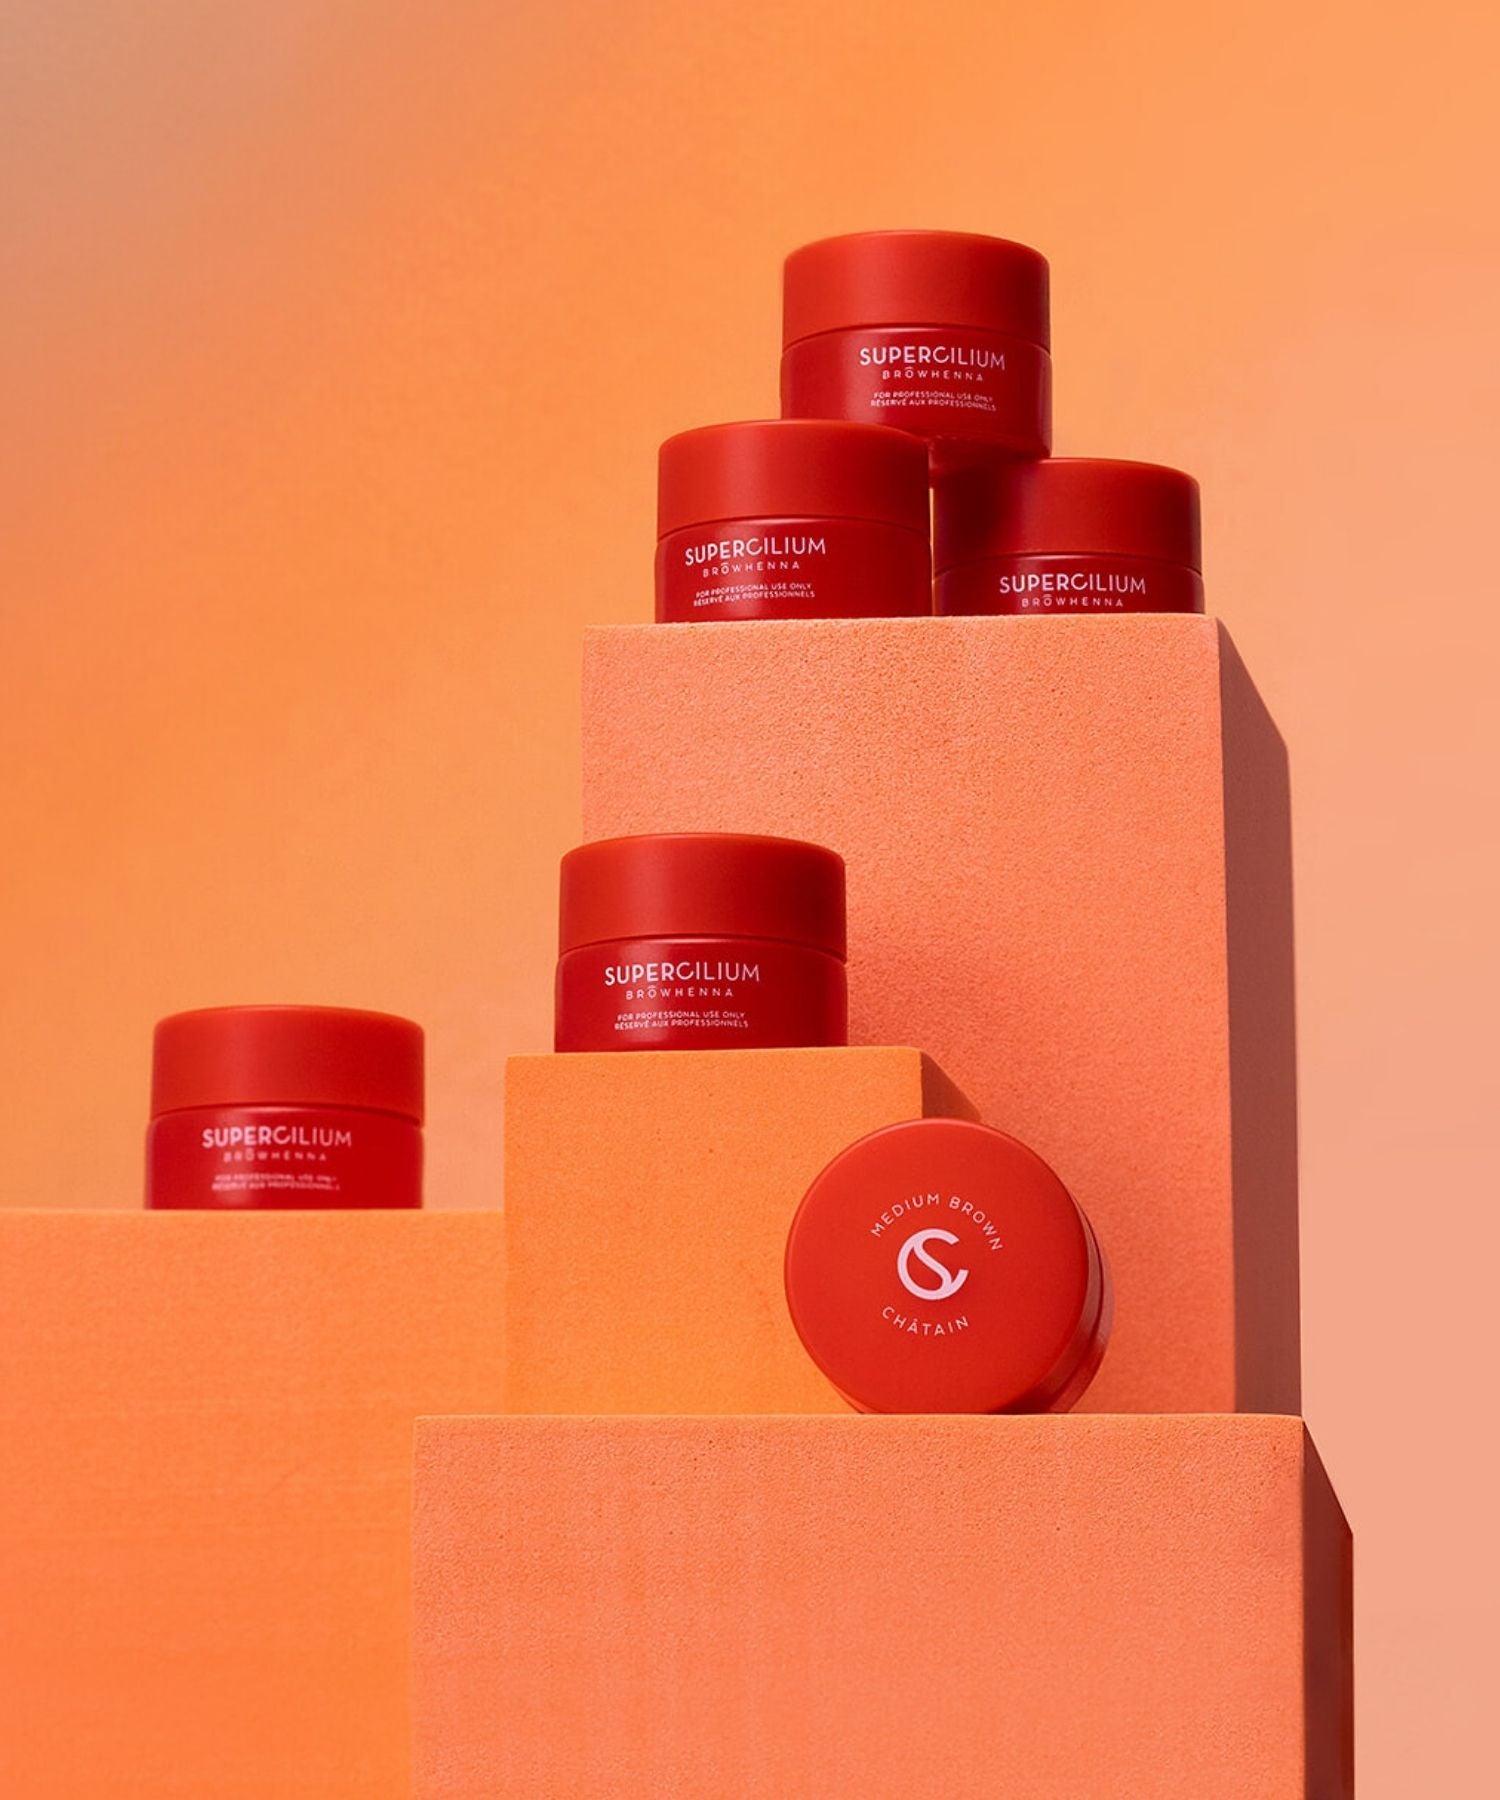
Brow Henna has been used in the beauty world for centuries, known for its natural coloring properties. Although it's been around for years, Brow Henna remains a favorite! Liquid Dye is a newer innovation, combining the best of traditional tinting methods with modern innovations.
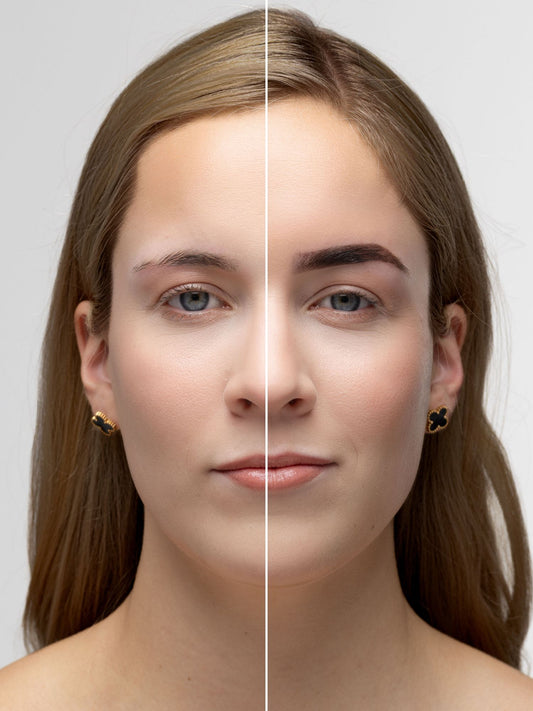
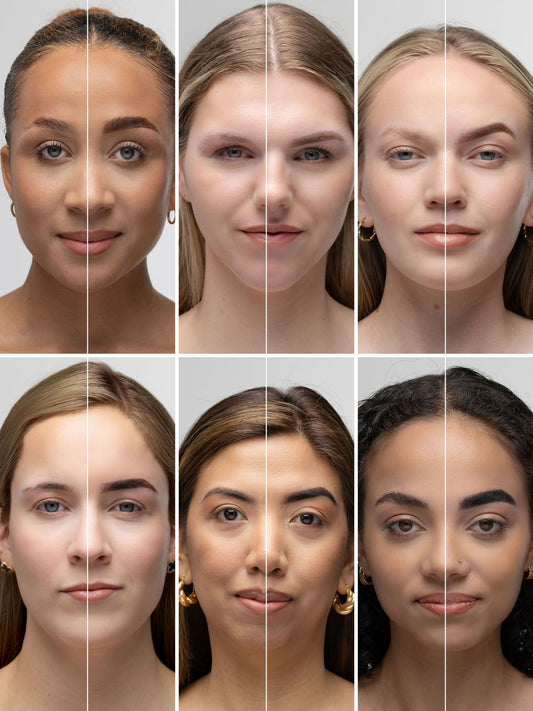
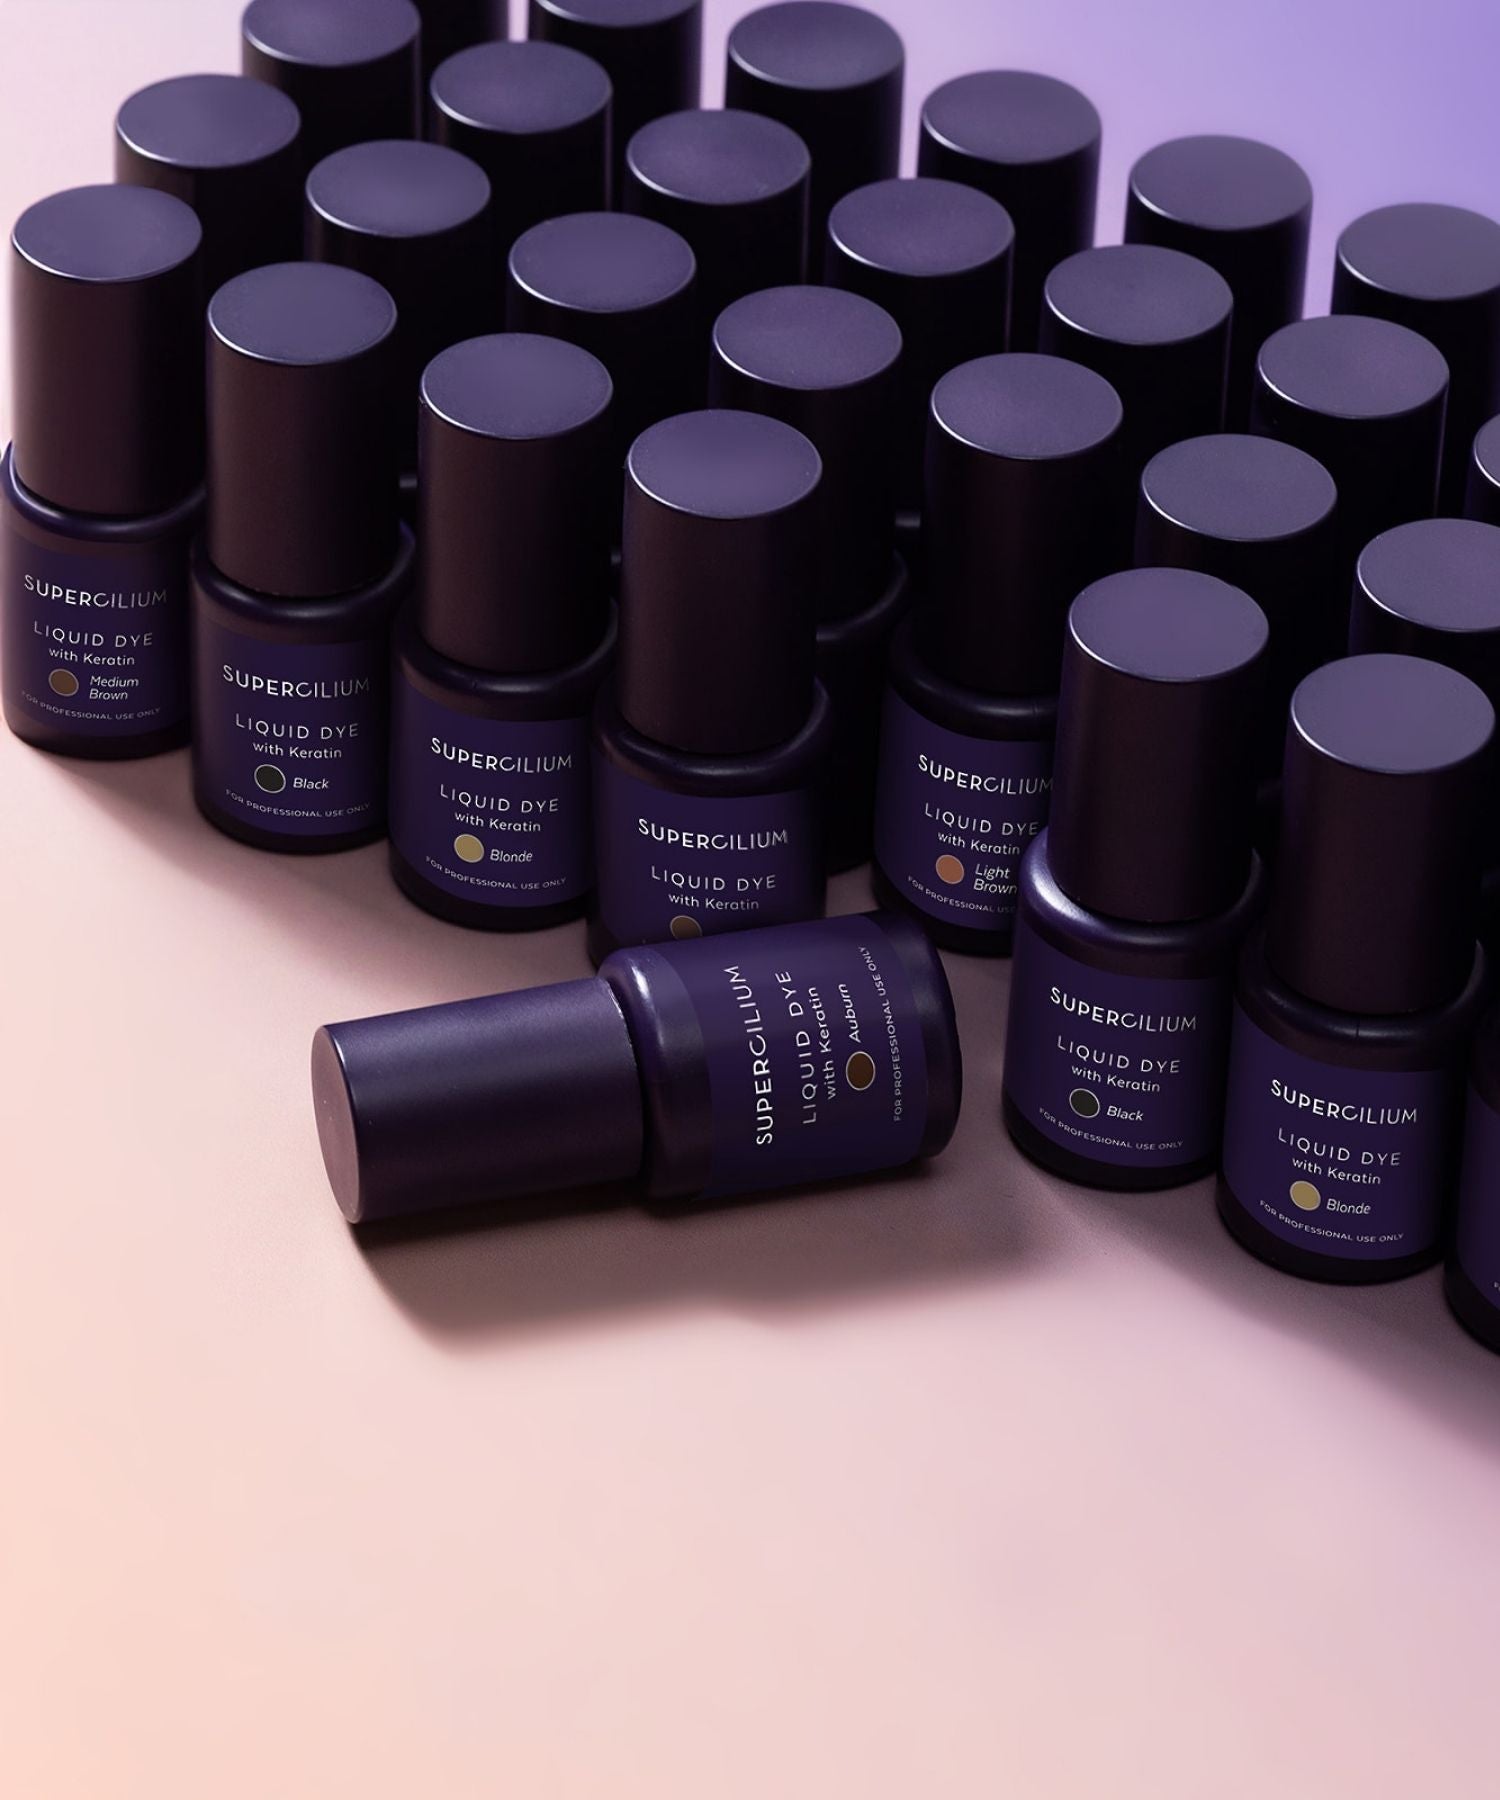
The biggest difference? Brow Henna provides the most intense stain and stays on the skin a bit longer, while Liquid Dye with Keratin stains and colors the hair while nourishing, protecting, and revitalizing it. Both Brow Henna and Liquid Dye are excellent options for dyeing brows. The choice depends on what you’re comfortable working with and the desired results for your clients.
Best Eyebrow Dye Techniques in 2024
Now, let's dive into the best eyebrow dye techniques for 2024. We’ll cover the top products to use, and why they are favorites among brow artists.
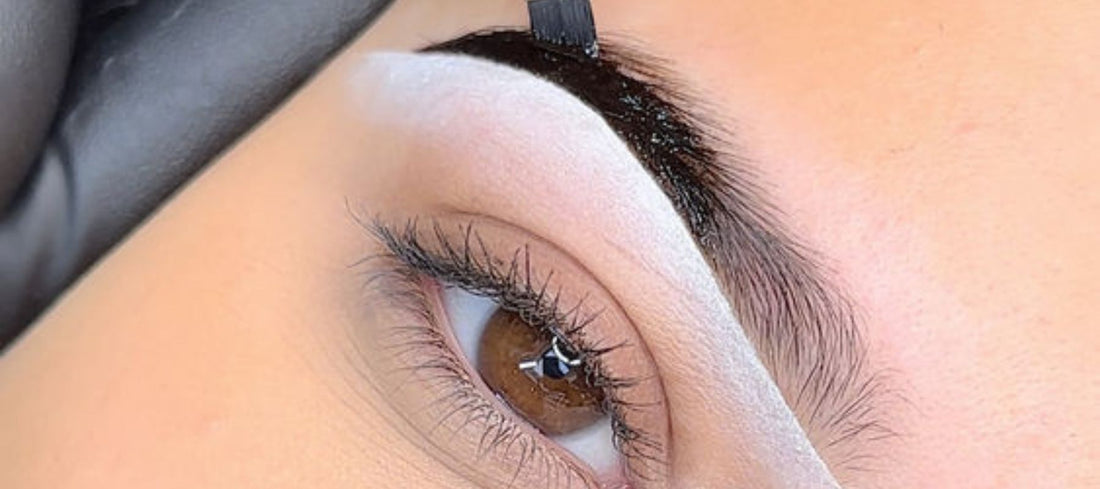
1. Stamping Technique
This technique is a classic but forever the best technique for brow henna, so let's master it! It's all about multiple layers stamped into the skin for maximum pigment. With the Stamping Technique, you can create bold, well-defined Henna Brows that your clients will love!
Products to use:
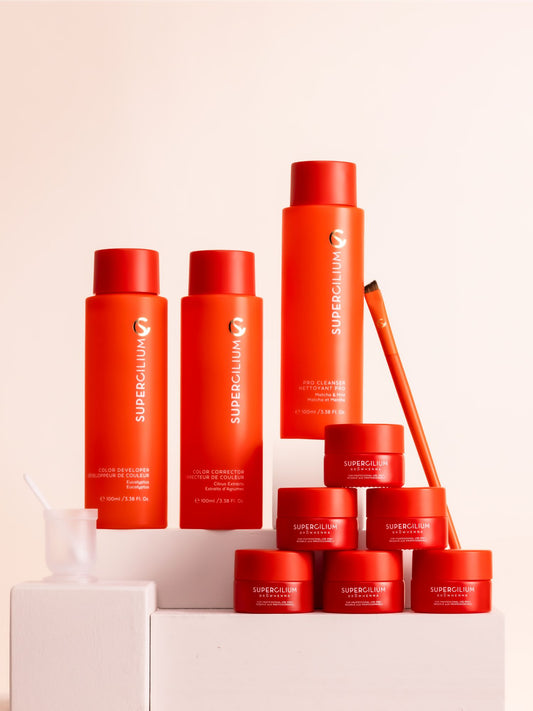
- Brow Henna Starter Kit: This kit includes everything you need to get started with Brow Henna, including various shades to match different skin tones and hair colors.
- Brow Henna colors: Blonde, Auburn, Light Brown, Medium Brown, Dark Brown, and Black.
How to apply:
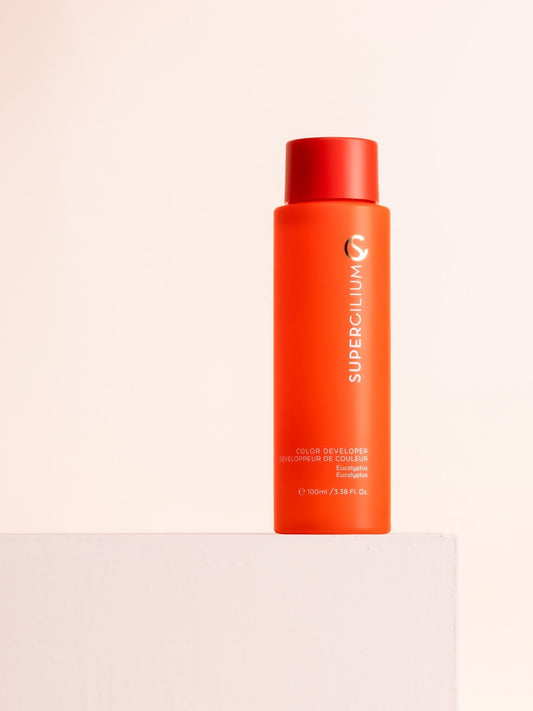
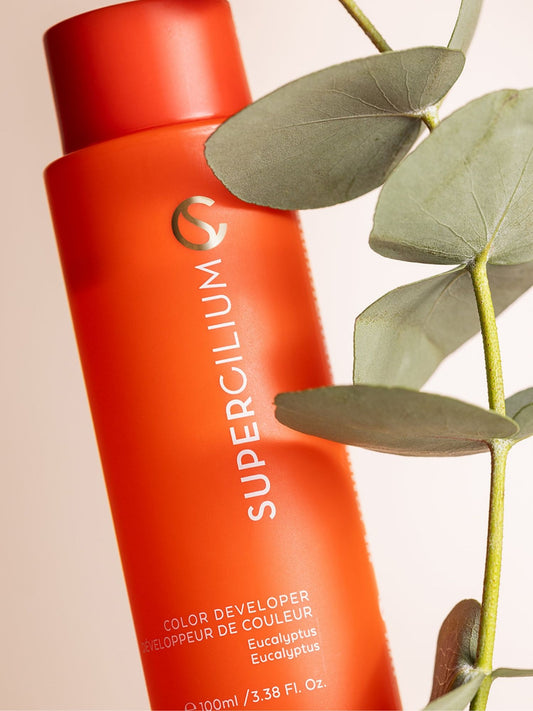
- Prep the Henna: One scoop of henna with 10-20 drops of Color Developer. The right henna mixture is not too thick, nor too runny.
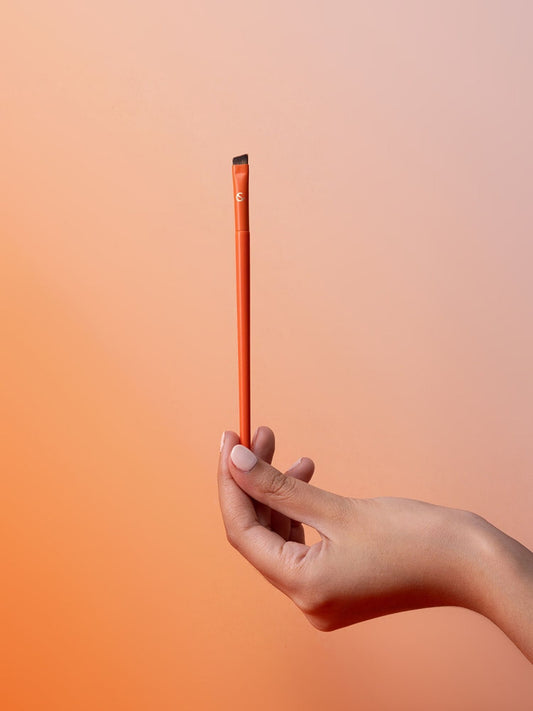
- Apply and Stamp: Use a Medium Angled Brow Brush to apply a layer of henna to the brow. Press or stamp the henna into the skin, ensuring maximum pigment absorption. Wait a minute for it to absorb into the hairs and skin.
- Second Layer: Apply a second, thicker layer of henna, making it bolder and more prominent. Stamp it deeply into the skin to stain both the skin and hairs.
- Third Layer: Depending on the client and personal preference, repeat with a third round of henna application and stamping. Don’t apply it on the beginning of the brows, to create a natural ombre effect.
- Final removal: Remove the rest of the henna after 15-20 minutes.
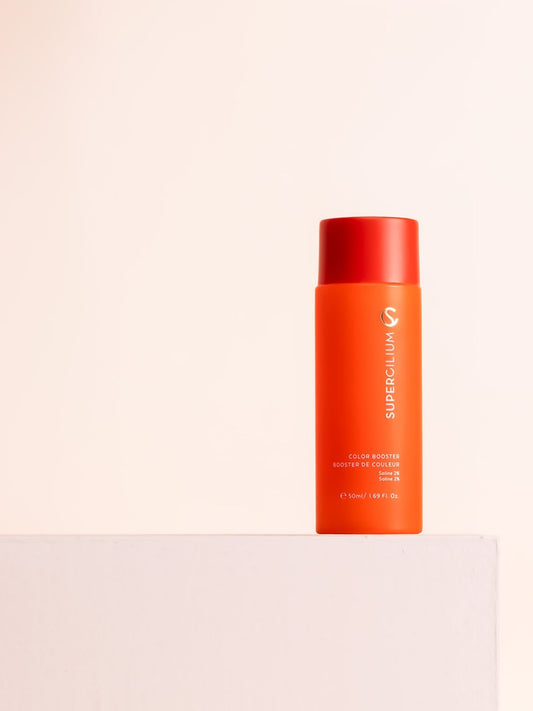
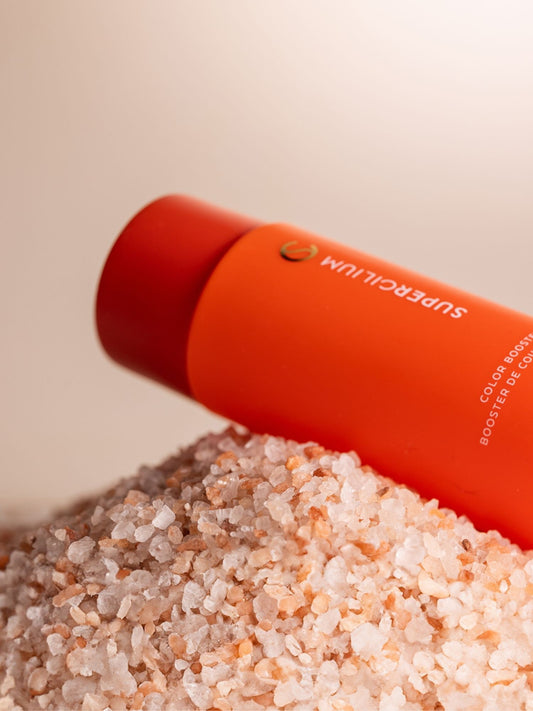
Pro Tip: Prepare the brows with Pro Cleanser to maximize pigment and make sure that the brow look stays flawless for the longest time! Read more in our blog post about how to do henna brows in 5 easy steps. Oily skin? Add the Color Booster to the mix!
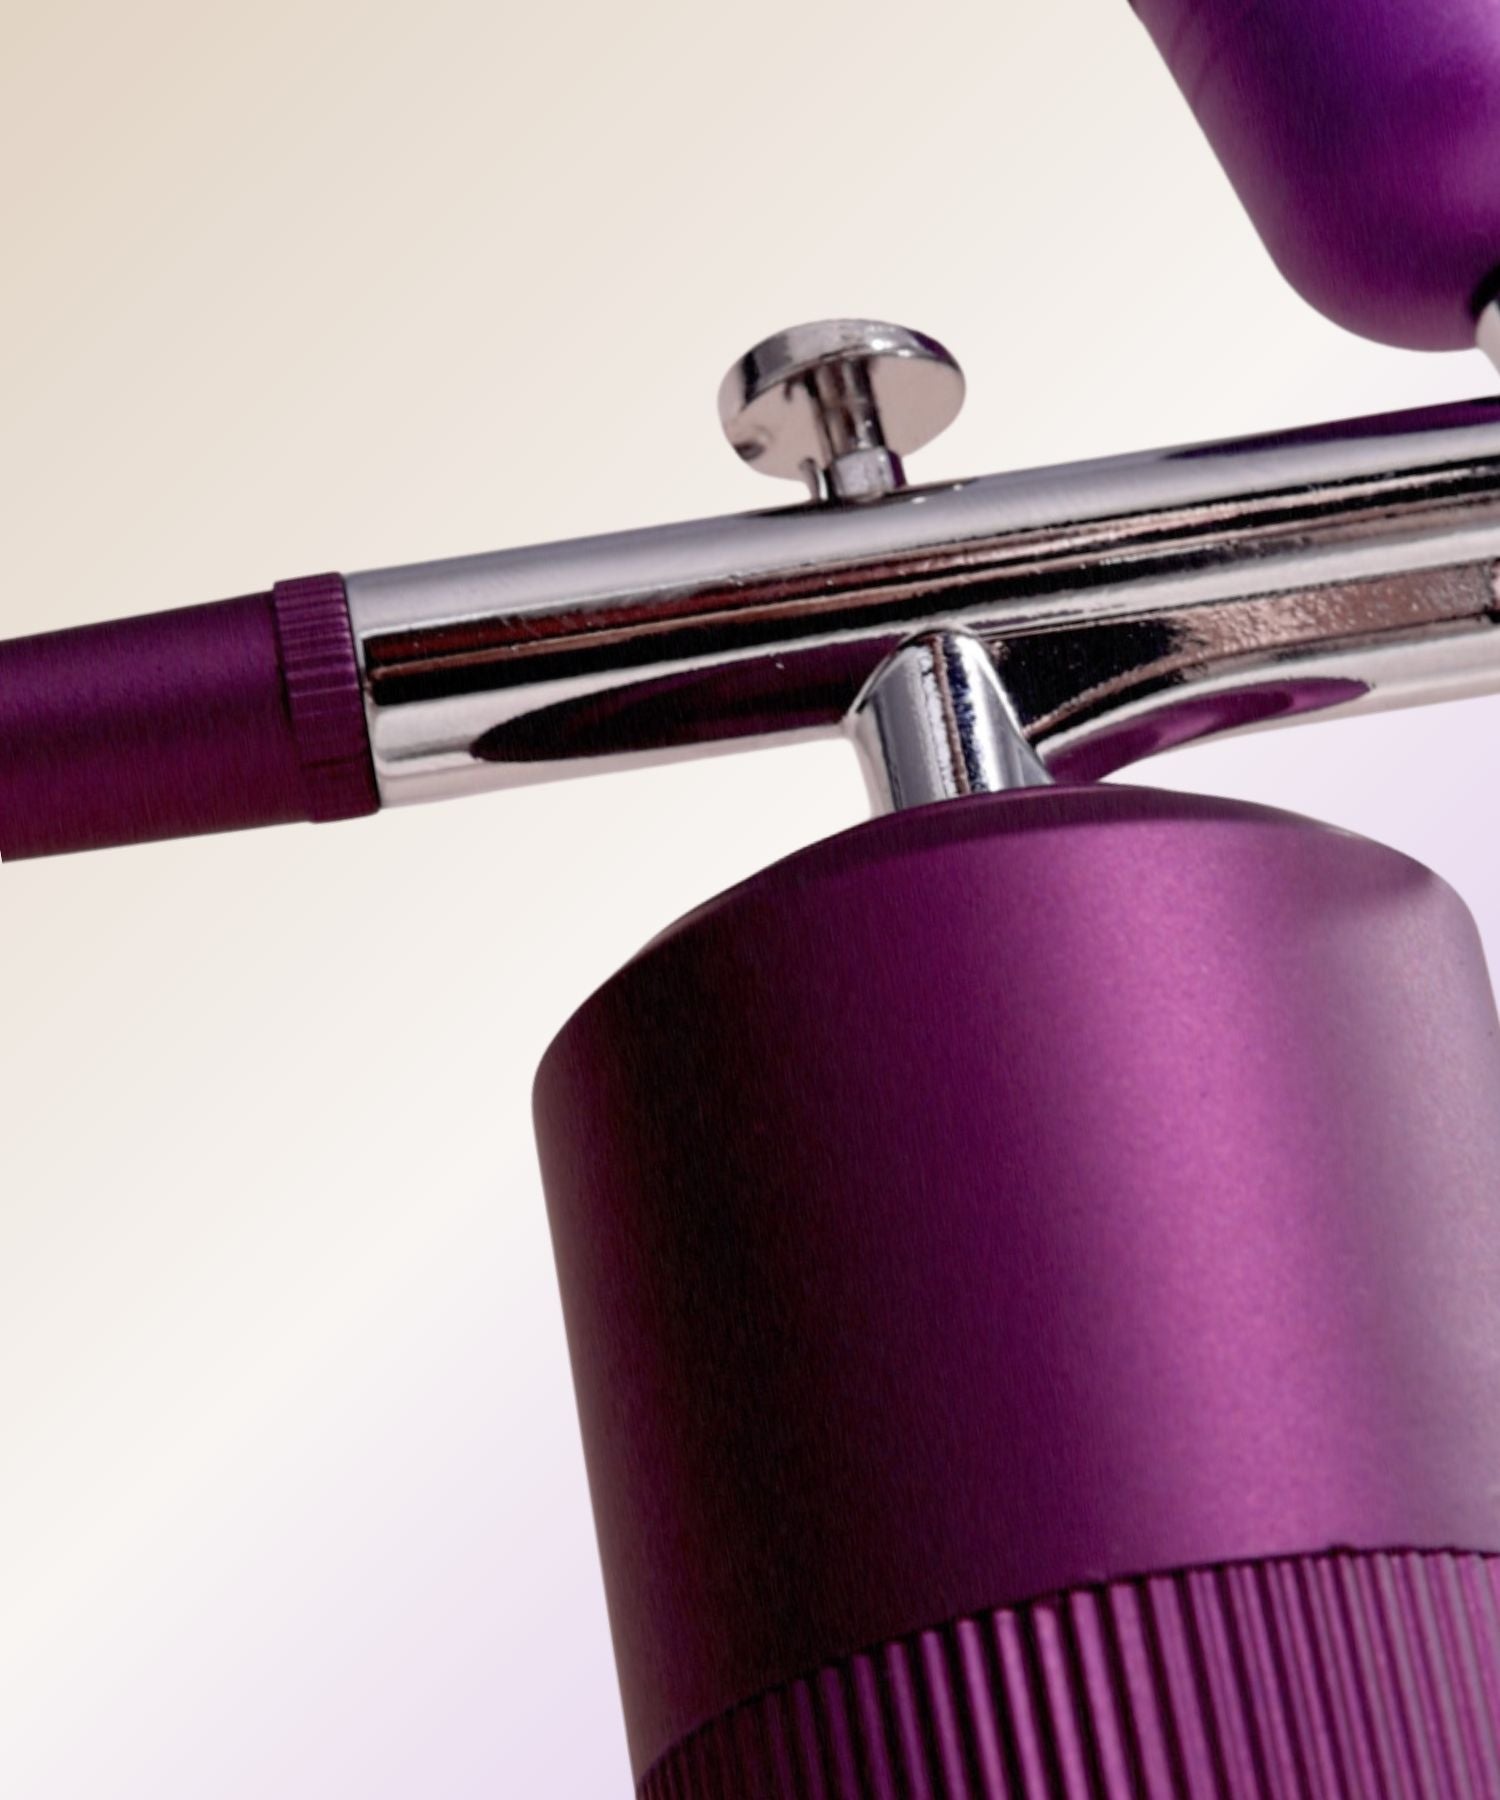
2. Airbrush Brows
Airbrush brows are the biggest trend in 2024. This technique lets you create perfectly defined brows, delivering flawless results that will leave your clients amazed. With the use of stickers, you can create super-defined and crispy brows! Because you work in layers, you can really build up the color, going for that natural gradient color stain on the skin.
It’s a new technique, but together we’ve nailed it, and now we have the best tips and tricks for perfect Airbrush Brows. It’s super easy once you master it and know how to use the machine and set it up well. Clients love this technique because it’s new and super quick!
What you need:
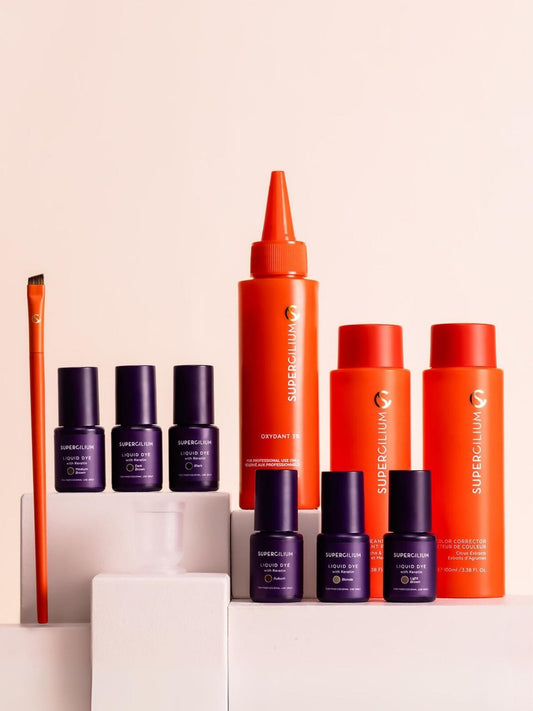
- Airbrush Kit: This kit has everything you need, including an Airbrush Machine that works perfectly with Liquid Dye and Airbrush Developer.
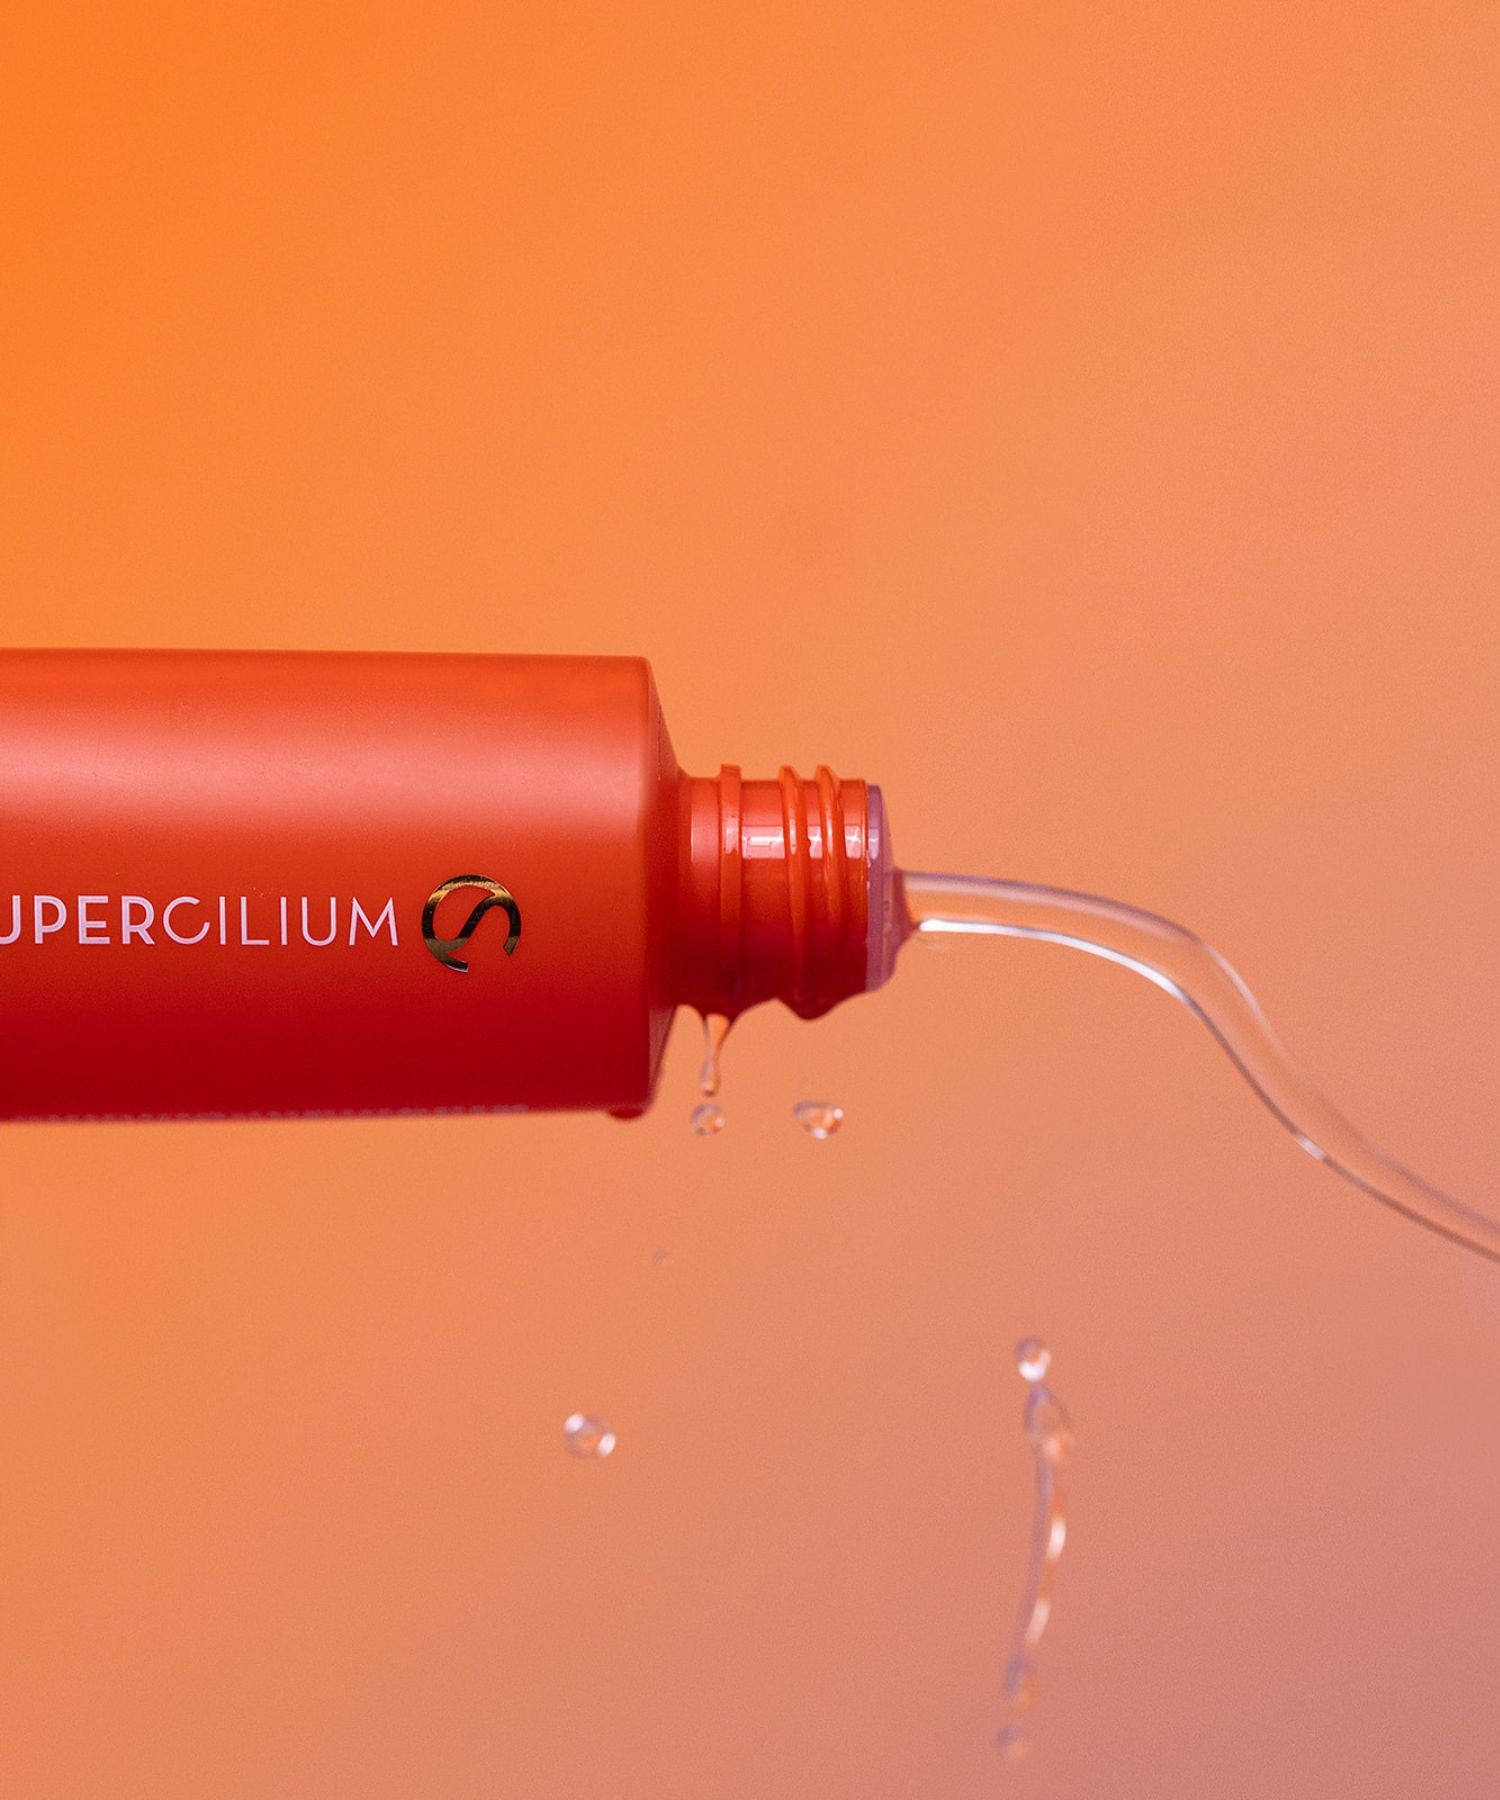
- Liquid Dye: It pairs seamlessly with the airbrush for smooth and even application.
- Stickers: These help you create super-defined and crispy brows with precision.
How to do Airbrush Brows:
For a detailed step-by-step process, follow our Certified Airbrush Course, but here's a quick guide to get you started:
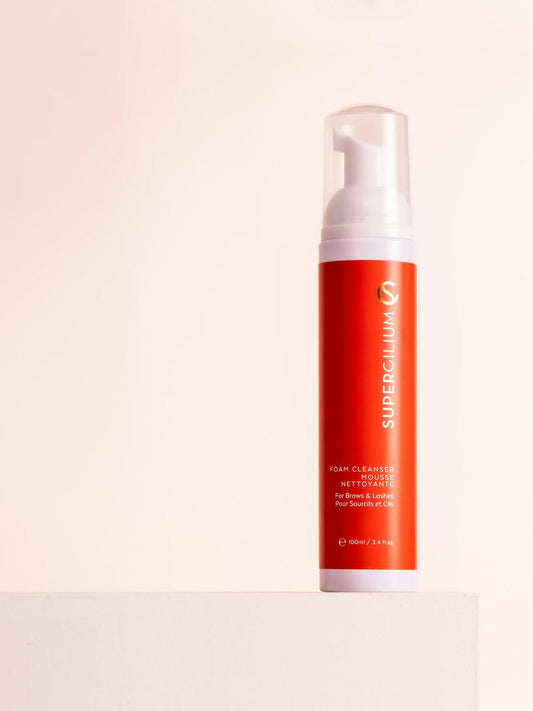
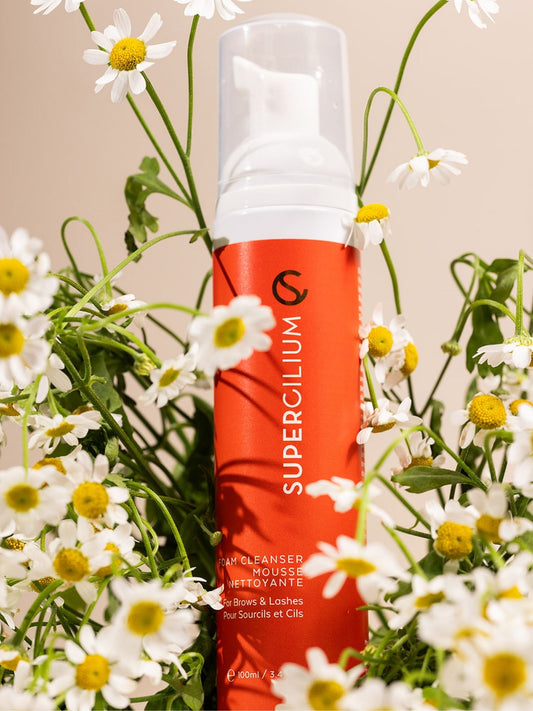
- Cleanse the brows: Start by ensuring the brows are clean and free from any oils or dirt using Foam Cleanser or Pro Cleanser.
- Map the brows & Protect the skin: Use a Brow Mapping technique to outline the desired shape of the brows with the Brow Mapping Paste. Apply stickers around the brow area to create clean, defined lines and ensure precise application of the Airbrush dye. Place the stickers to create the desired shape.
- Airbrush the brows: Apply the Liquid Dye with Keratin mixed with Airbrush Developer in thin, even layers, building up the color gradually for a natural-looking finish. Let each layer dry before applying the next. Wanna know how to move the machine right? We show the right movements in our Airbrush Course!
- Clean & Care: Once the dye has been applied, clean up any excess product and brow dye.
- Shape the brows: Finish off the look by shaping the brows to perfection, whether through tweezing, waxing, or threading.
Pro Tip: Use the Nourishing Defense Balm to protect the skin around the brow area. The Airbrush technique sprays color around the brows, and despite using stickers, there's a possibility that the dye may come into contact with the skin. This ensures that the skin is protected with the Nourishing Defense Balm and it is easy to remove the dye.

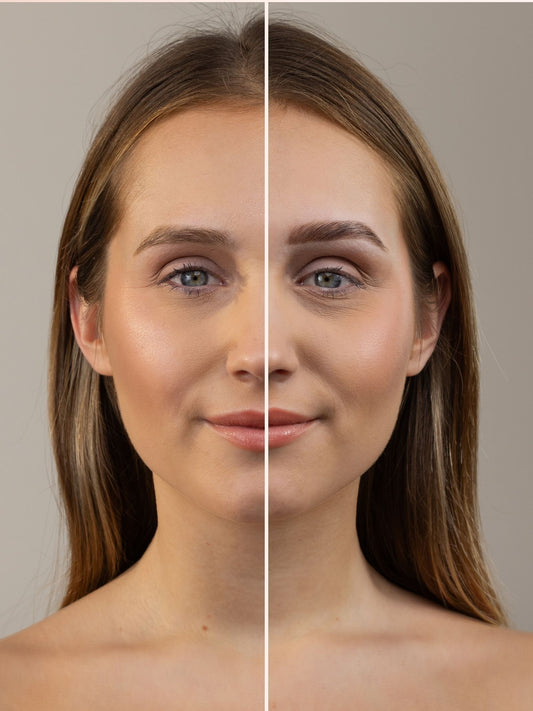
3. Ombré Brows
This technique provides a subtle transition from light to dark, making the brows appear fuller and more defined. It’s a fantastic way to add a touch of elegance and sophistication to your brow services!
Products to use:
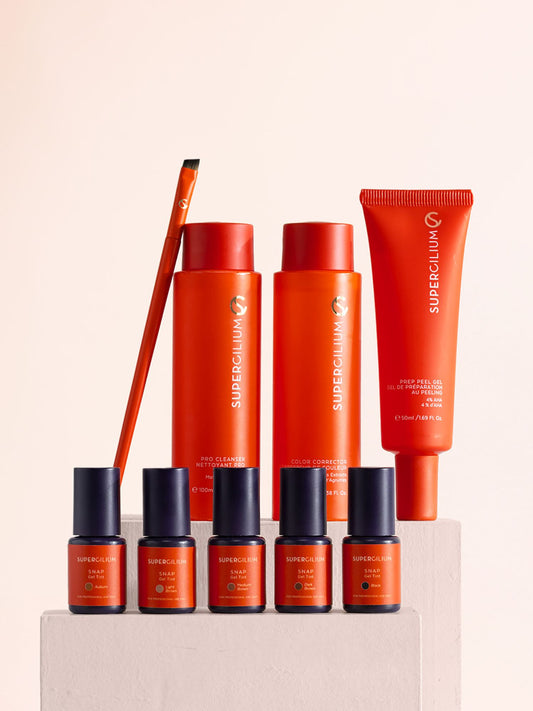
- Liquid Dye with Keratin: Our Liquid Dye is perfect for creating the gradient effect needed for ombré brows!
- Brow Henna: This kit has everything you need to do the brow treatment.
- Brow Brushes: Use precise brow brushes to apply the dye smoothly and evenly.
How to apply Liquid Dye:
- Prep the brows: Clean, makeup-free brows ensure better dye adherence. Use a gentle cleanser to remove any residue.
- Choose the shade: Start with a lighter shade and mix to find your perfect hue. Read more here about mixing Liquid Dye colors to find the perfect shade.
- Mix the Dye: Combine 2 drops of Liquid Dye with 1 drop of Oxydant. Let it sit for a few minutes.
- Apply the Liquid Dye: Apply the dye to the bottom line of the eyebrow with the Medium Angled Brush, drawing a tight line from start to tail. Repeat with the upper line, then fill in the entire brow from back to front.
- Create the Ombré effect: Remove the dye from the inside of the eyebrows after 3-5 minutes with a damp cotton pad for an ombré effect. If still too light, reapply and leave it on for another 3-5 minutes. Remove the rest of the dye after 15-20 minutes.
- Correct any mistakes: If you accidentally color the skin, apply a small amount of Color Corrector to a micro-brush or cotton swab and gently wipe the area clean. Repeat if necessary and wash off the residue with water.
Watch our amazing Anastasia how to do Hybrid Brows below!
Ombré technique with Color Corrector
- Follow steps 1-4 as above to apply the dye evenly across the entire brow.
- After the dye sets for a few minutes, remove the dye and use Color Corrector to lighten the inner part of the brows, creating a gradient effect. Apply the Color Corrector with a cotton swab and wipe gently until the desired ombré effect is achieved.
- Remove the rest of the dye after 15-20 minutes. Correct any mistakes with Color Corrector if needed.
And that’s it! You’ve created stunning ombré brows that offer a beautiful, natural look. Easy, right? Just wait until you see the game-changing results!
And don’t forget, there’s always more to learn and new trends to try. Curious about the latest trend in the industry? Check out our blog post on Baby Brow Lamination, a new brow treatment that's perfect for clients who prefer a softer, more natural look but do want to create fuller eyebrows.