


7 Brow Lamination Tips for Thin Brows with Gabriela Chrobak
written byŽaneta Mlčáková
In This Article
What is Brow Lamination?
Brow Lamination is a professional brow treatment designed to smooth, lift, and style the brow hairs into a more defined shape. During the treatment, the brow hairs are softened so they can be brushed into the desired direction and then fixed in place, creating a fuller, more polished look.
The goal of Brow Lamination isn’t to add hair, but to reposition the existing brow hairs. This makes the brows appear more even, fluffy, and well-groomed - especially when combined with the right styling technique and aftercare.
Brow Lamination results can last up to 6–8 weeks, depending on hair type and aftercare. For clients with thin brows, Brow Lamination works best as a subtle styling treatment, focusing on softness and natural movement rather than a strong, dramatic lift.
What products do you need for Brow Lamination?
Before starting any Brow Lamination treatment, having the right products on hand is key - especially when working with thin brows!
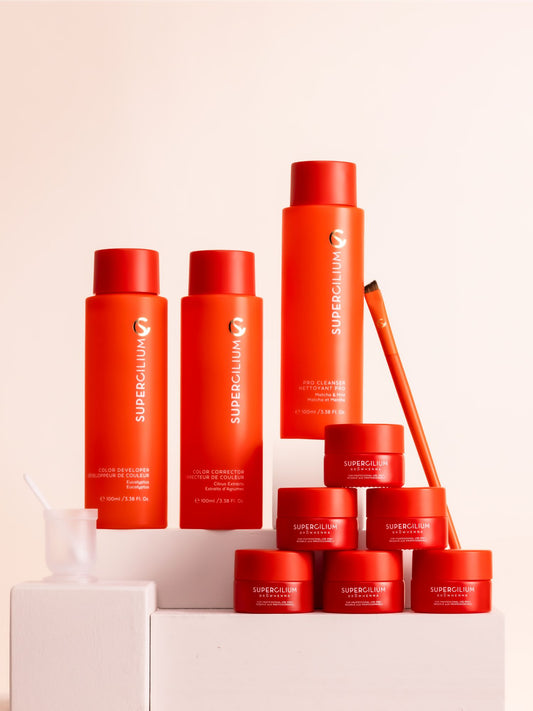
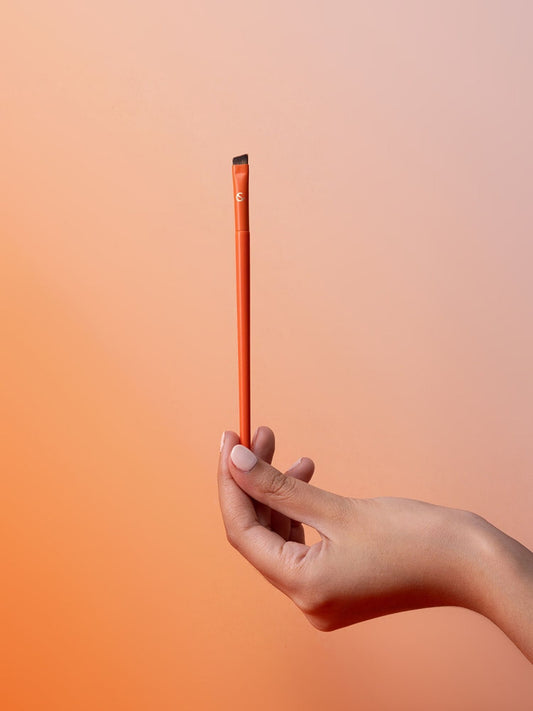
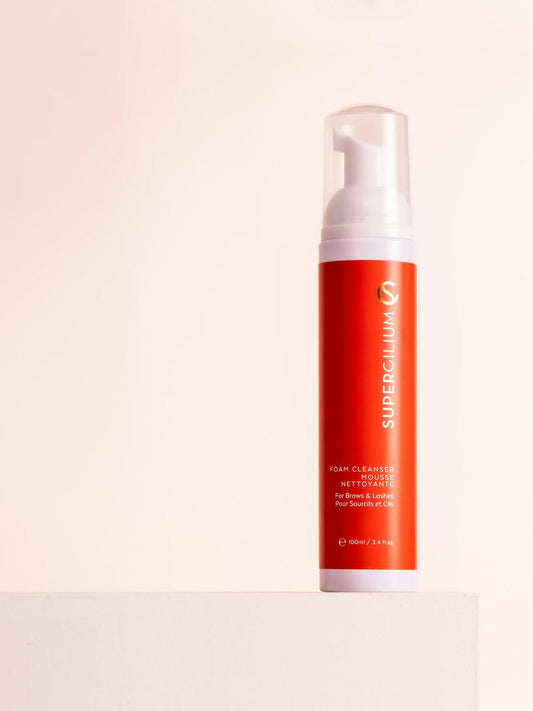
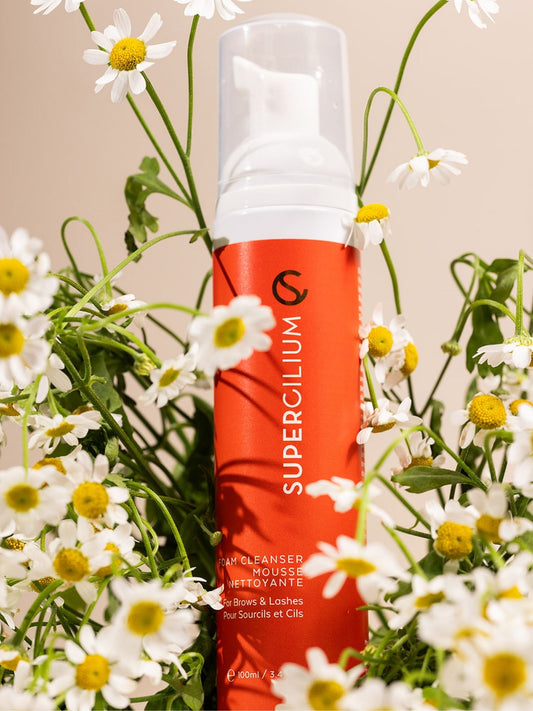
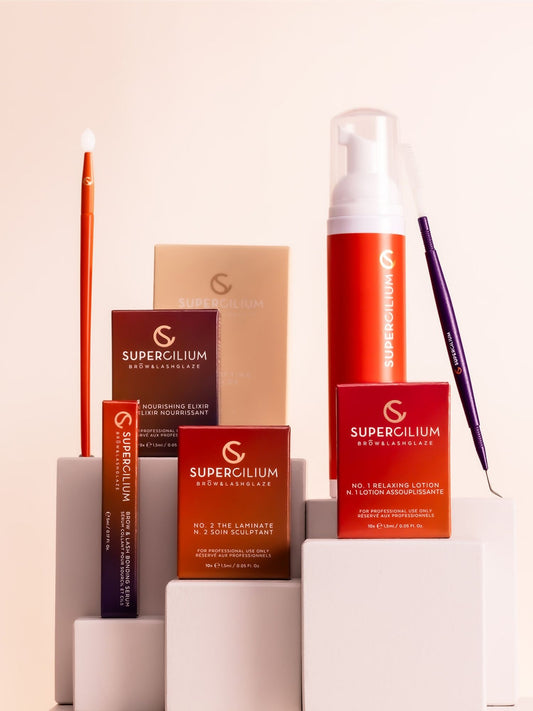
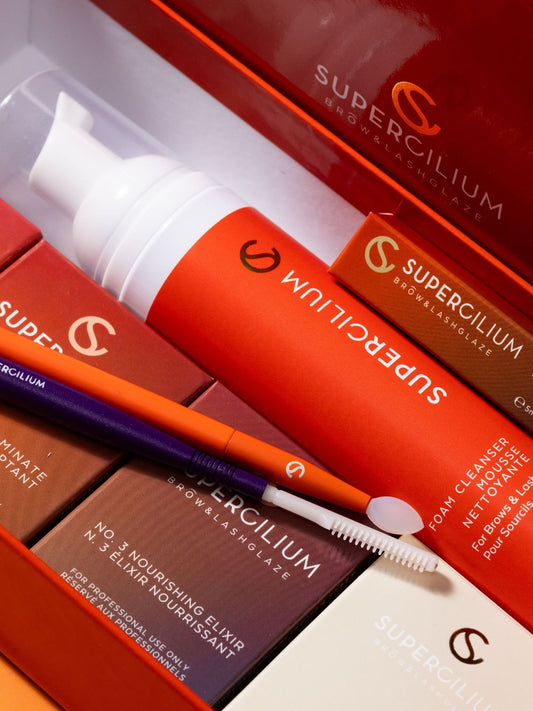
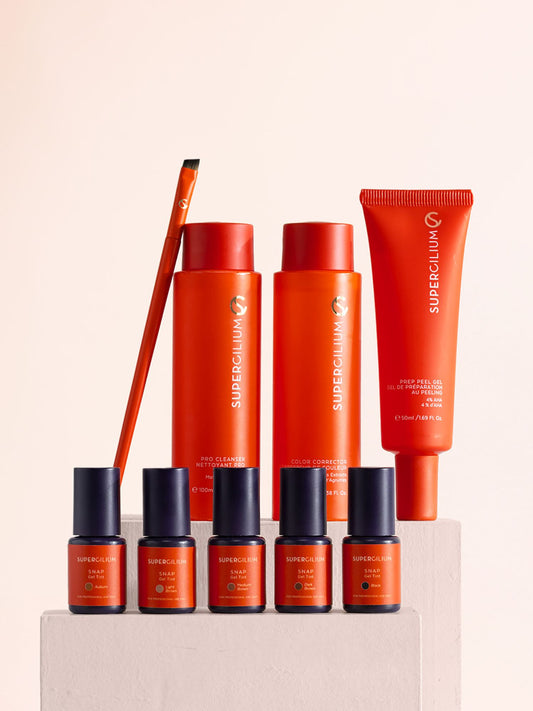
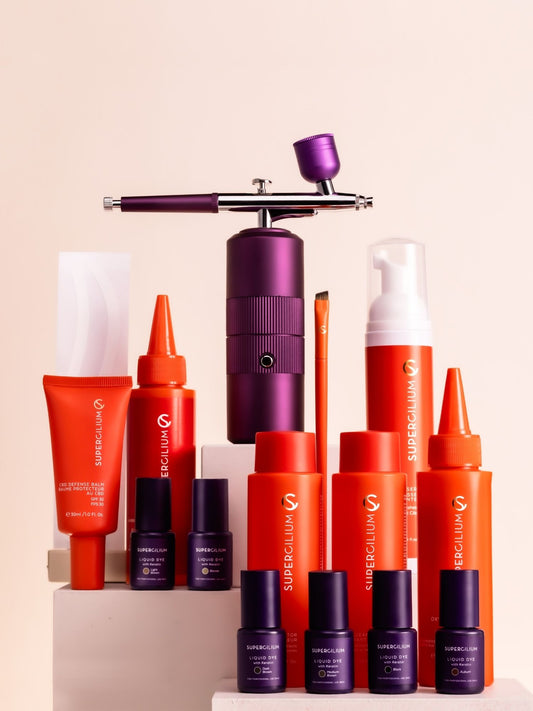
A Professional Brow Lamination Kit ↗ covers everything you need in 3 easy steps, including a Foam Cleanser to prep the brows and a Silicone Brush for precise, even application.

Discover the Brow Lamination Starter Kit ↗
7 Tips for Brow Lamination on Thin Brows
Brow Lamination can work beautifully on thin brows - but it does ask for a slightly different approach. Fine hairs are more delicate, and small details in timing, product use, and styling can really make or break the result.
That’s why we asked Gabriela Chrobak (@gabrielachrobak.pmu), an amazing Brow Artist from Kraków, to share her go-to tips. Her focus? Enhancing thin brows gently, without stressing or damaging the hair.
Tip 1: Be gentle
When laminating thin brows, a gentle approach is key. Shorten your processing times and keep a close eye on how the hairs respond during the treatment. Fine brows tend to process faster, so there’s no need to push the timing.
"Thin brows require extra care. Shorten the processing time and constantly monitor the hair condition. It’s always better to remove the product too early than too late." - Gabriela Chrobak
The ideal processing times when applying No. 1 Relaxing Lotion ↗ for thin brows are 3-4 minutes, and for No. 2 The Laminate ↗ are <5 minutes.

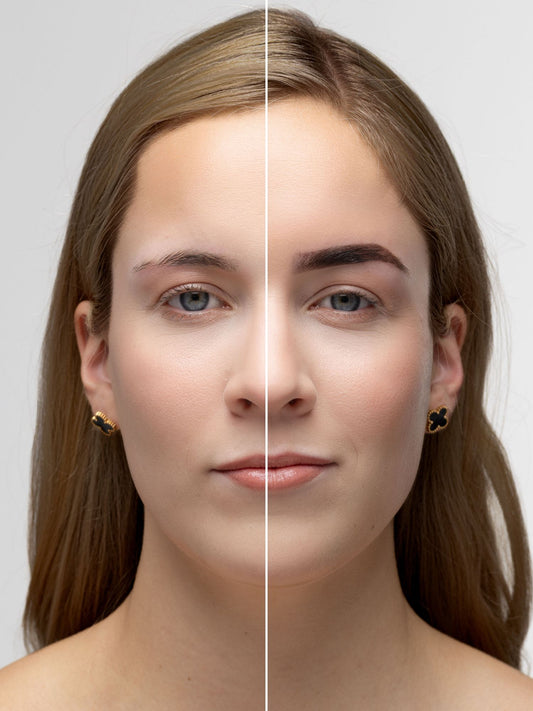
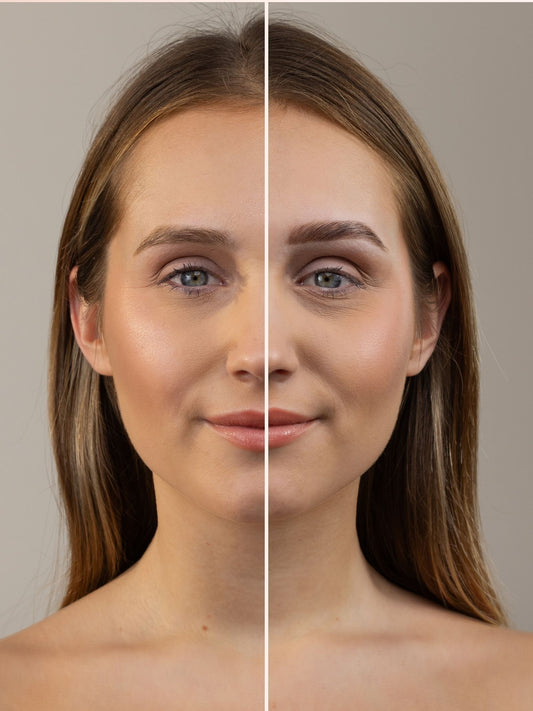
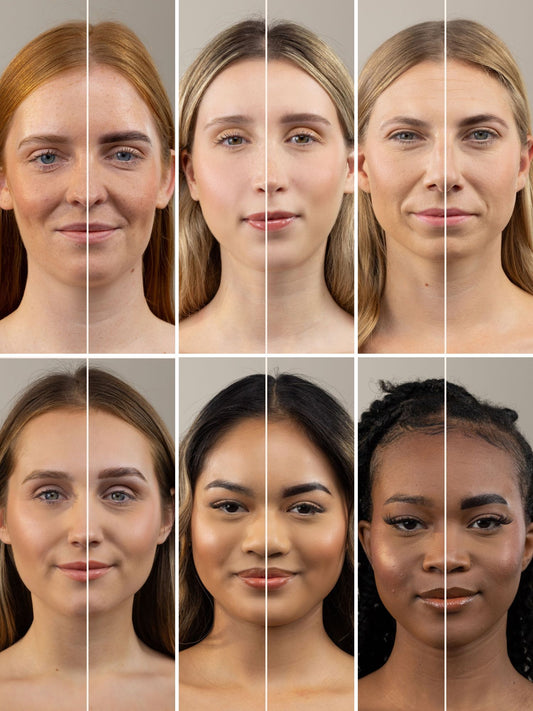
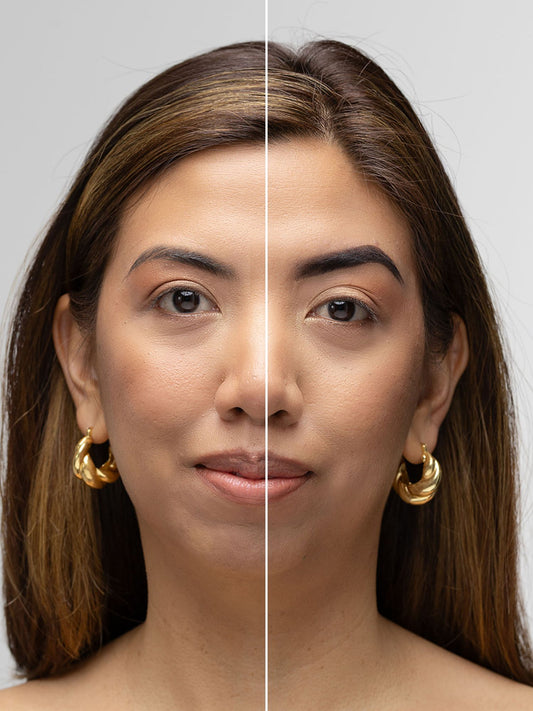
Beautiful transformation on thin brows by @thebrowaholix
Tip 2: Always assess the brow hair first
Before starting Brow Lamination, take a moment to assess the brow hairs. This step comes first, even when working with thicker brows.
"Before the treatment, always check the hair’s porosity and elasticity. Thin brows are often weakened, so lamination should be more about subtle styling rather than a strong lift." - Gabriela Chrobak.
Need a bit more guidance on brow hair assessment?
In our free Brow Basics Course, we dive deeper into understanding brow hair structure, porosity, and elasticity - so you know exactly how to adapt your technique to each client.
Enroll in the free Brow Basics Course ↗ to learn more about brow hair assessment.
Tip 3: Styling direction matters
When working with thin brows, it can be tempting to brush all the hairs straight upwards to create a fluffy effect, but in this case, it can make gaps more visible and the brows look even sparser.
"Avoid brushing the hairs straight upwards when working with sparse brows. A soft, slightly diagonal direction creates a fuller look and helps conceal gaps."
Take a step back and follow the natural growth direction of the brow. A soft, slightly diagonal brushing pattern usually creates a much fuller and more balanced look, especially on thin or uneven brows!
If you’d like to see exactly how to do this in practice, our Brow Lamination Course ↗ walks you through the full process with step-by-step videos, so you can see how small adjustments in styling direction completely change the result.

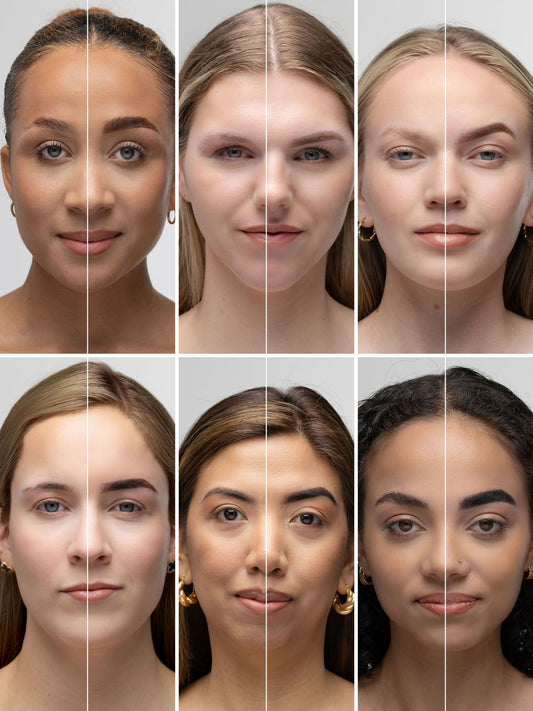
Beautiful Brow Lamination by @gabrielachrobak.pmu
Tip 4: Less product gives better results
When laminating thin brows, using too much product is one of the most common mistakes. What does Gabriela say?
"Thin brows are easy to overload. Use minimal amounts of glue and solutions, applied very precisely."
Instead, work with small, precise amounts of product. Apply everything in thin layers and focus on control rather than coverage. This not only leads to softer, more natural results, but it also helps you use your products more efficiently. A Brow Lamination Starter Kit ↗ is designed to last up to 40 treatments, so there’s no need to overload the brows. That way, you don't have to restock that often!
Tip 5: Be careful with tinting after Brow Lamination
Do you also love tinted & laminated brows? You can definitely do it with thin brows too. Just be more careful!
"If you tint the brows after lamination, choose lighter shades or reduce the processing time. Overly dark color can emphasize sparsity instead of enhancing fullness." - Gabriela
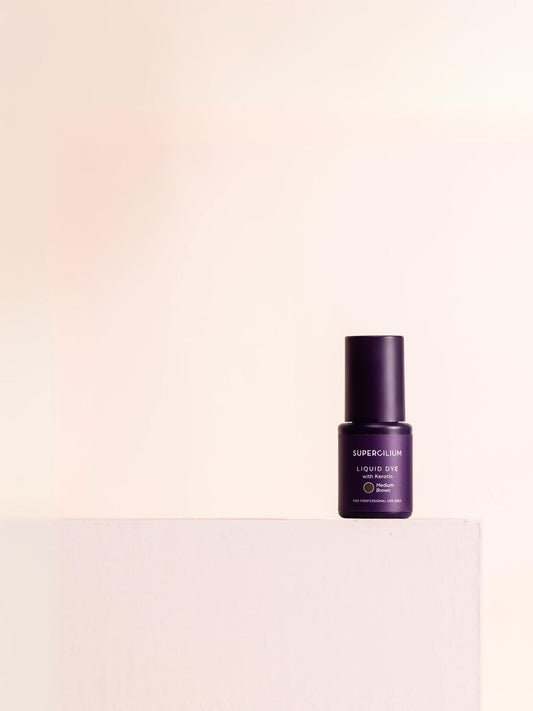
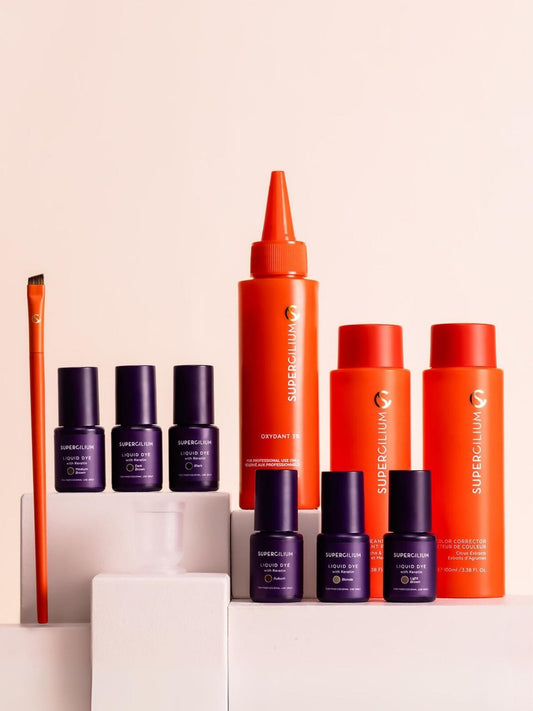
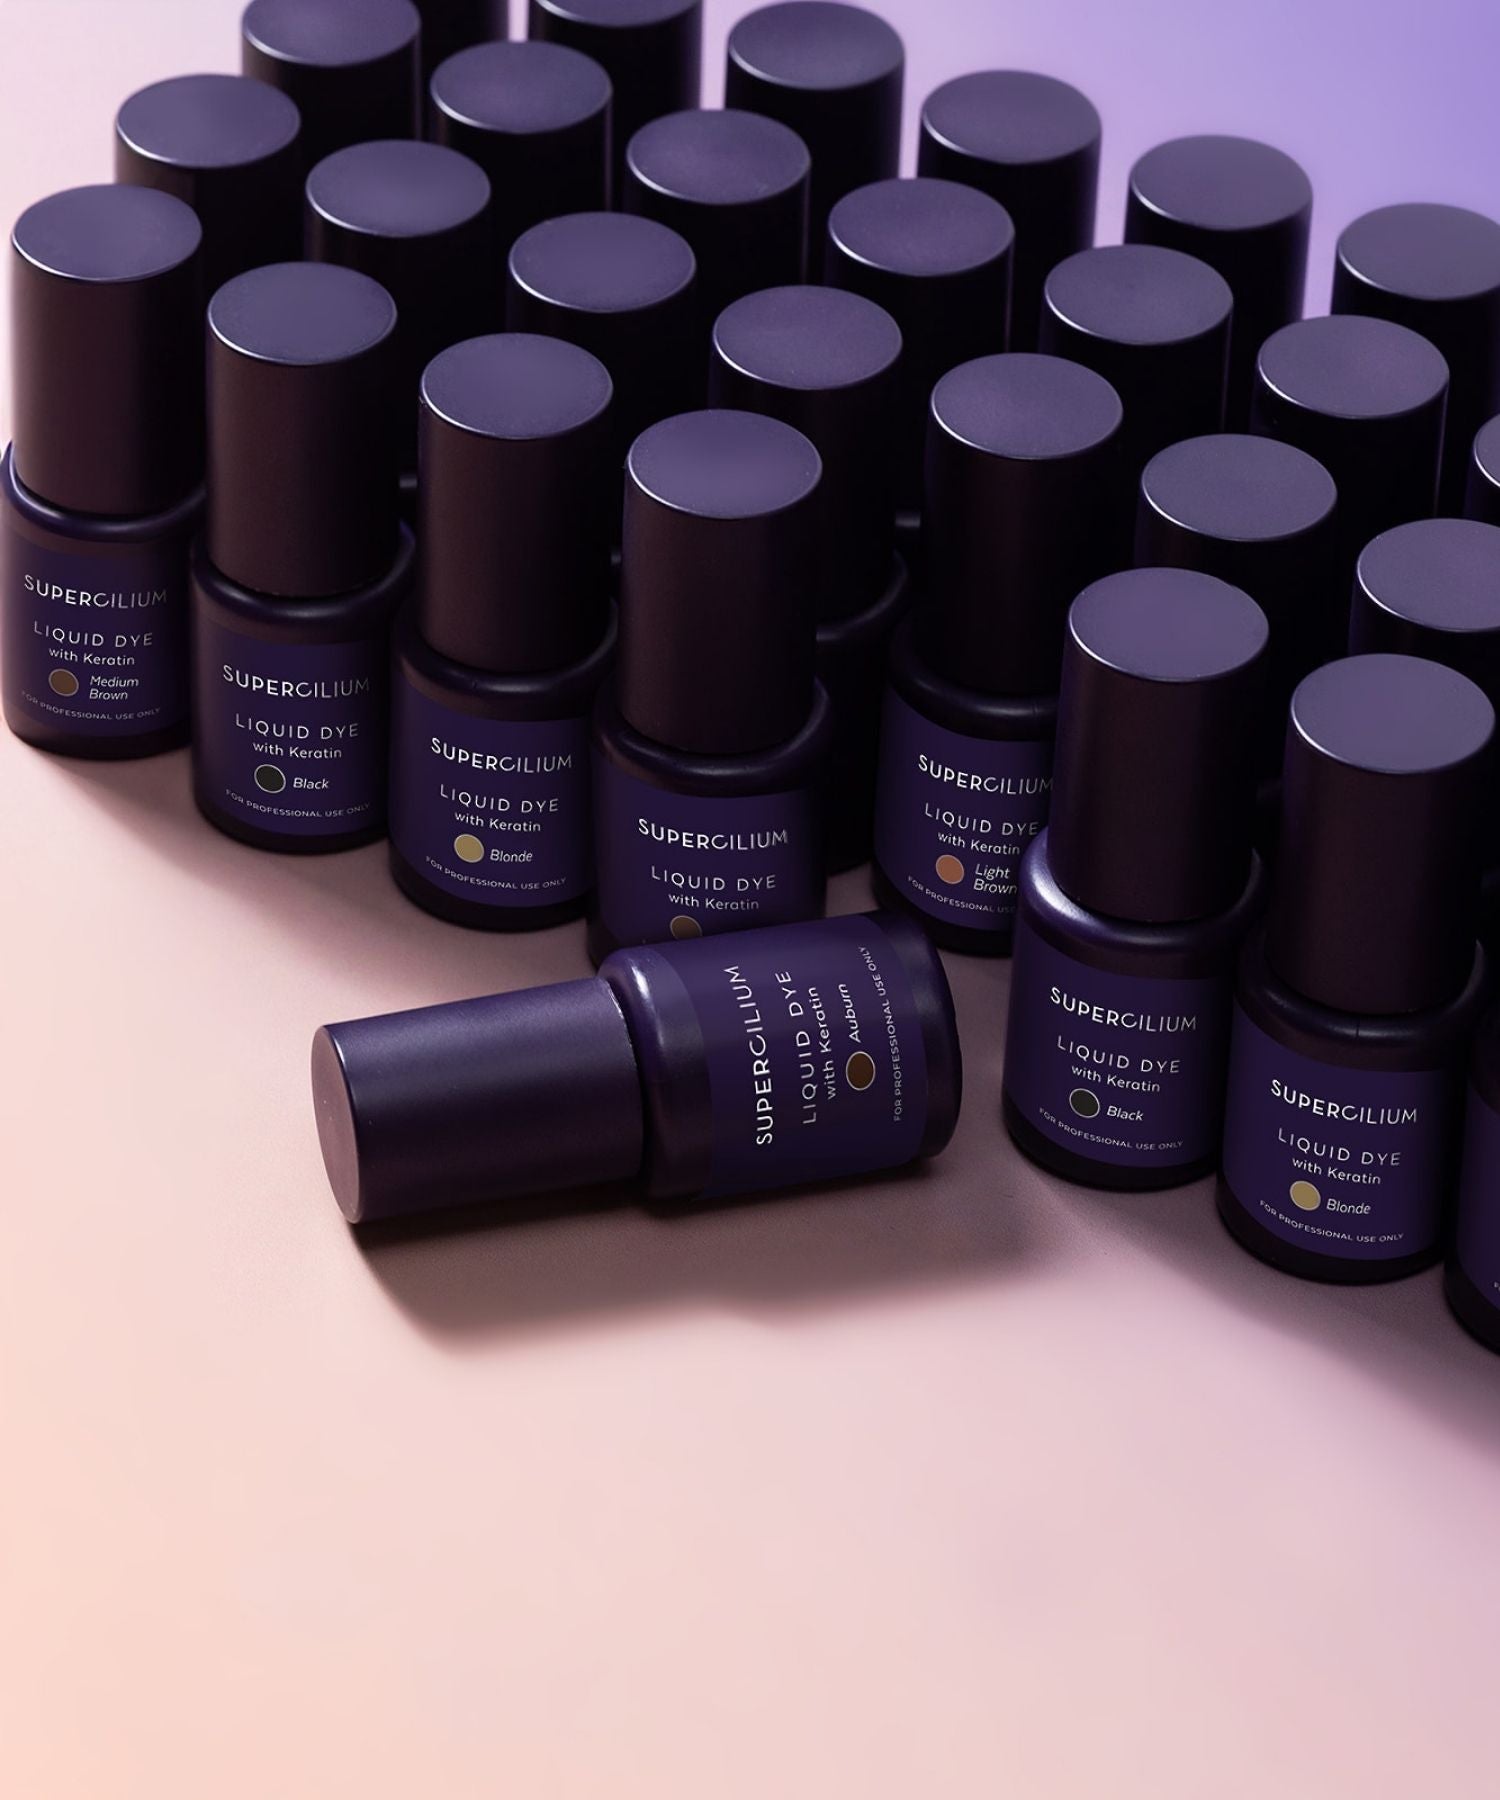
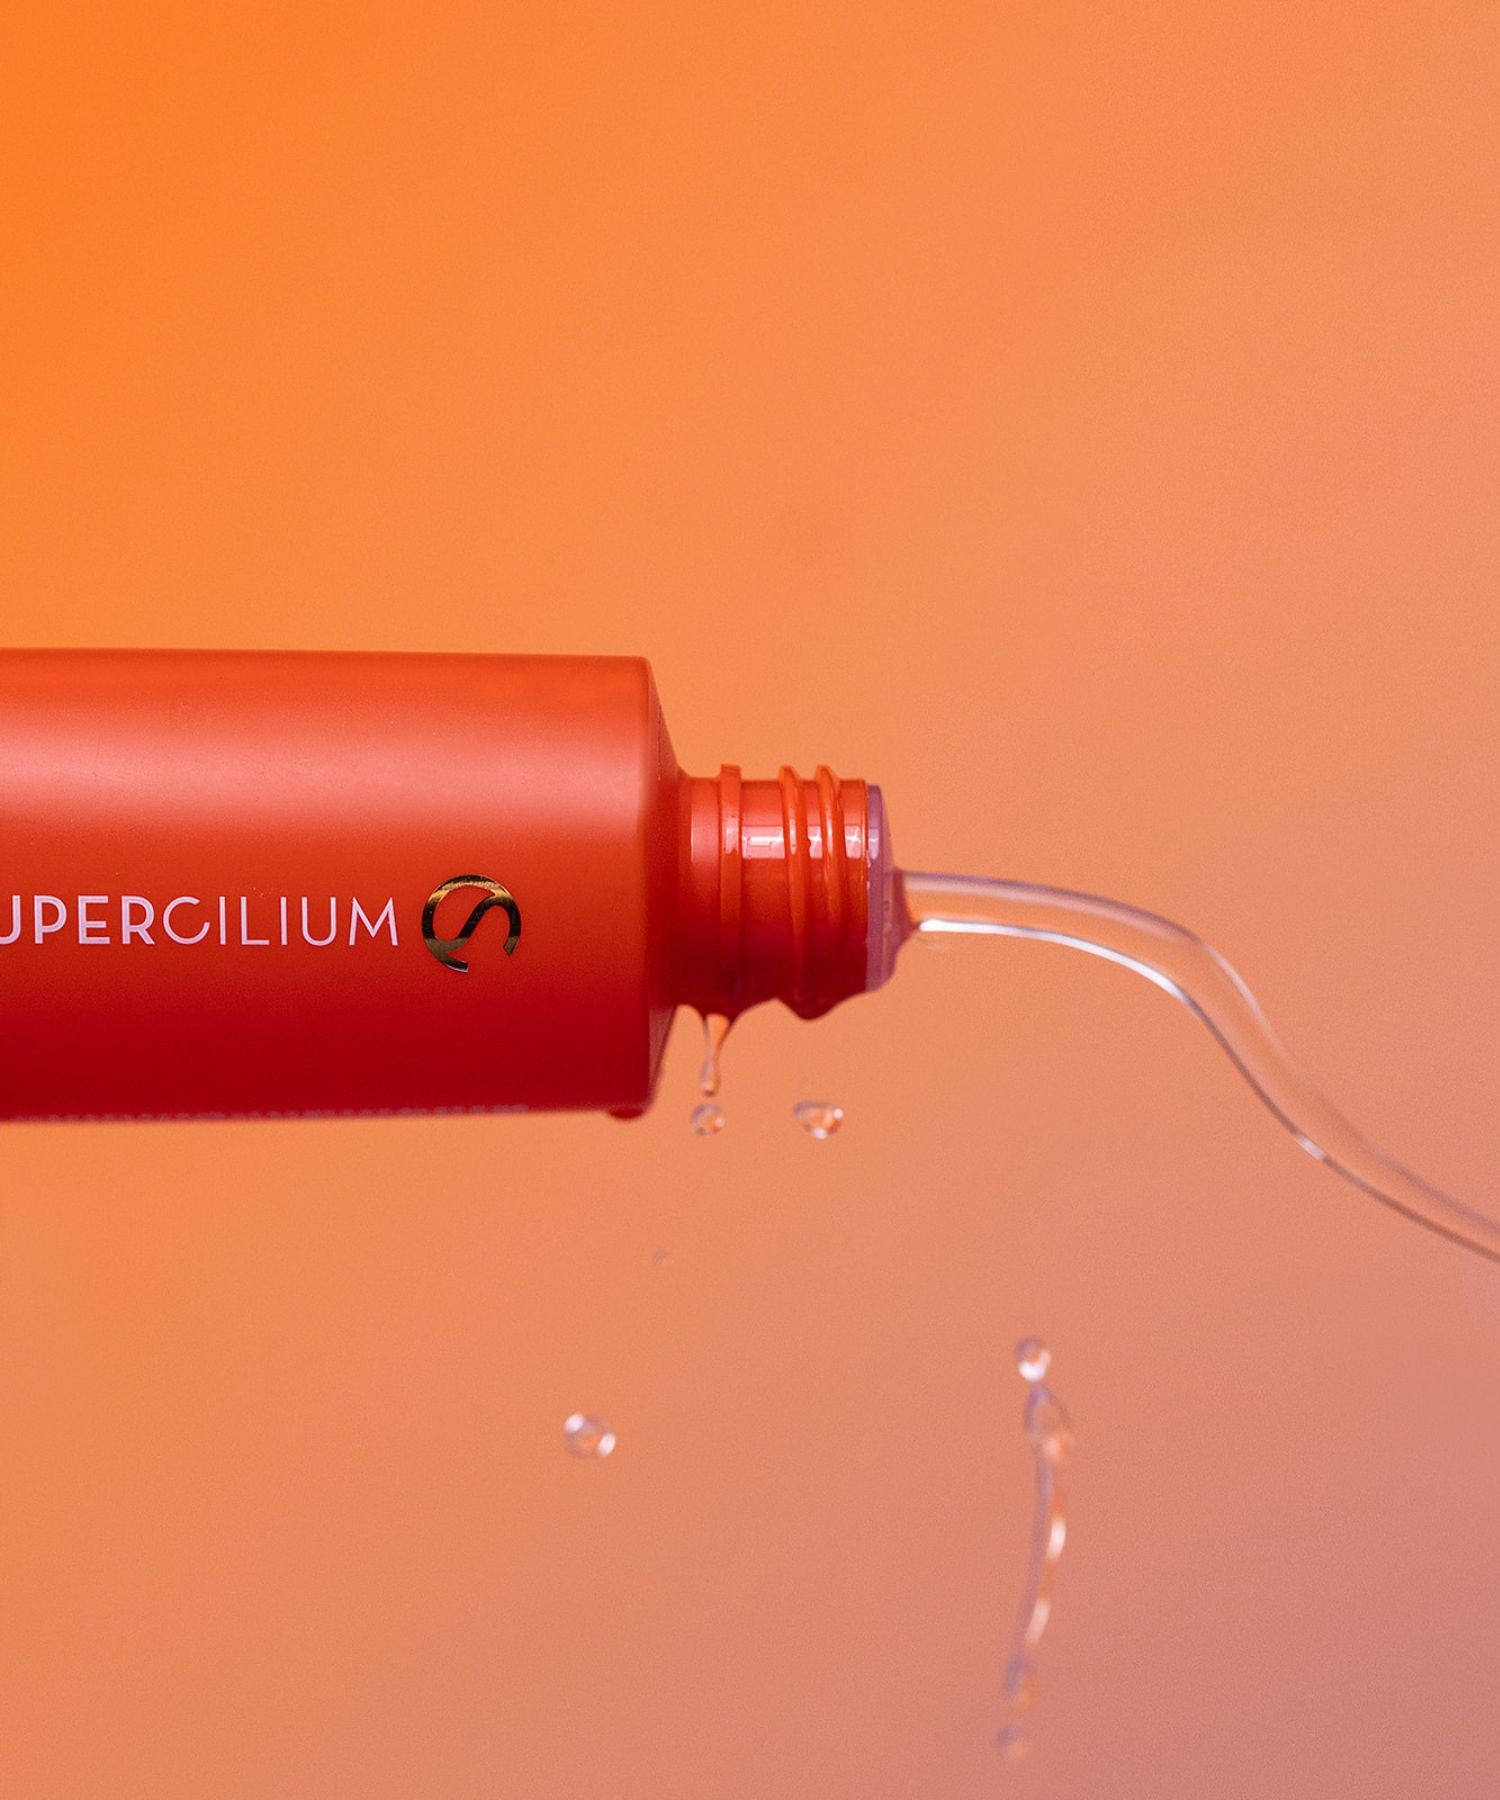
That’s why many Brow Artists prefer working with Liquid Dye after lamination. It gives controlled, natural-looking results and is gentle on the hair - especially important for fine brows.
Why Liquid Dye ↗ works so well with Brow Lamination:
- Contains Keratin to help support and strengthen the brow hairs
- Develops quickly, so you can easily adjust intensity
- Long-lasting, flawless brow result
If you want to learn more about combining brow lamination with Liquid Dye, we’ve written a full guide explaining how to safely layer the two treatments for the best results: How to Combine Brow Lamination and Liquid Dye ↗.

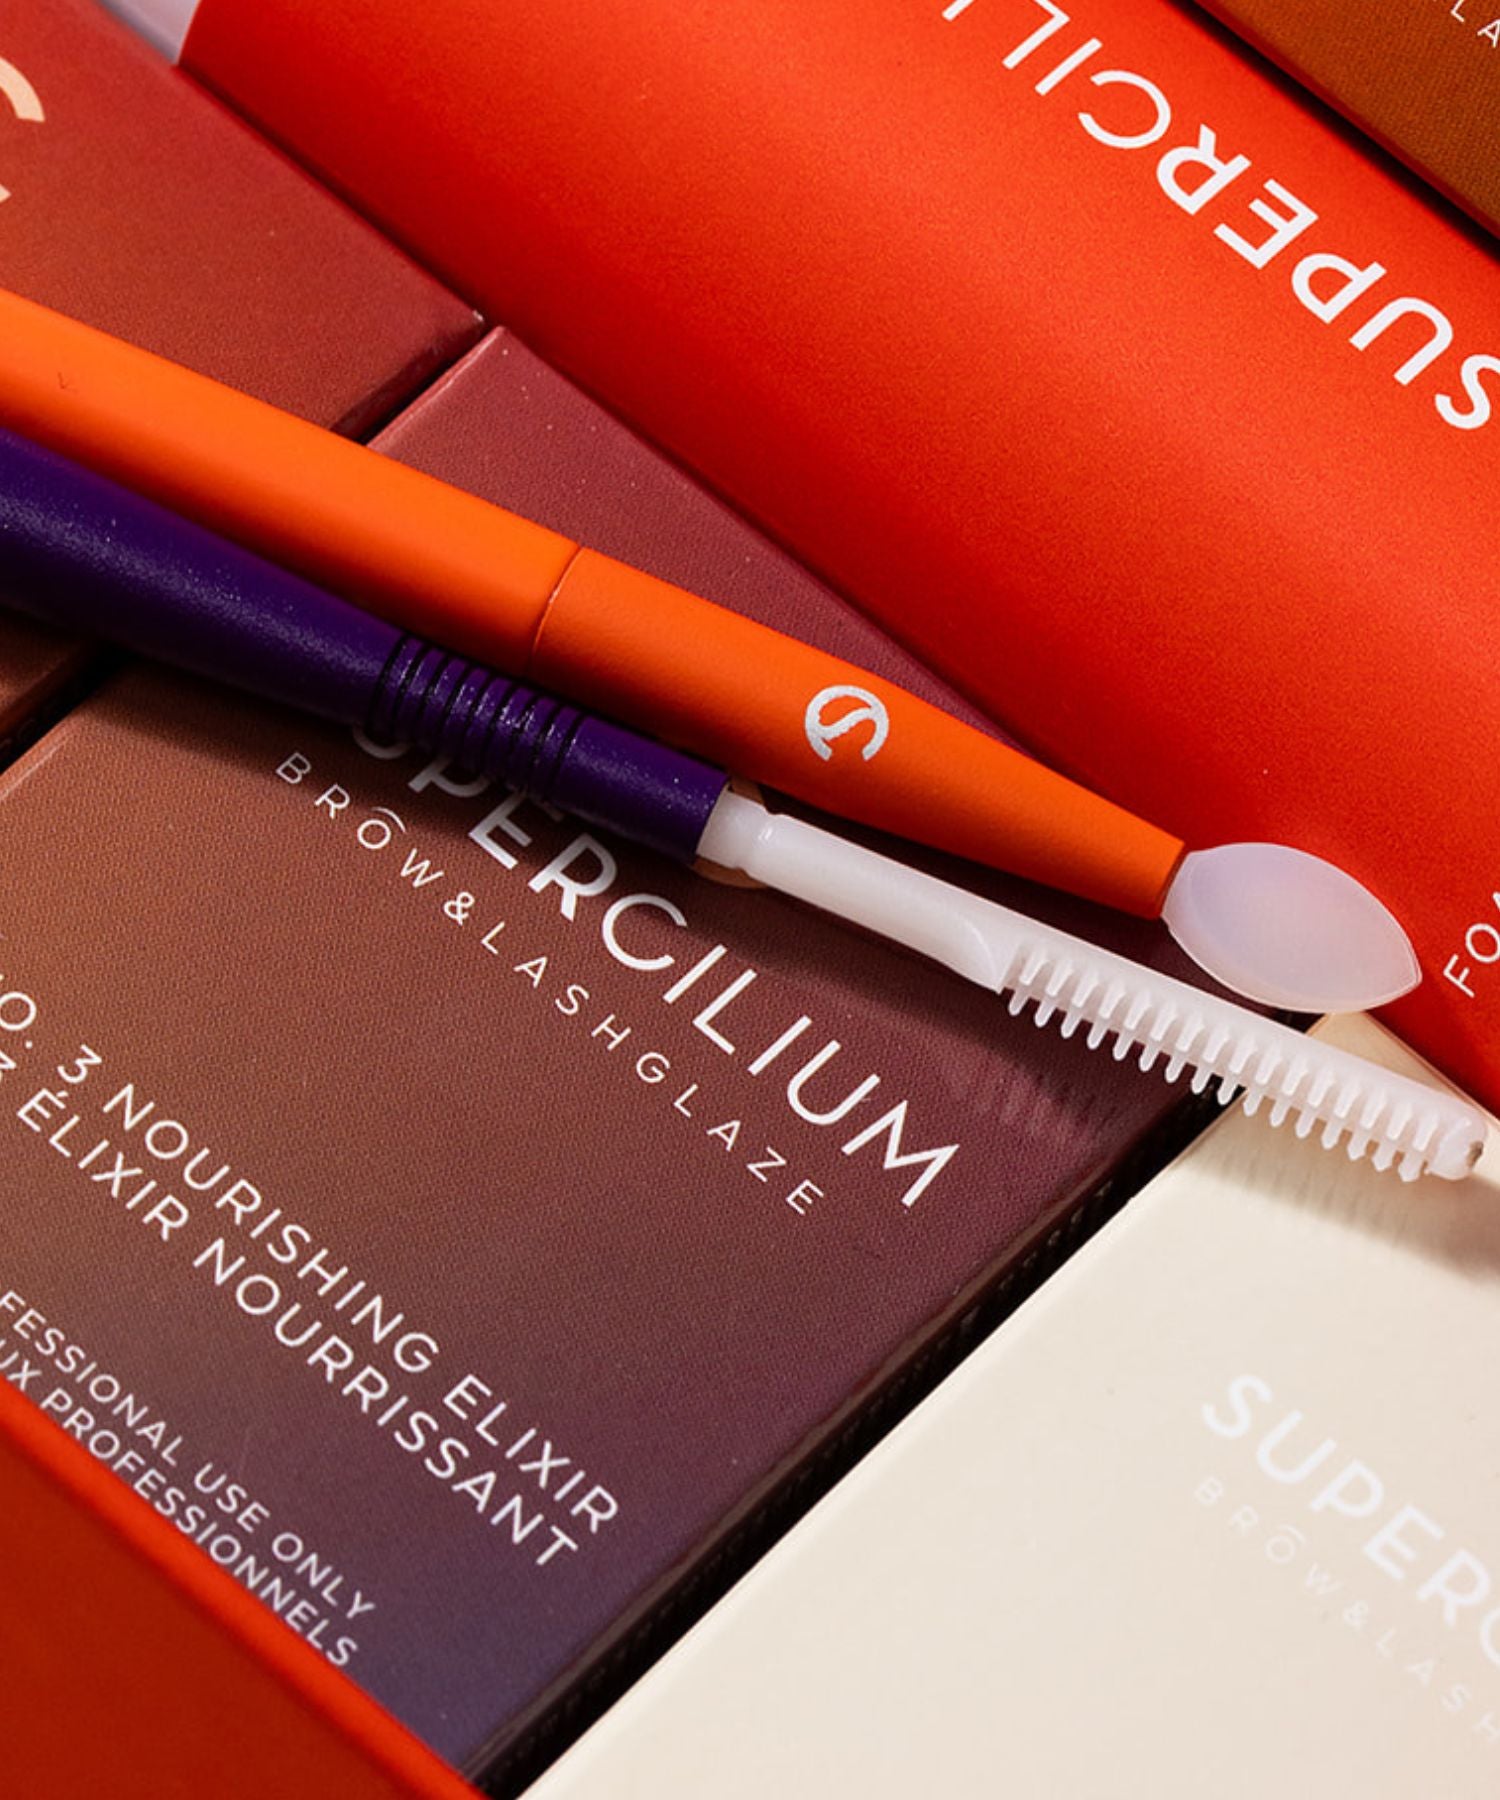
Tip 6: Don’t skip No.3 Nourishing Elixir
After brow lamination, thin brows love a little extra TLC. The treatment changes the hair structure, and fine hairs can feel dry or delicate afterward if they’re not properly nourished!
"Ampoules, botox, keratin or nourishing serums are essential for thin brows. Proper aftercare protects the hair and visually improves its thickness." - Gabriela Chrobak
A great option for post-lamination care is Elixir No. 3 ↗, which nourishes the hairs and helps maintain that fresh, glossy finish. It is the third step of our Brow Lamination Kit.
Friendly tip: Consider giving Elixir No. 3 as a small freebie or adding it to an aftercare kit. Clients appreciate it, and it really helps them take better care of their brows at home - which means nicer results for you too!
Tip 7: Educate your client
Thin brows won’t suddenly become very full or bold, and that’s completely okay. Take a moment to explain what Brow Lamination can (and can’t) do for their brow type, how the results will look, and why aftercare is so important. Setting realistic expectations builds trust and helps clients truly appreciate their results.
"Explain that results on thin brows will be soft and natural. Setting realistic expectations leads to happy clients" - Gabriela Chrobak

Beautiful Brow Lamination by @gabrielachrobak.pmu
More Brow Business Tips
Want to grow not just your skills, but your brow business too?
In our Business Blog ↗, we share practical tips on pricing, client communication, upselling aftercare, and building a sustainable brow business - all based on real insights from Brow Artists worldwide.
Explore our Business Blog ↗ for more brow professional tips and inspiration.