


Top 5 Brow Lamination fails and how to avoid them
written byNicole Domingues
In This Article
1. The Frizz Factor: Over-Processing the Brow Hairs
This is easily the most common lamination fail in the beauty industry. It happens when the lifting solution (Step 1)↗ is left on the brow hairs for too long, or when it is applied to fragile hairs that are already too weak or compromised to handle a chemical service. The result? Eyebrows that look curled, singed, or completely frizzy at the tips, resembling a bad perm from the 1980s. And you don’t want that.
Why it happens:
Brow lamination lotions contain active reducing agents that break down the internal disulfide bonds inside the hair shaft. This process allows you to change the hair's natural direction and re-shape it. However, if the solution is left on past the sweet spot, it strips the hair matrix of all its natural moisture, essential lipids, and structural integrity, essentially "burning" the outer cuticle layer. Once the cuticle is blown wide open and fried, the hair loses its elasticity and collapses into a frizzy mess.
How to avoid it:
Never use a one-size-fits-all timing rule based strictly on what is written on the back of a box. You must carefully adapt your processing time to each individual client's hair texture, density, and history. Fine, thin, or light-colored blonde hairs might only need 4 to 5 minutes to fully process, while coarse, stubborn, or thick Mediterranean-type hairs might require 8 to 10 minutes.
To prevent over-processing, you should constantly check the hair's flexibility throughout the treatment. Every 2 minutes, use a small wooden stick or an angled tool to move a few brow hairs gently in the opposite direction. If the hair bends completely and stays in place easily without springing back, the bonds are sufficiently broken. Remove the solution immediately with a dry cotton bud!

2. The Plastered Effect: Over-Sticking Hairs with Glue
We’ve all seen the unfortunate look on social media: brows that look entirely flat, geometric, and completely glued down to the client's skin like a permanent tattoo. While clients want a beautifully lifted, full effect, they rarely want their brows to look like they were applied with a heavy-duty school glue stick.
Why it happens:
This technical fail comes down to using far too much adhesive during the initial setting step, or pulling the hairs too tightly against the epidermis. When you apply a thick, heavy layer of glue, it creates an impenetrable barrier over the hair shaft. This barrier stops the Step 1↗ lifting and Step 2↗ neutralizing lotions from evenly penetrating the hair. As a result, the stylist often leaves the solutions on longer to break through the glue, leading to uneven processing where some parts are over-processed and others are flat.
How to avoid it:
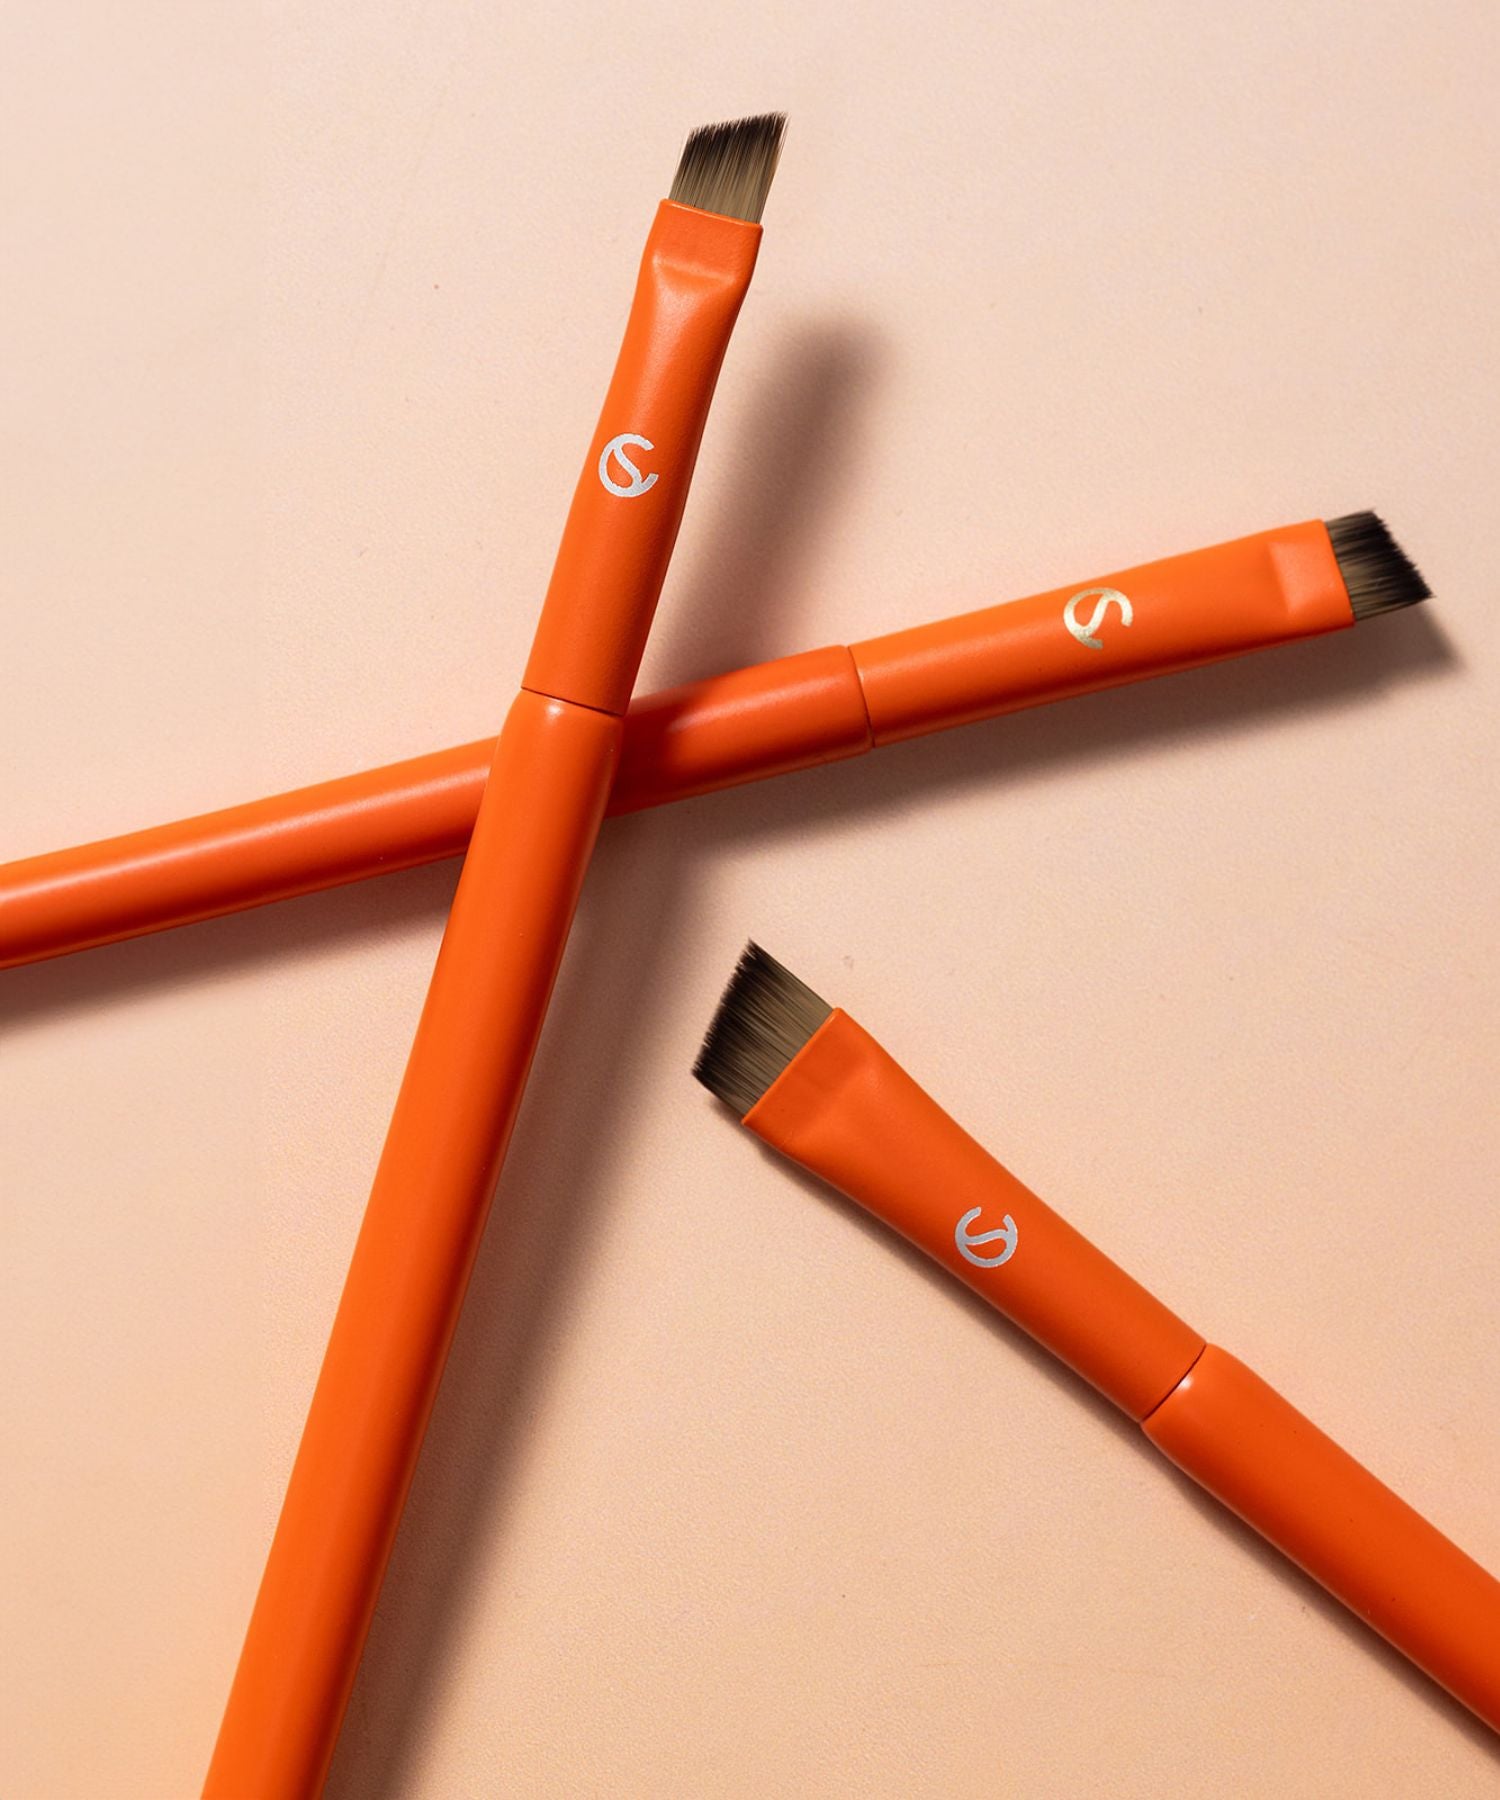
The key is to use a very minimal amount of water-soluble lamination adhesive. Work in small, deliberate sections rather than coating the whole brow at once. Lift the hairs into their new direction with a gentle hand using a spoolie, a Y-comb, or a dedicated lifting tool. The goal is to align the hairs smoothly into place, not flatten them hard against the skin. If you notice you've used too much glue, use a damp microbrush to gently remove the excess before applying your lifting lotions.
3. The "Caterpillar" Look: Poor Directional Mapping
A truly great lamination should mimic the natural, airy growth pattern of real eyebrow hair. A major aesthetic fail occurs when a stylist brushes all the brow hairs straight up at a harsh, 90-degree vertical angle from the root all the way from the head to the tail of the brow.
Why it happens:
Brushing hairs strictly straight up across the entire brow length creates a blocky, unnatural, and aggressively spiked look, often referred to as the "caterpillar" or "spiky look", that rarely flatters anyone's natural bone structure. It looks overly aggressive on soft facial features and makes the brow look completely unnatural when viewed from the side profile.
How to avoid it:
Master the art of progressive mapping and directional styling. When combing the hairs into place during Step 1 and Step 2, follow a natural gradient:
-
The Head (Inner Corner): Brush the hairs upward at a soft 75-to-90-degree angle to create an open, airy appearance.
-
The Body and Arch (Middle Section): Gently transition your combing angle to a 45-degree diagonal slope, directing the hairs outward toward the temples.
-
The Tail (Outer Corner): Brush the hairs completely downward and outward at a sleek, flat 15-to-30-degree angle to maintain a clean, sophisticated, and flattering point that lifts the eye area visually.
4. Chemical Disasters: Combining Henna and Lamination Wrong
Clients love bold contrast, so it's completely natural for them to want their brows both heavily lifted and deeply stained on the skin. However, combining traditional Brow Henna↗ and a chemical Brow Lamination during the exact same salon appointment is a major beauty hazard that every professional must avoid.
Why it happens:
Both brow henna and brow lamination↗ are deeply penetrative chemical treatments, but they work on completely opposite ends of the pH spectrum. Henna requires a specific environment to coat the hair shaft and demands a certain level of moisture, while lamination opens up the hair cuticles significantly using strong alkaline reducing agents. Combining them back-to-back during the same visit can cause a severe chemical reaction. This results in the client’s brow hairs snapping off completely at the root, or triggering intense skin irritation, chemical burns, and severe redness.
How to avoid it:
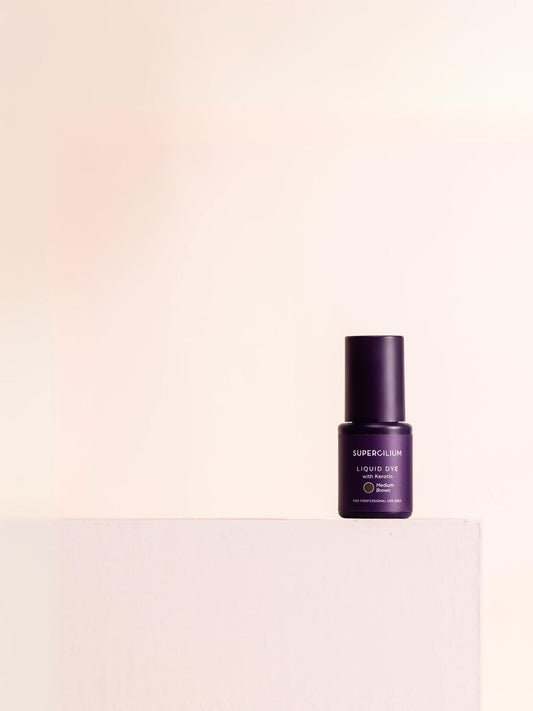
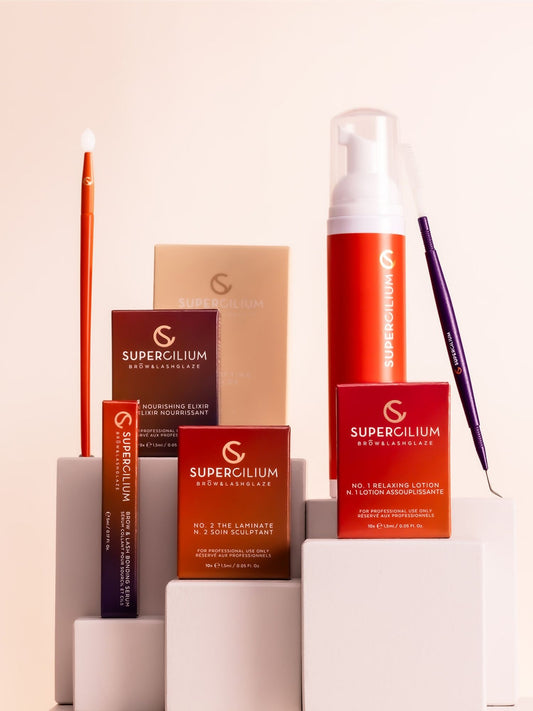
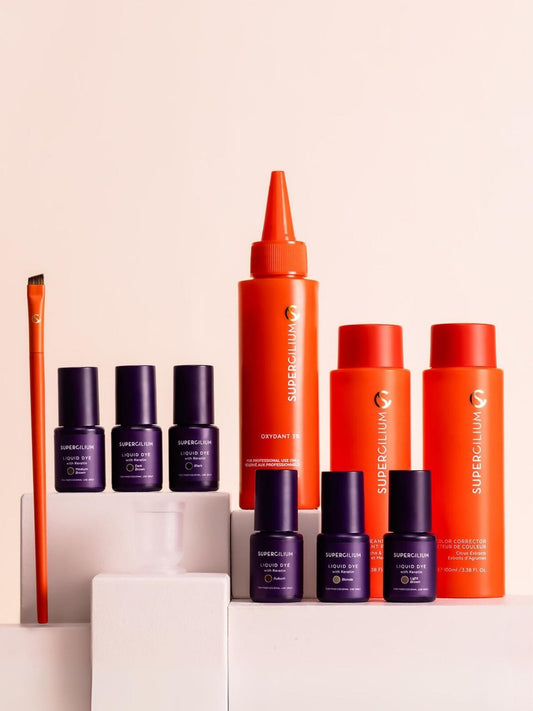
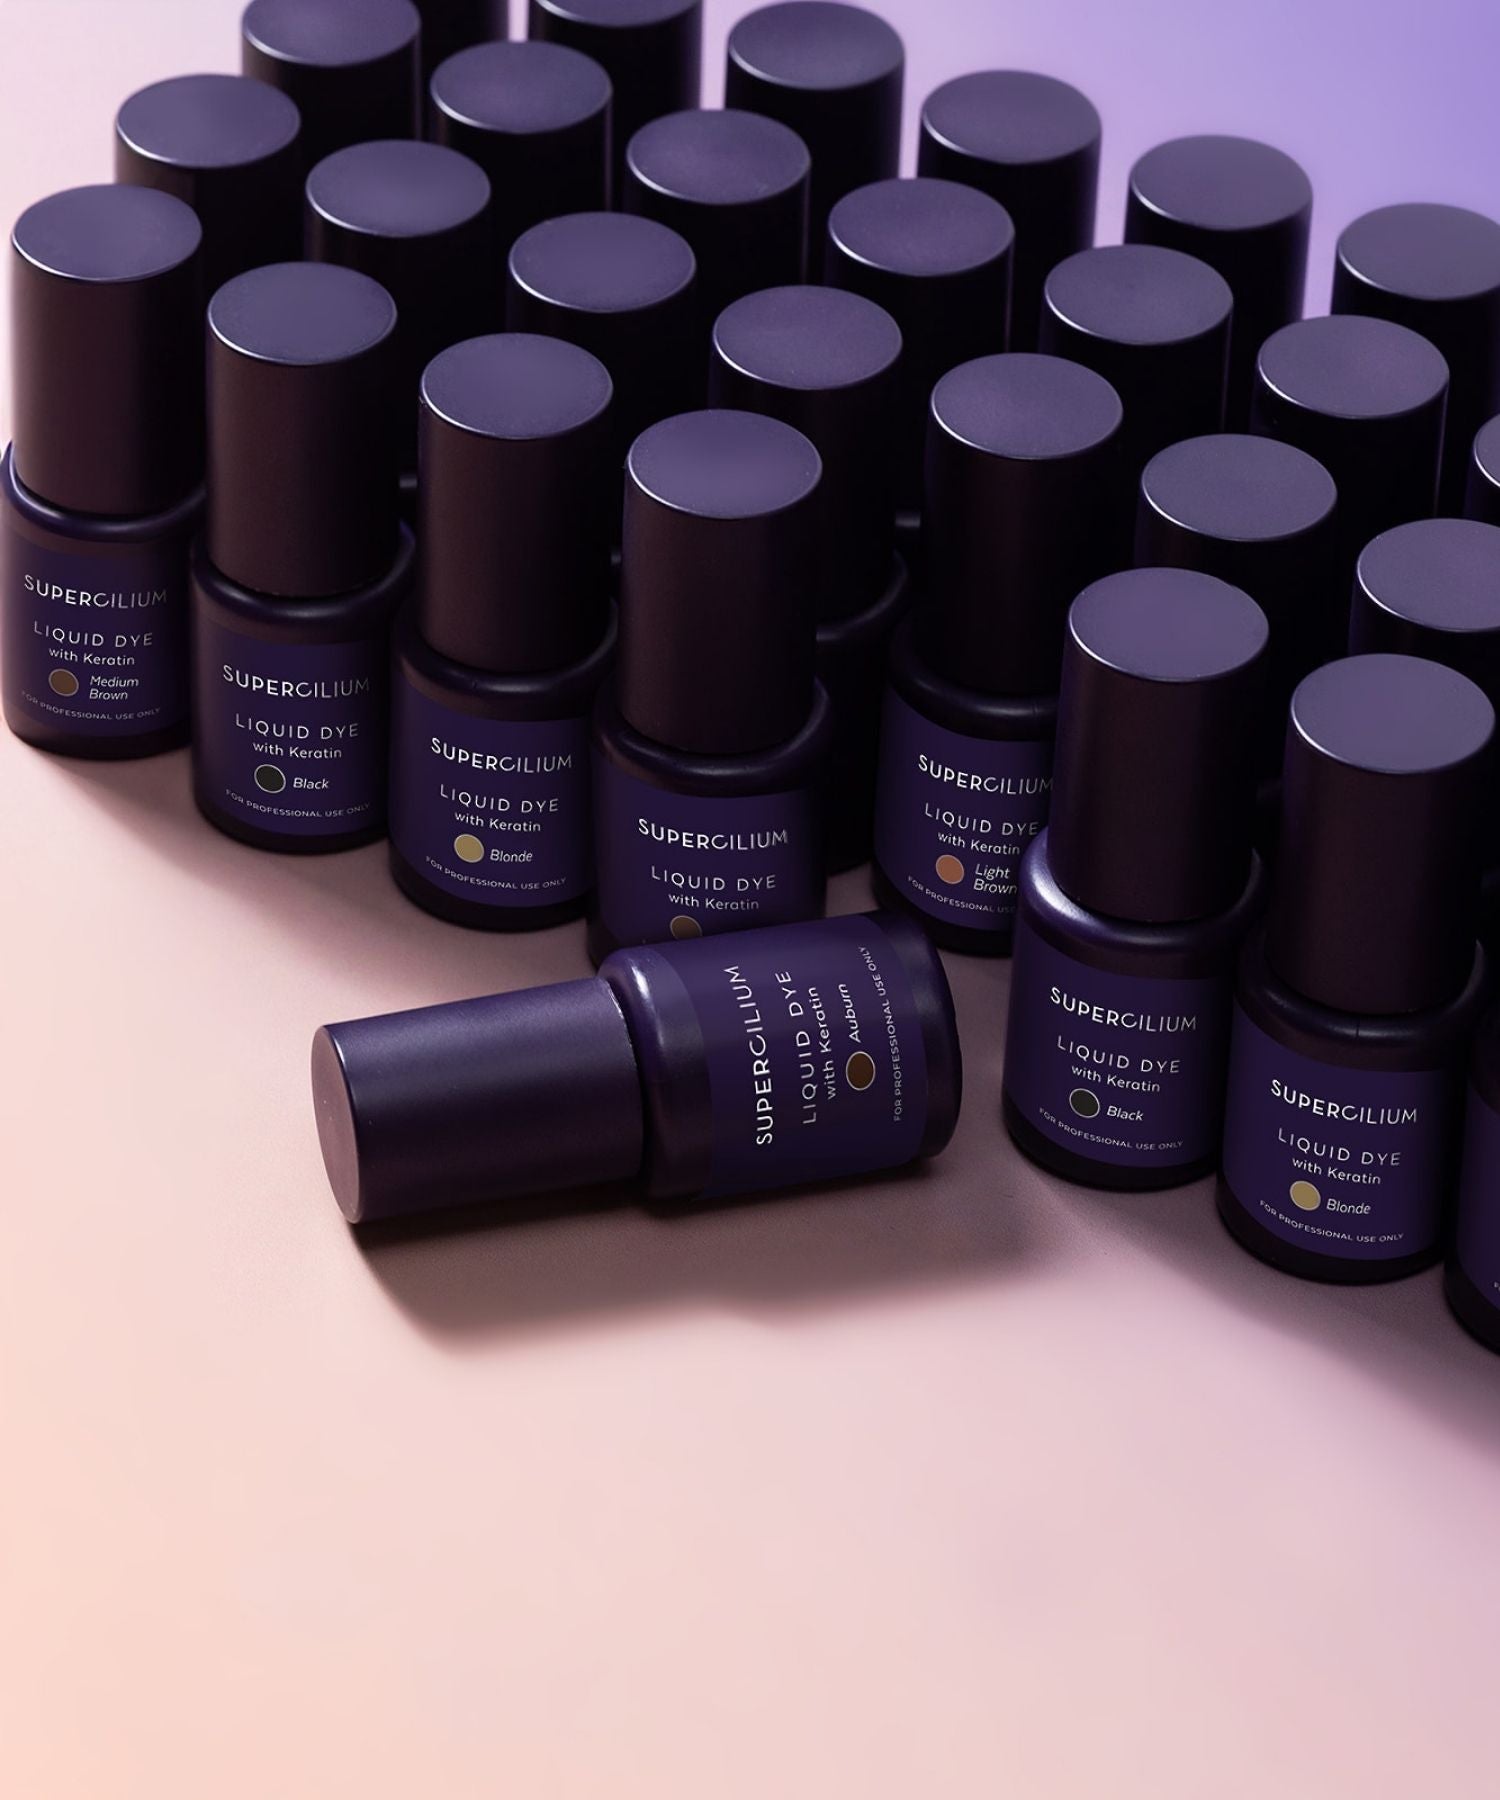
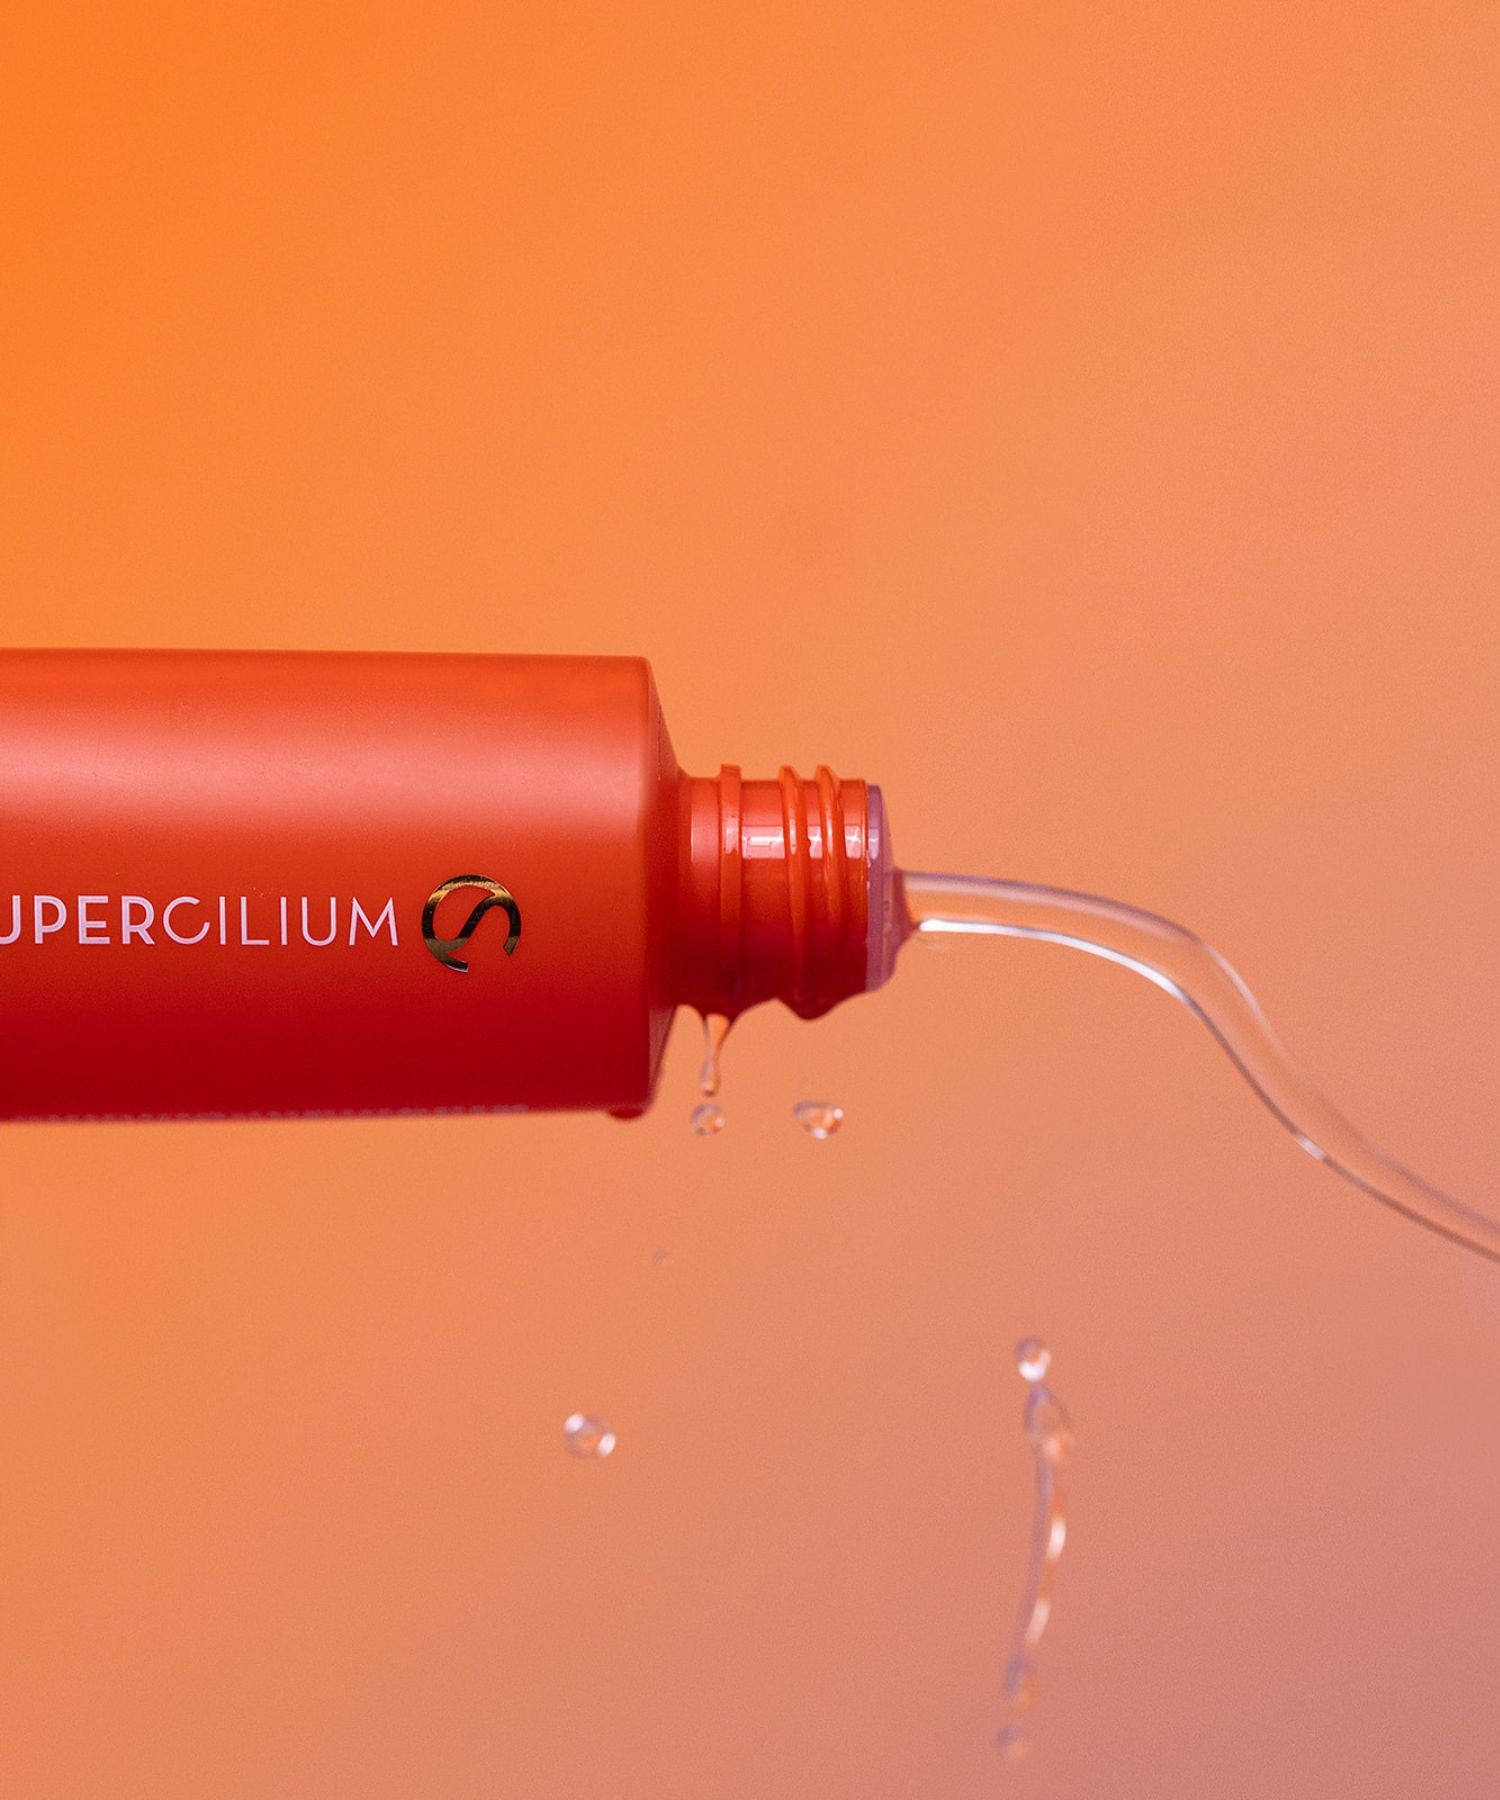
Never mix traditional henna with lamination. If your client wants both a fluffy lift and a deep color payoff during the same visit, you must swap out your henna for a gentle, liquid-based tint. Our professional Supercilium Liquid Dye Collection↗ is perfectly formulated with a safe pH balance to tint both the skin and the hairs directly after a lamination treatment without causing any damage, giving you that rich, dark look safely.

5. The Patchy Fade: Skipping Proper Pre-Cleansing
Sometimes, the lamination looks gorgeous right after the client leaves your chair, but within two to three days, the lift completely drops out or looks wildly uneven and messy across the brow arch.
Why it happens:
If the brow area isn't properly cleared of everyday oils, heavy makeup foundations, stubborn waterproof brow gels, or dead skin cells, the lamination solutions cannot coat the hair surface evenly. The microscopic residue acts as a physical shield, leaving parts of the brow perfectly processed while other sections remain completely untouched by the lotions.
How to avoid it:
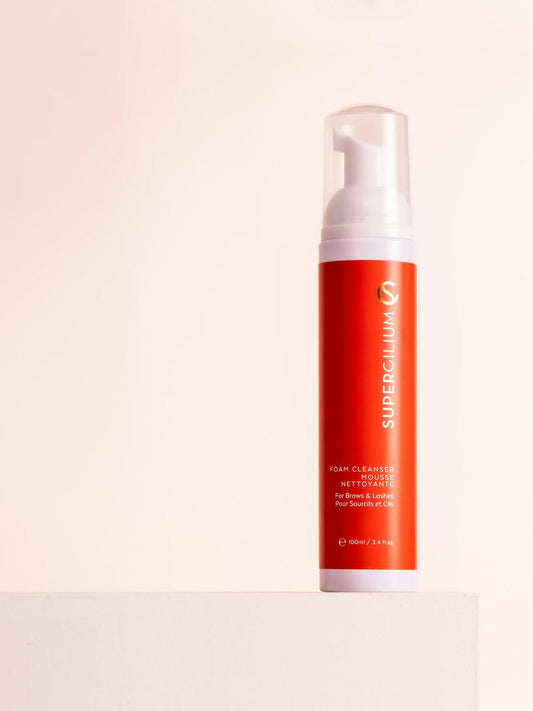
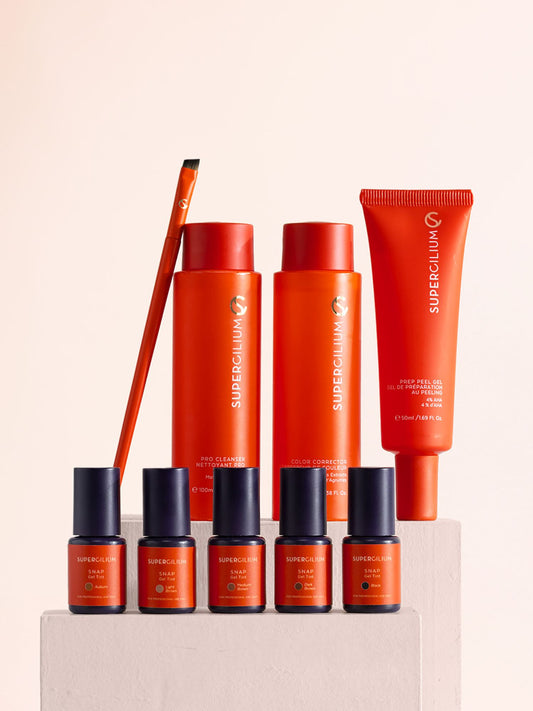
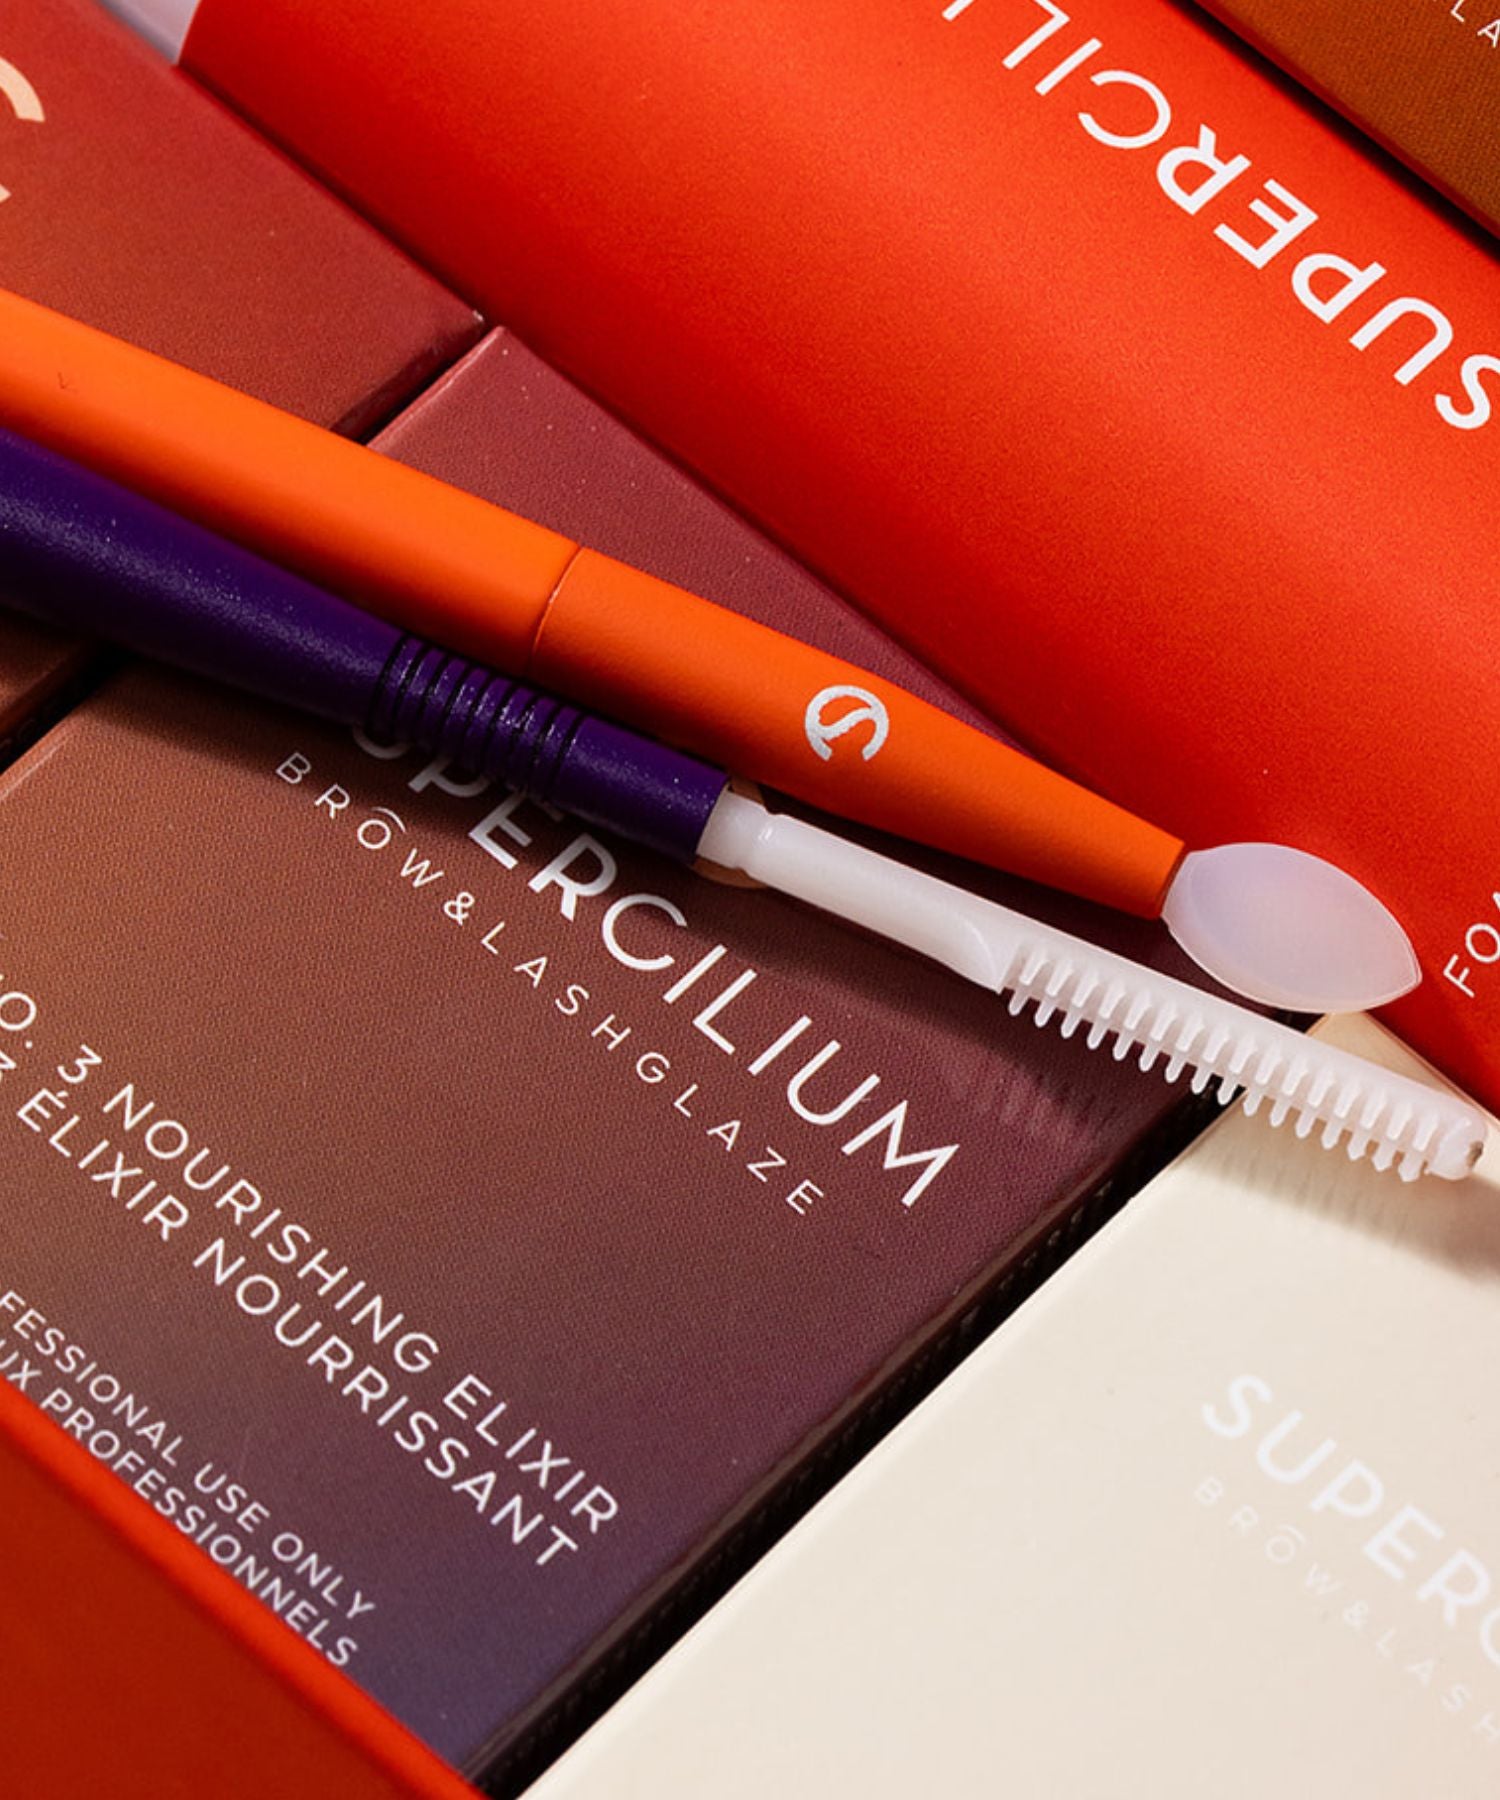
Your preparation steps are just as important as your actual processing times. Always start every single service by thoroughly cleansing the brows with a professional, oil-free cleanser like the Supercilium Pro Cleanser↗. For clients with dense hairs, oily t-zones, or dry flaky skin, massage a tiny amount of Supercilium Prep Peel Gel↗ into the brows beforehand. This gently clears out dead skin flakes and opens up the hair surface so your lotions can absorb deeply and evenly from root to tip.
The Golden Rules of Lamination Aftercare
Even a technically perfect brow lamination can turn into a fail if the client does not follow the correct post-treatment instructions at home. Because the hair bonds are still normalizing over the first 24 hours, you must educate every client on these essential rules:
-
Keep Them Dry: Absolutely no water, steam, sweat, or heavy face mists for the first 24 hours to let the neutralizing step fully lock into place.
-
Brush Daily: Remind them that laminated brows are not permanently glued into a fluffy position; they are simply flexible. They must brush them into place each morning with a clean spoolie.
-
Hydrate Daily: Lamination can leave hair slightly dry. After the first 24 hours, clients should apply a drop of a rich formula moisturizer every night to keep the hairs glossy, flexible, and fully conditioned.