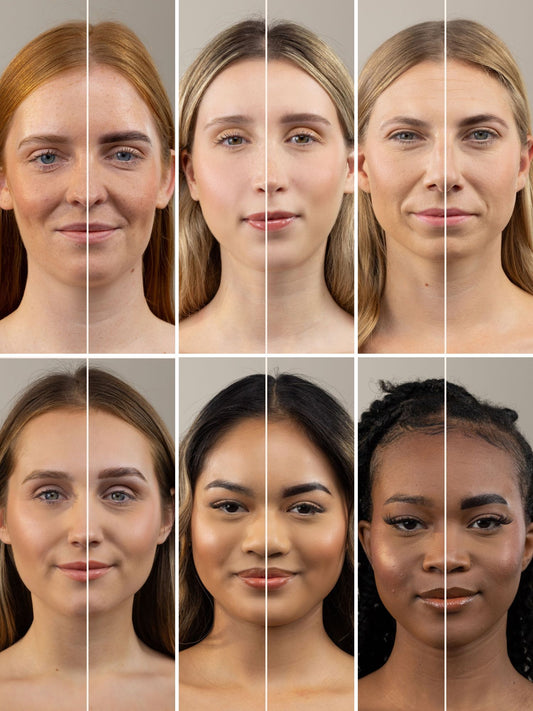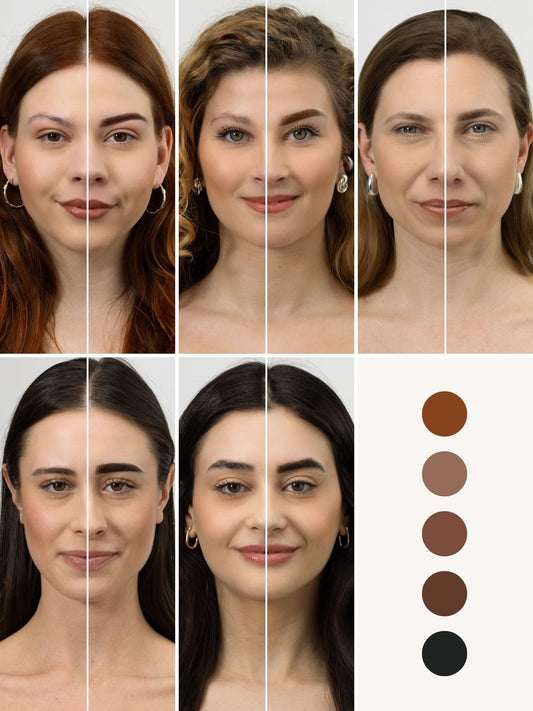


Brow Lamination for different Hair Types: Fine, Coarse, and Curly
written byNicole Domingues
In This Article
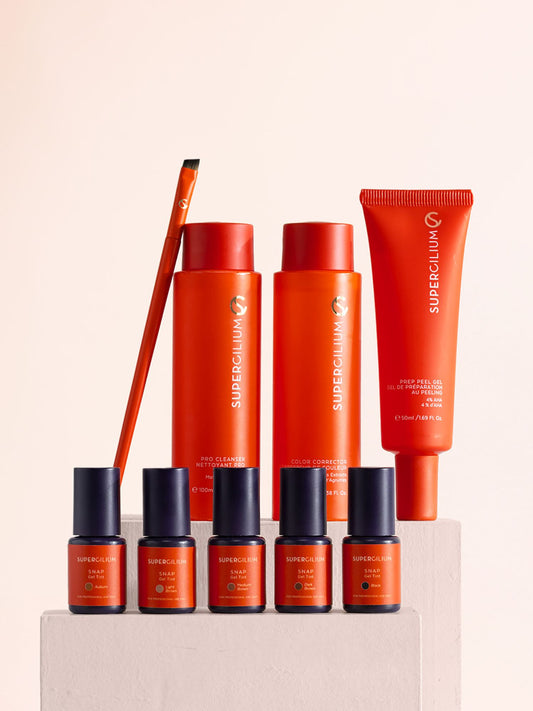
Featured products


You should understand hair structure first
As a professional Brow Artist, you are dealing with hair chemistry, not just hair styling. The internal structure of an eyebrow hair, specifically the cortex and the protective outer cuticle dictates exactly how fast lifting solutions will absorb and break down the hair's shape-giving disulfide bonds.
Applying the exact same formula, timing, or brush pressure to a fine, delicate hair as you would to a thick, wire-coarse hair is a shortcut to an overprocessing disaster or a lift that completely drops out in two days. Truly mastering your craft means treating every single set of brows as a custom scientific formulation, allowing you to deliver striking results while strictly preserving hair health.

1. Fine and Thin Brow Hairs
Fine brow hairs are an absolute dream to work with because they take shape so quickly. However, they are also the most fragile. If you aren't careful, fine hairs can overprocess in the blink of an eye, leaving your client with frizzy, damaged brows.
The Challenge:
Fine hair cuticles are usually very thin. This means they absorb the lamination lotions↗ incredibly fast. If you leave your solutions on for the standard time, you risk chemical damage.
The Game Plan:
-
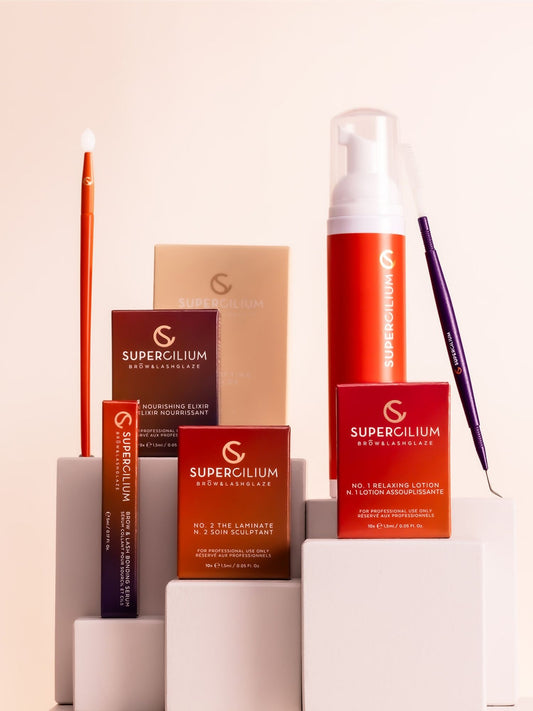
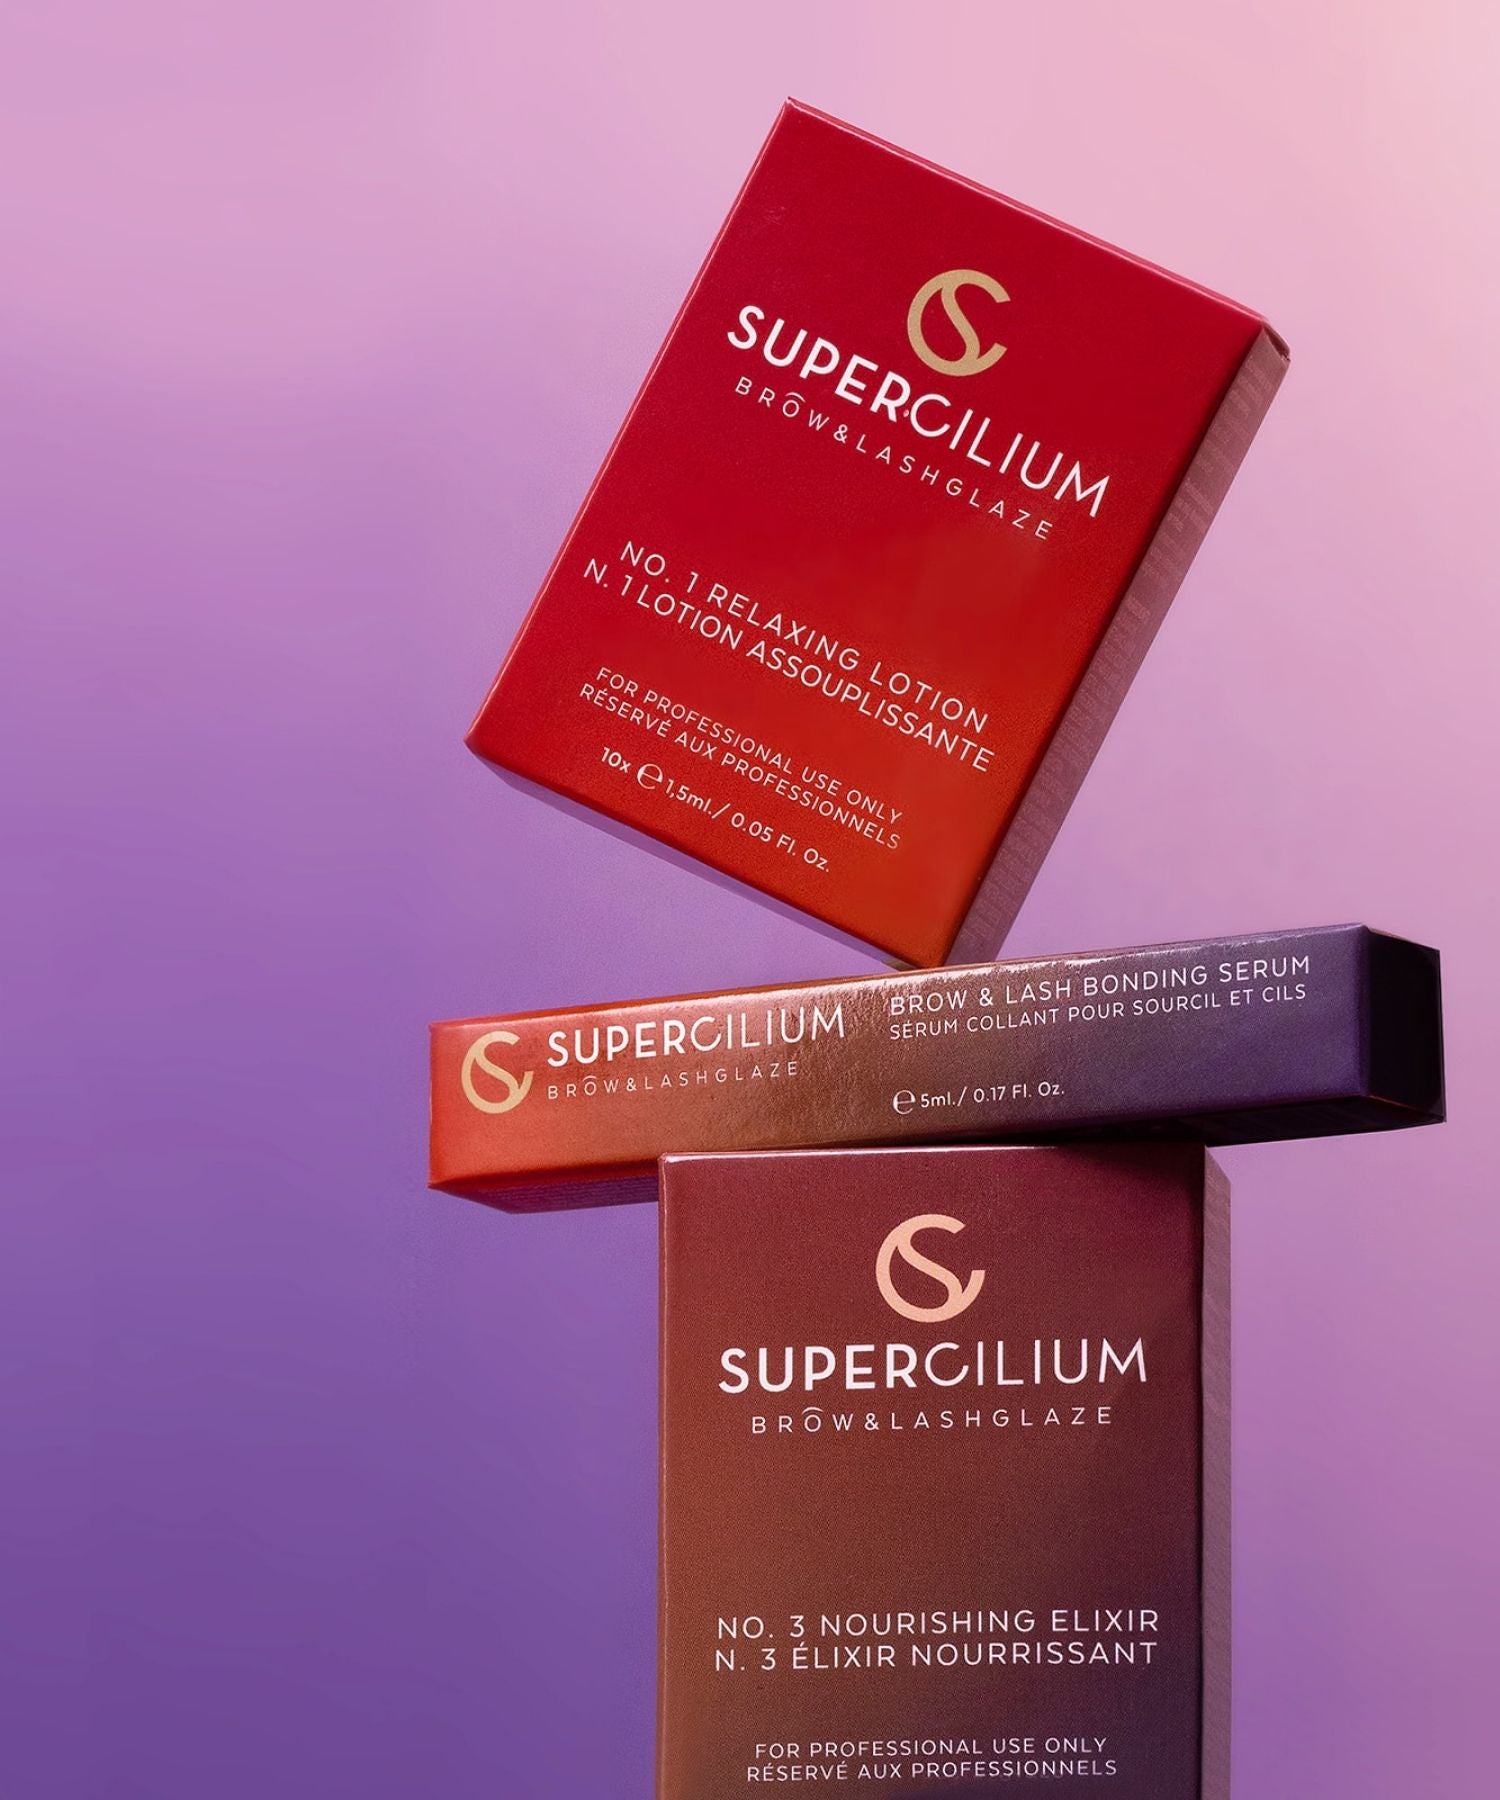
Shorten your timers: Keep a super close eye on the clock. For baby-fine brows, your processing time for No. 1 Relaxing Solution↗ should be kept to a strict minimum, usually between 3 to 5 minutes.
-
The "Flex" test: Every 60 to 90 seconds, gently brush a few hairs in the opposite direction with a microbrush. The second they lose their spring and lay down easily, the chemical process is done. Wipe the solution off immediately!
-
Lock it safely with Step 2: Once the bonds are broken, you must immediately apply No. 2 The Laminate↗ to rebuild and neutralize those bonds in their newly lifted position. Because fine hair is so delicate, let Step 2 process for an equal, abbreviated timeline matching your Step 1 duration to avoid stressing the hair matrix.
-
Protect: Never skip applying No. 3 Nourishing Elixir↗ before any tinting. Since fine hair becomes highly porous after lamination, this step prevents them from soaking up too much pigment and turning way too dark.
2. Coarse and Stubborn Brow Hairs
On the opposite end of the spectrum, we have coarse, thick, and stubborn brow hairs. These are the hairs that naturally want to grow straight down or lay completely flat, refusing to hold a shape no matter how much clear brow gel your client brushes on at home.
The Challenge:
Coarse hairs have highly compact, thick cuticle layers. They act like a shield, making it much harder for your lamination lotions to penetrate and relax the internal disulfide bonds. If your timers are too short, the brows simply won't lift.
The Game Plan:
-
Extend your timers: Coarse brows need more time to allow the formulas to work. You'll typically want to let the No. 1 Relaxing Solution process for 8 to 10 minutes, depending on the density.
-
Smart cling wrap placement: Using a small strip of plastic cling wrap over the brows while Step 1 processes can be a huge help here. The plastic trap wraps in the natural heat from the client's skin, which gently coaxes the stubborn cuticles to open up and accept the lotion.
-
Precision glue placement: Because these hairs are strong, they might try to spring back during styling. Use a tiny touch of our water-soluble lamination adhesive to secure the stubborn hairs in their new diagonal direction before applying your solutions.
-
Fix the brows with Step 2: Strong, resistant brow hairs need a highly stable neutralizer to guarantee the lift lasts for weeks. Apply a generous layer of No. 2 The Laminate↗ over the styled brows, allowing it to process for 8 to 10 minutes. This fully re-links the broken disulfide bonds, giving thick hairs the long-lasting, firm structure they need to stay fluffy.
3. Curly and Coily Brow Hairs
Curly eyebrows are incredibly unique and beautiful, but they can be a real puzzle for stylists. They often grow in completely different directions, overlap with one another, or curl tightly back toward the skin.
The Challenge:
Because curly hair naturally twists, the cuticle layers are unevenly distributed along the hair shaft. Some parts of the hair are naturally weaker, while other parts are highly resistant. Brushing curly hair straight up at a harsh 90-degree angle will make them look wild and messy.
The Game Plan:
-
The "Relax" approach: Your main goal with curly brows is to relax the curl pattern into a smooth, flowing wave, not to make them stand straight up. Use a progressive styling angle, brushing the hairs diagonally toward the temples rather than vertically.
-
Watch the ends: Curly brow tips are often much finer than the roots. When applying your No. 1 Relaxing Solution, focus the product on the roots and mid-shaft first. Only pull it through to the curly ends during the last 1 to 2 minutes of your timer to protect those delicate tips from frizzing.
-
Neutralize the shape with Step 2: After gently guiding the curly textures into a smooth gradient, lock that wave pattern down instantly. Smooth No. 2 The Laminate↗ over the brows for 6 to 8 minutes depending on the hair's overall thickness. This stops the chemical relaxation process right on time, preventing the curly ends from snapping back or over-stretching into a damaged crinkle.
-
Intense conditioning: Curly hair is naturally drier than straight hair. Make sure to finish the treatment by soaking the brows in Nourishing lotion↗ to restore deep hydration and keep those gorgeous, relaxed waves looking glossy and healthy.

Stylist quick-reference cheat sheet
Need a quick refresher while your client is in the chair? Keep this handy guide in mind:
|
Hair Type |
Primary Goal |
Step 1 Timing |
Step 2 Timing |
Pro Tip |
|
Fine / Thin |
Protect hair health |
3 to 5 mins |
Match Step 1 |
Perform the "flex" test every 60 seconds; never use cling wrap. |
|
Coarse / Thick |
Penetrate tough cuticle |
8 to 10 mins |
8 to 10 mins |
Use a touch of adhesive and optional cling wrap to trap skin warmth. |
|
Curly / Coily |
Smooth the curl pattern |
6 to 8 mins |
6 to 8 mins |
Style diagonally toward the temples; avoid brushing straight up. |
Level Up Your Lamination Skills
No matter what hair type walks through your salon door, having the right education and high-quality, gentle formulas gives you the power to handle any brow with total confidence.
Ready to become the ultimate Lamination expert? Hop over to the Supercilium Academy and get certified with our professional online Certified Brow & Lash Lamination Course↗. You'll learn the deep science of hair chemistry, advanced mapping, and troubleshooting secrets that will set your salon apart.
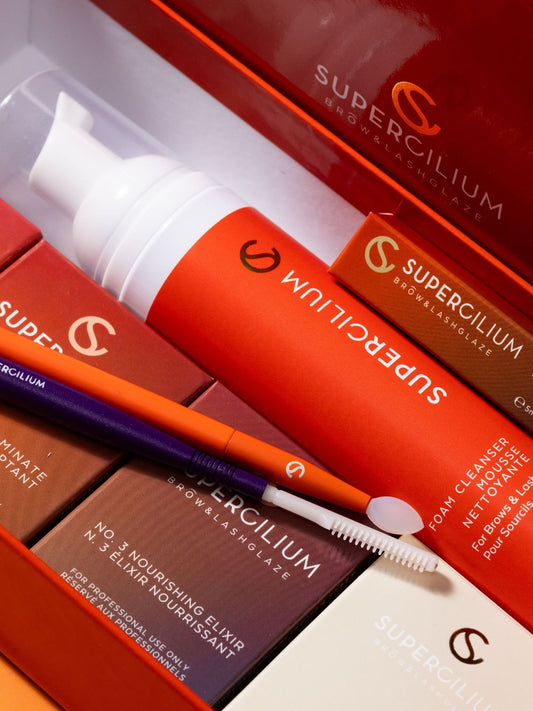
Don't forget to stock your station with the complete Supercilium Brow Lamination Collection↗ so you always have the perfect, nourishing formulas ready for fine, coarse, and curly brows alike!