How to combine Brow Lamination & Airbrush Brows?
written byLisa Sazonova
In This Article
What is the Airbrush Technique?
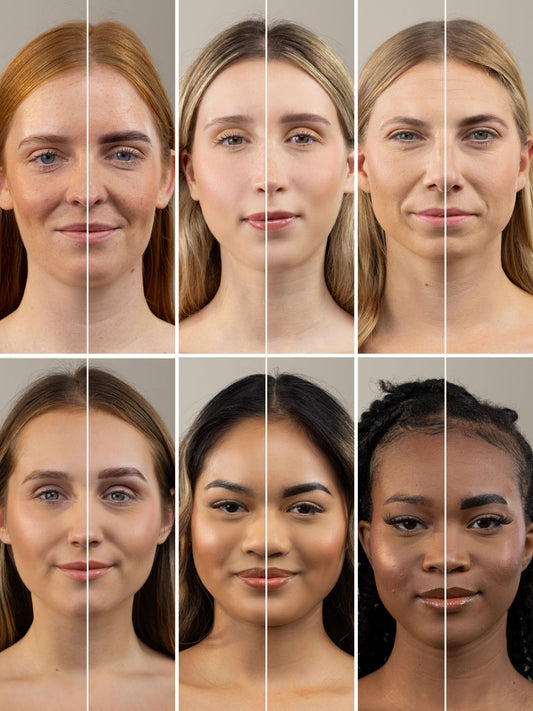
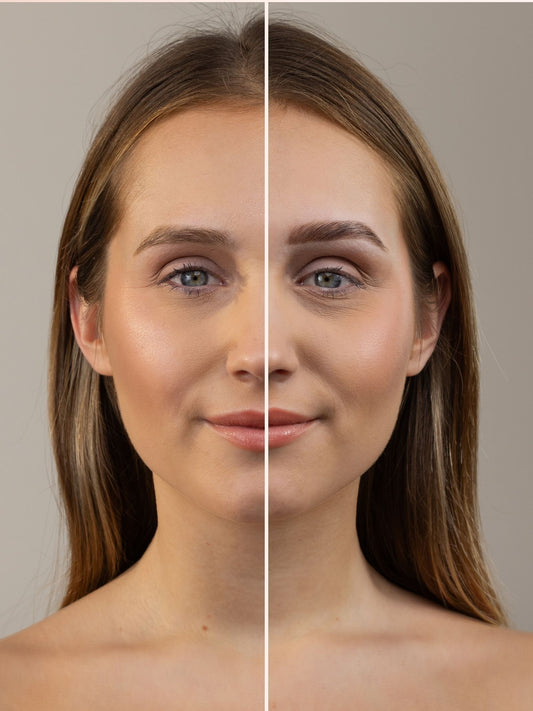
If you want to create crisp, defined brows, look no further than the Airbrush Brow technique! With the Airbrush Machine, achieving even and symmetrical brows becomes a breeze using stickers and layering techniques. Airbrush Brows are a favorite among brow professionals for their efficiency and cost-effectiveness. Once you've mastered the technique, you can save up to 10 minutes per treatment, allowing for more client appointments and increased revenue for your salon! Plus, when paired with our Liquid Dye with Keratin, you not only achieve stunning brows but also provide extra nourishment to the brow hairs.
But remember, mastering the Airbrush technique requires proper guidance. Without clear instructions, knowing how to use the machine can be challenging. That's why we offer our Airbrush Course, where you'll learn how to create crispy, defined brows, effectively clean the Airbrush to maintain its longevity and gain invaluable tips from brow pros.
About Brow Lamination
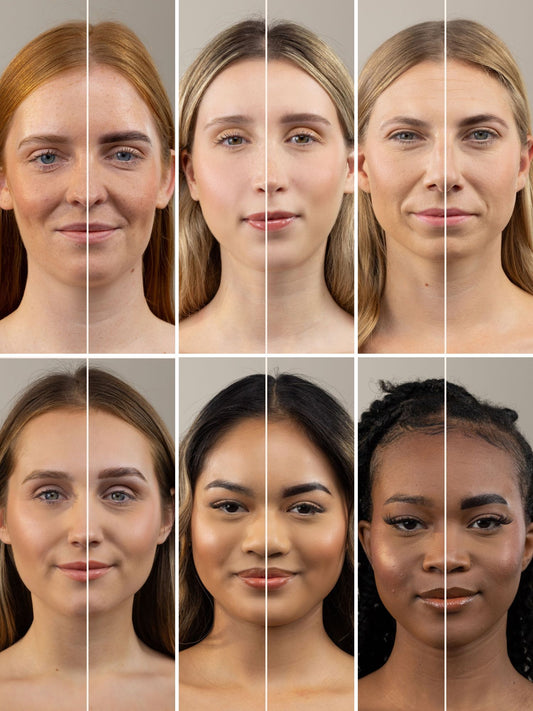
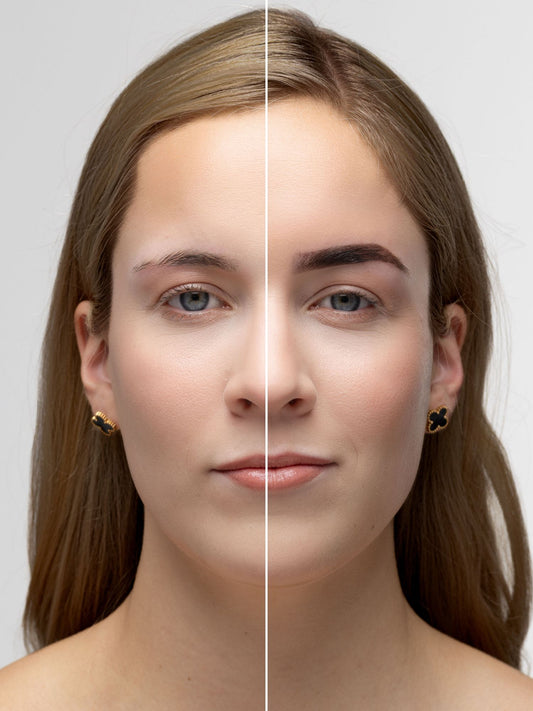
The brow treatment loved by clients everywhere is undoubtedly Brow Lamination. It's no wonder they can't get enough of the full and fluffy brow look. And brow artists? They enjoy being able to place brow hairs just right. But here's the real power of Brow Lamination: it creates the illusion of fuller and thicker brows. And don’t we all want that?.
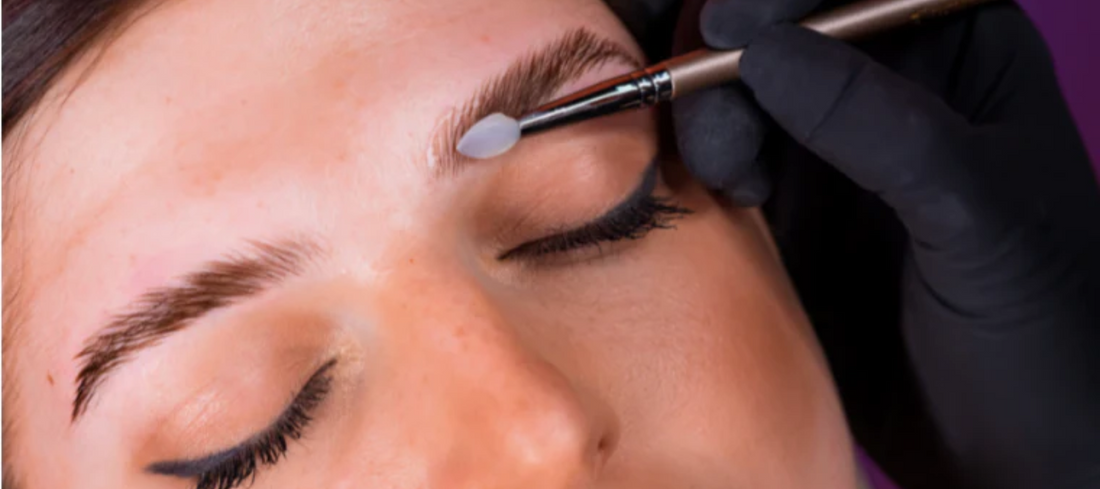
We love Brow Lamination because it is incredibly easy to do– with just three simple steps, you can achieve a flawless brow look that lasts. In the three-step process, a solution softens the eyebrow hairs, a laminate sets the new shape, and a nourishing elixir ensures their health and vitality. Think of it as a lift for eyebrows, transforming them into a full and fluffy brow look!
All the brow products you need
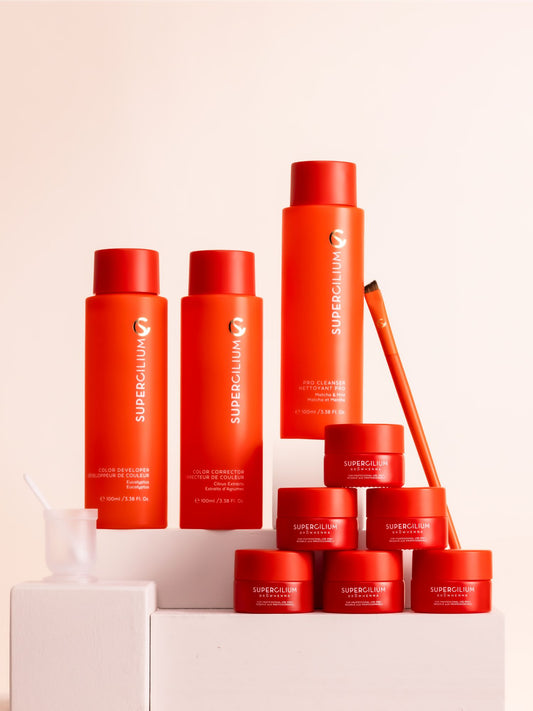
Let's look at the products you need to create flawless brow look by combining Brow Lamination and Airbrush brows in one sitting.
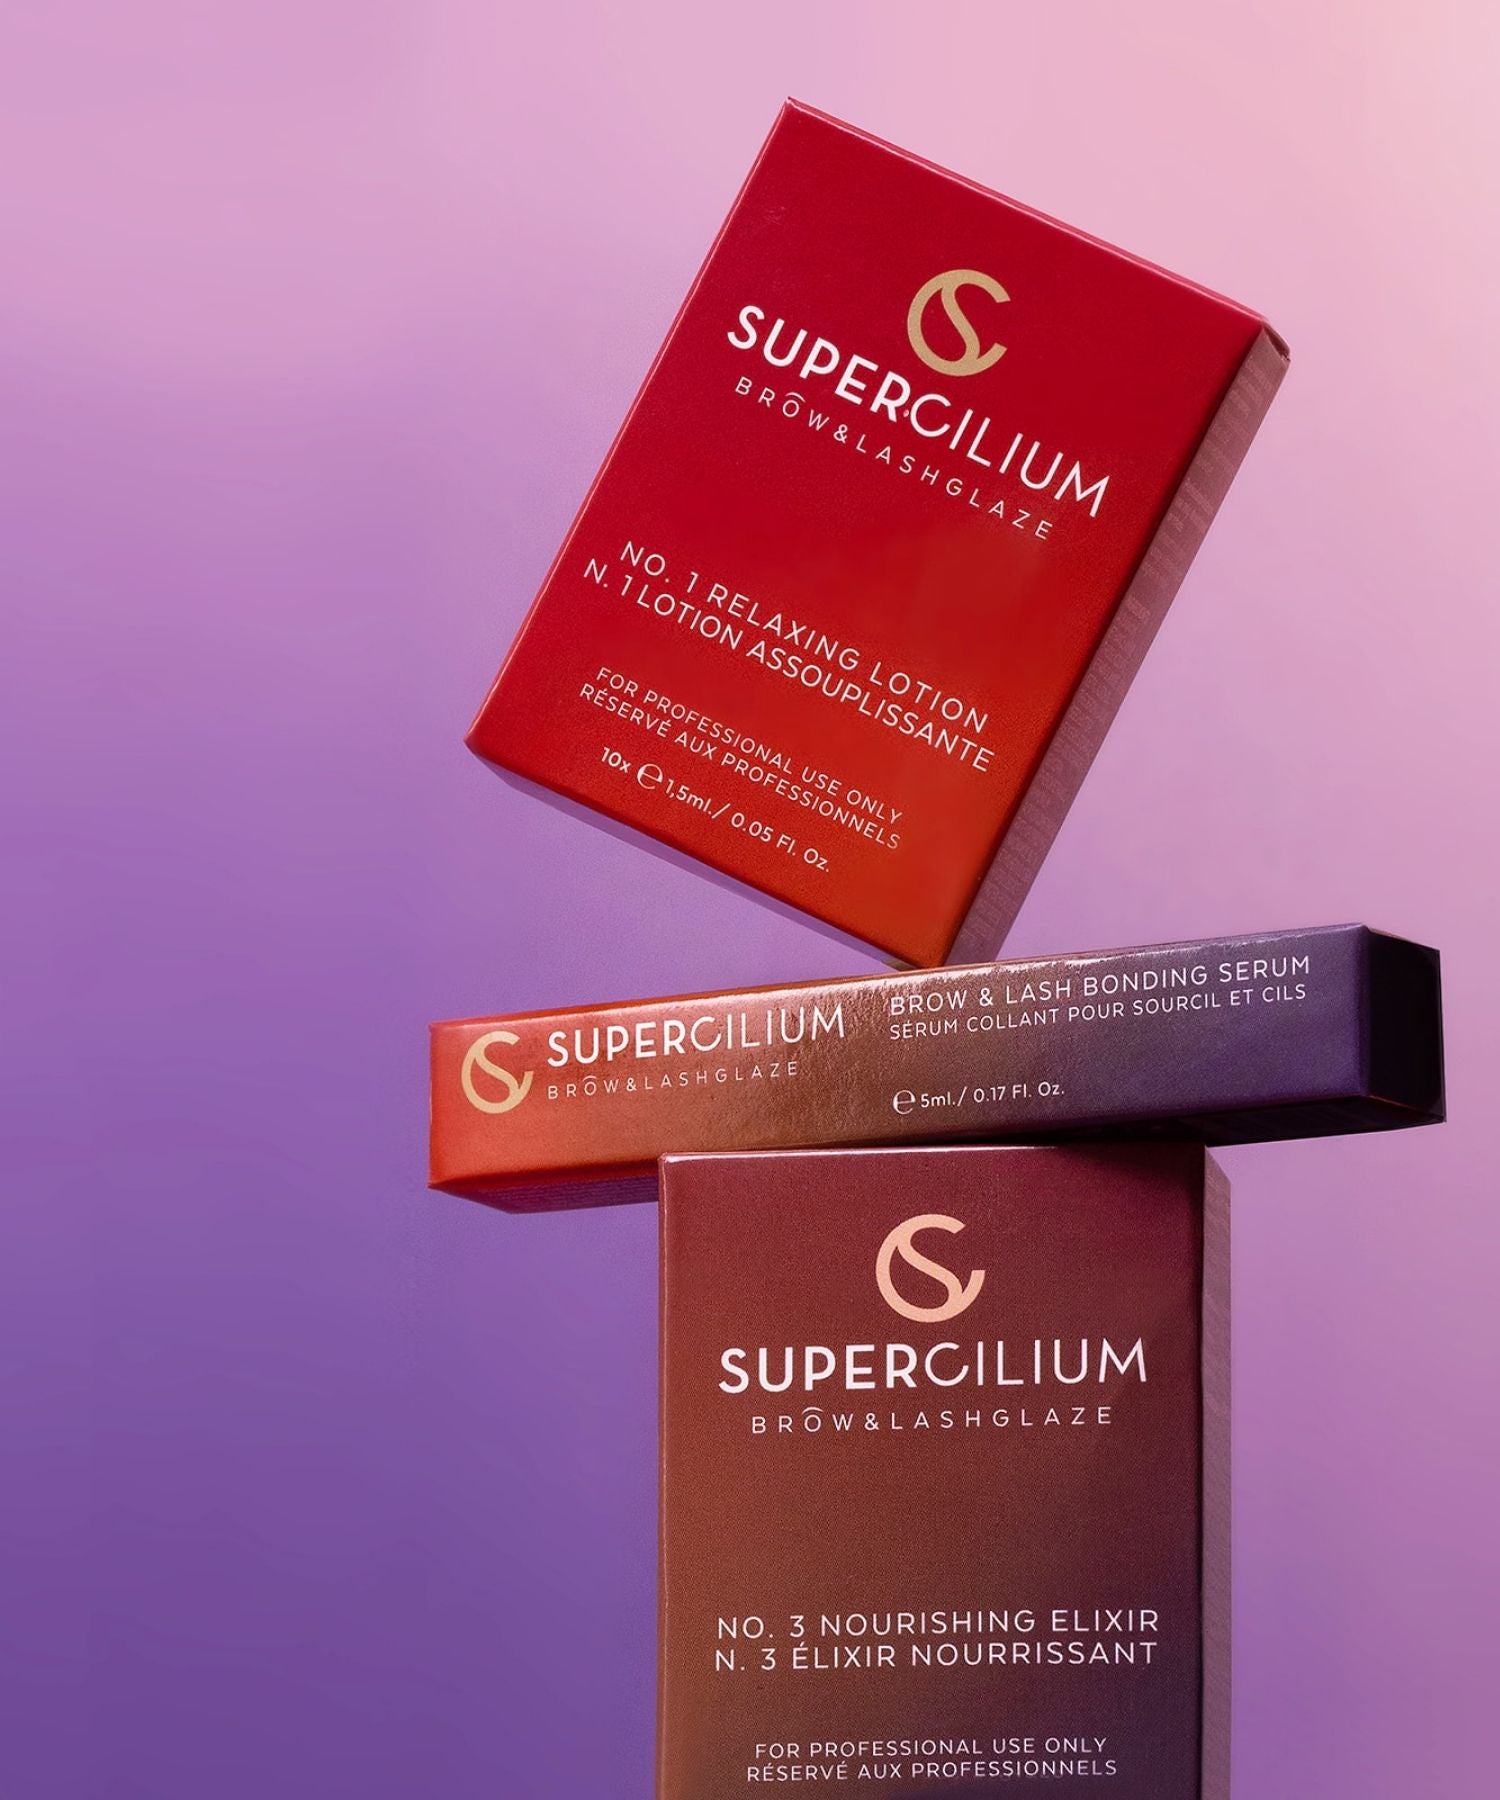
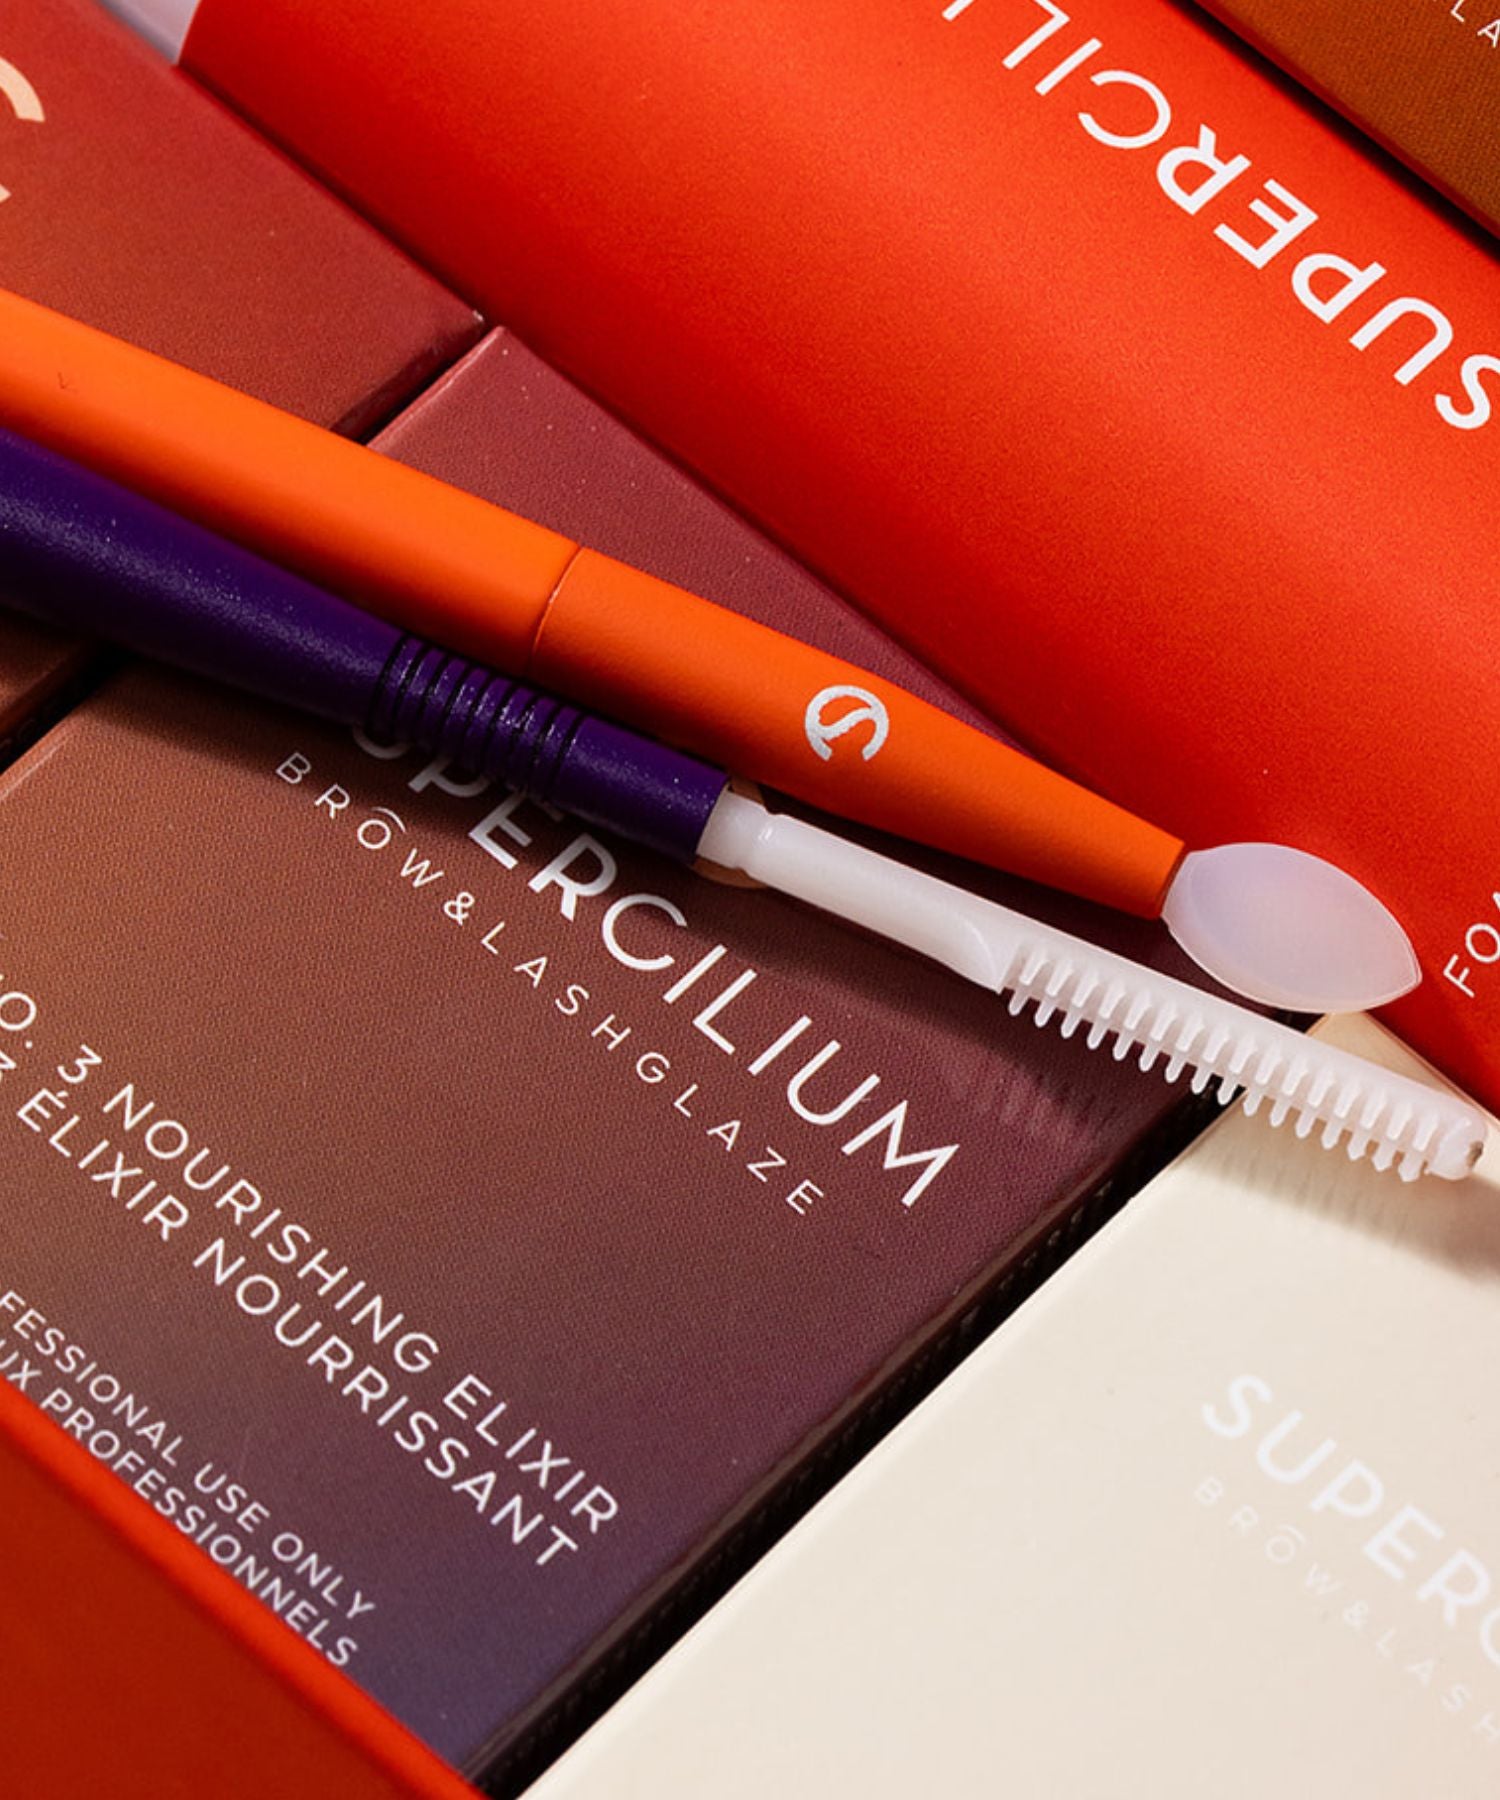
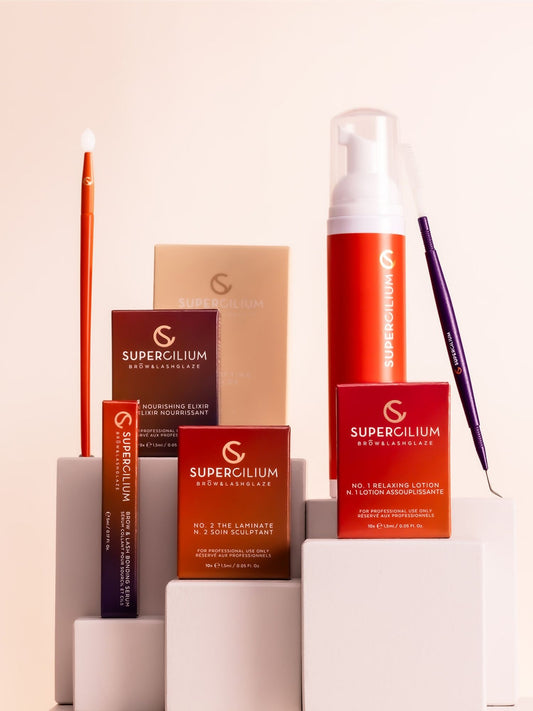
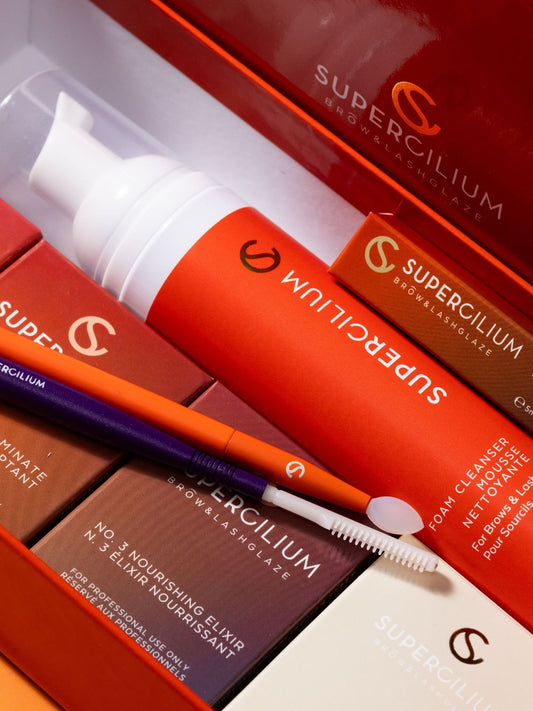
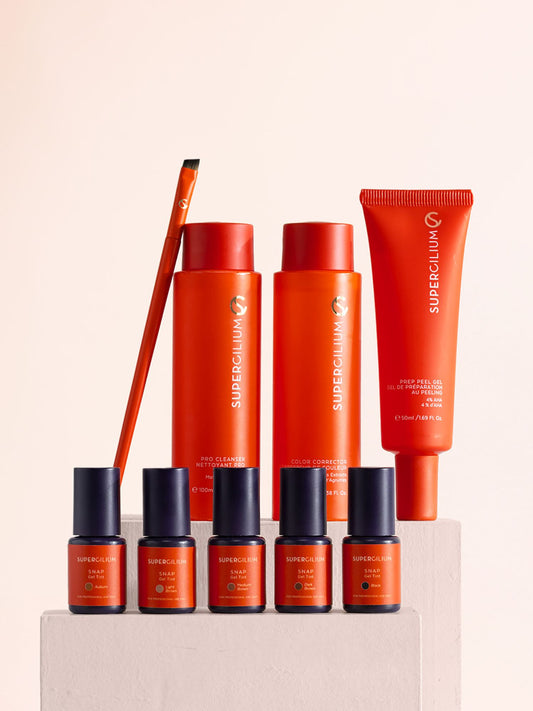
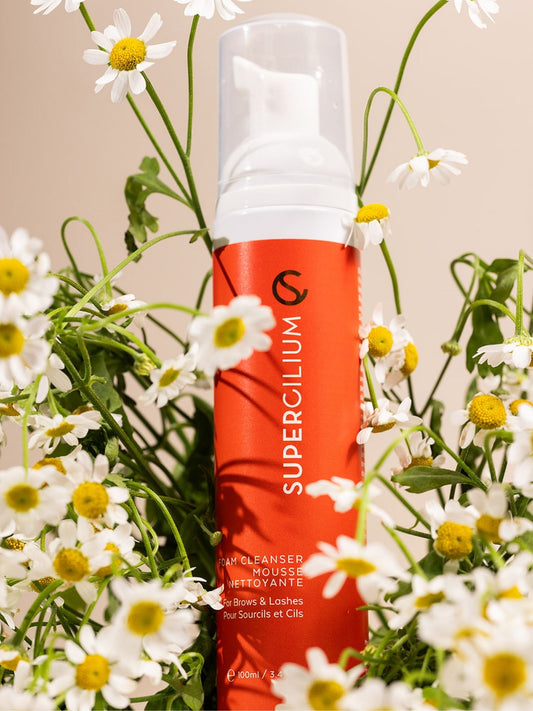
Brow Lamination Starter Kit: Packed with all the essentials for Brow Lamination, including the Nr 1 Relaxing Solution, Nr 2 The Laminate, Nr 3 Nourishing Elixir & Bonding serum, Lash Lift Tool, Silicon Brush, Foam Cleanser, and a variety of Lash Shields in sizes S, M, and L, this kit has everything you need to create full and fluffy brows.
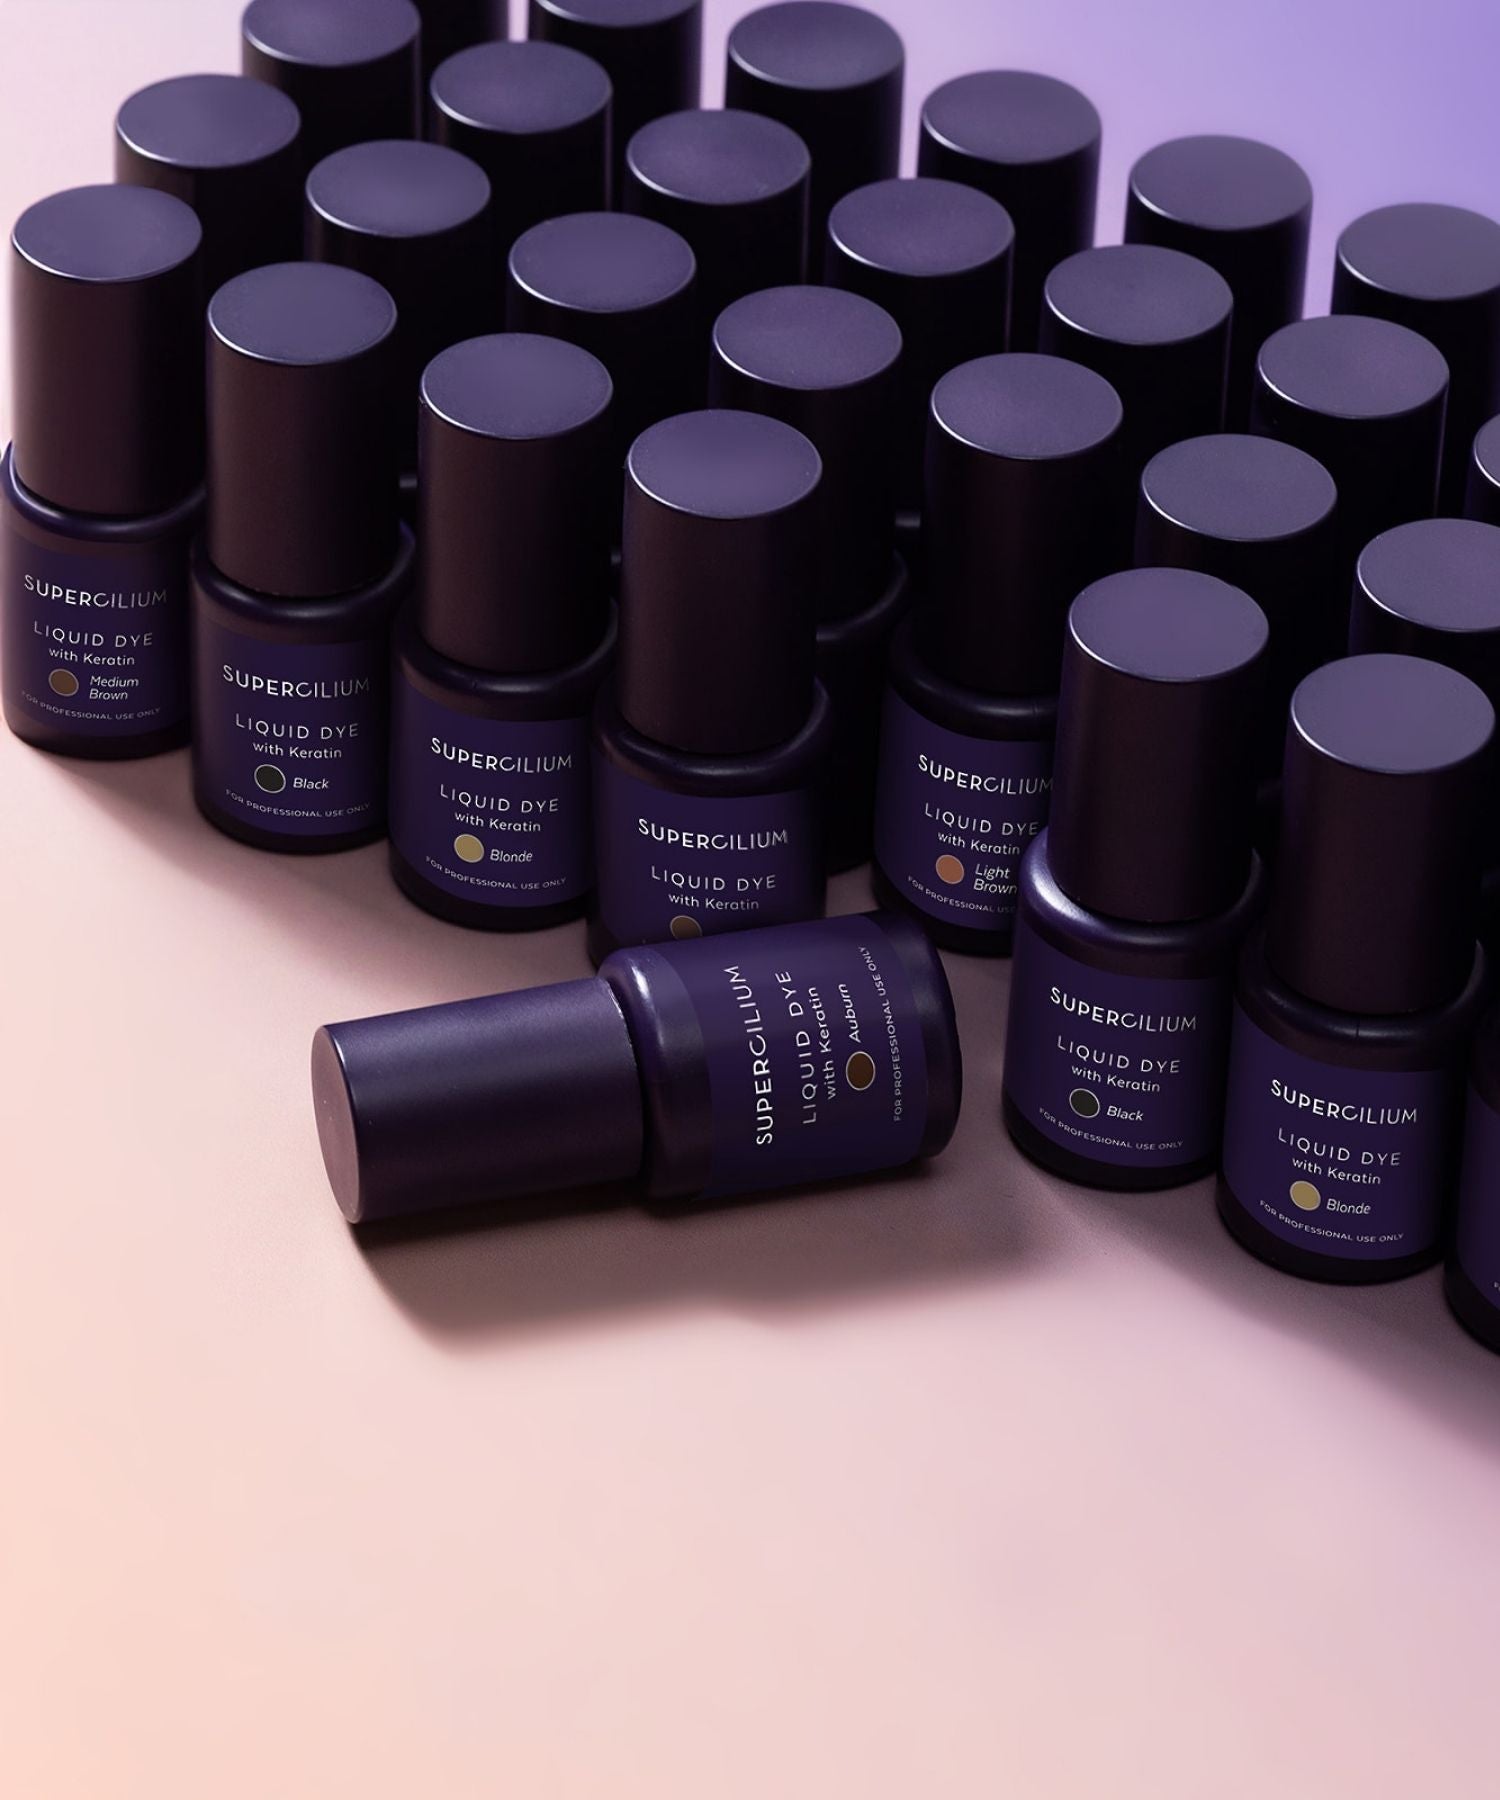
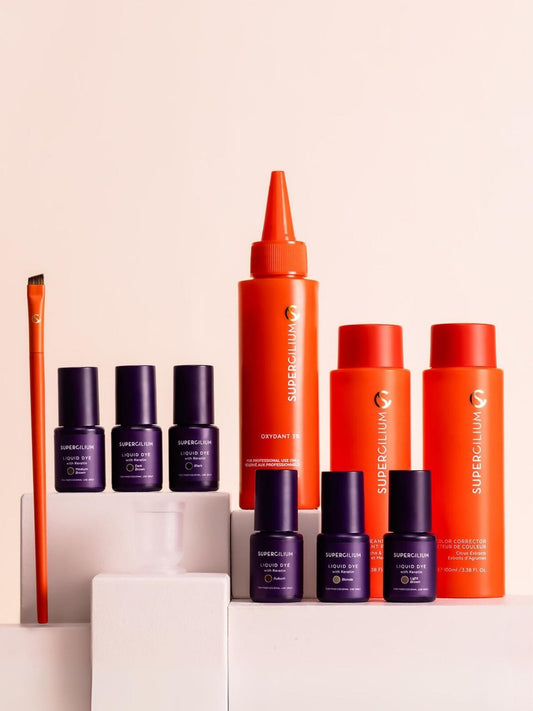
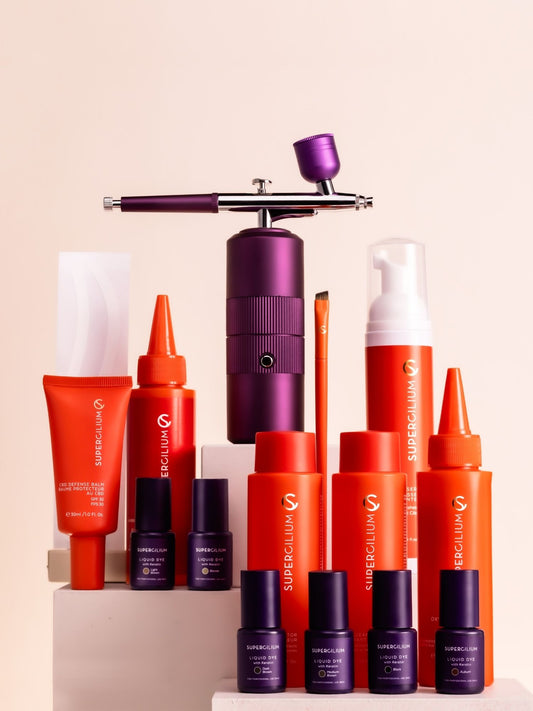
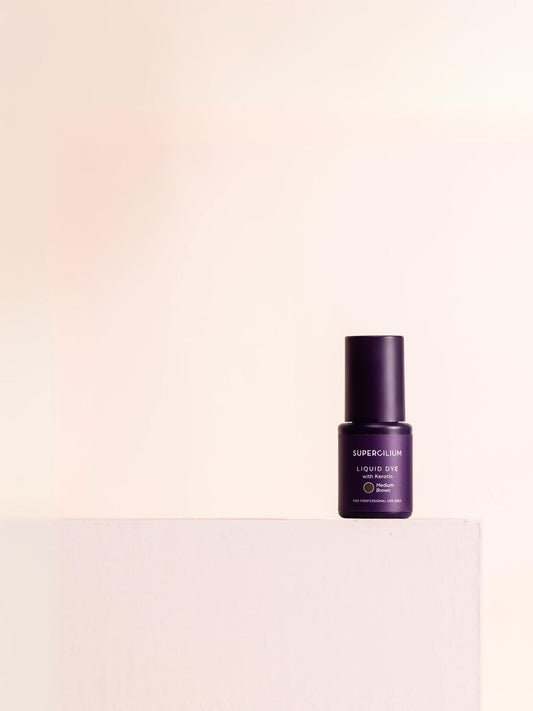
Liquid Dye with Keratin: The Liquid Dye infused with Keratin gives a crazy deep skin stain while protecting and revitalizing the brow hairs.
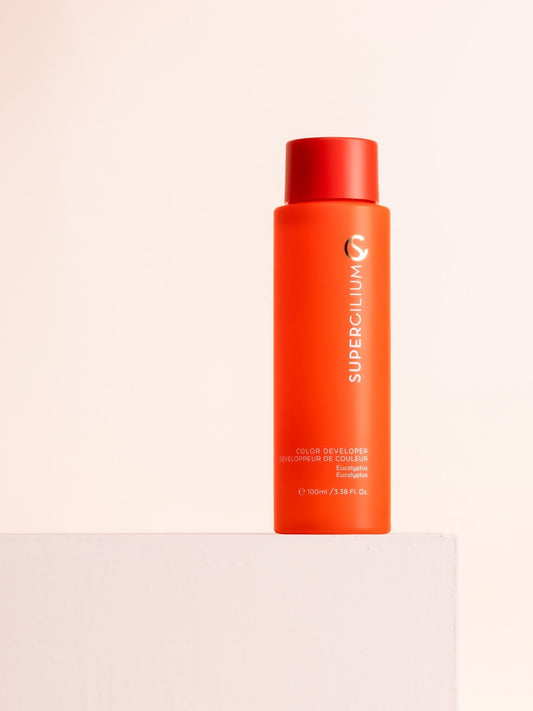
Airbrush Developer: This specialized Oxydant Developer ensures optimal staining results for the Airbrush brows as it has a more liquid consistency than other developers.
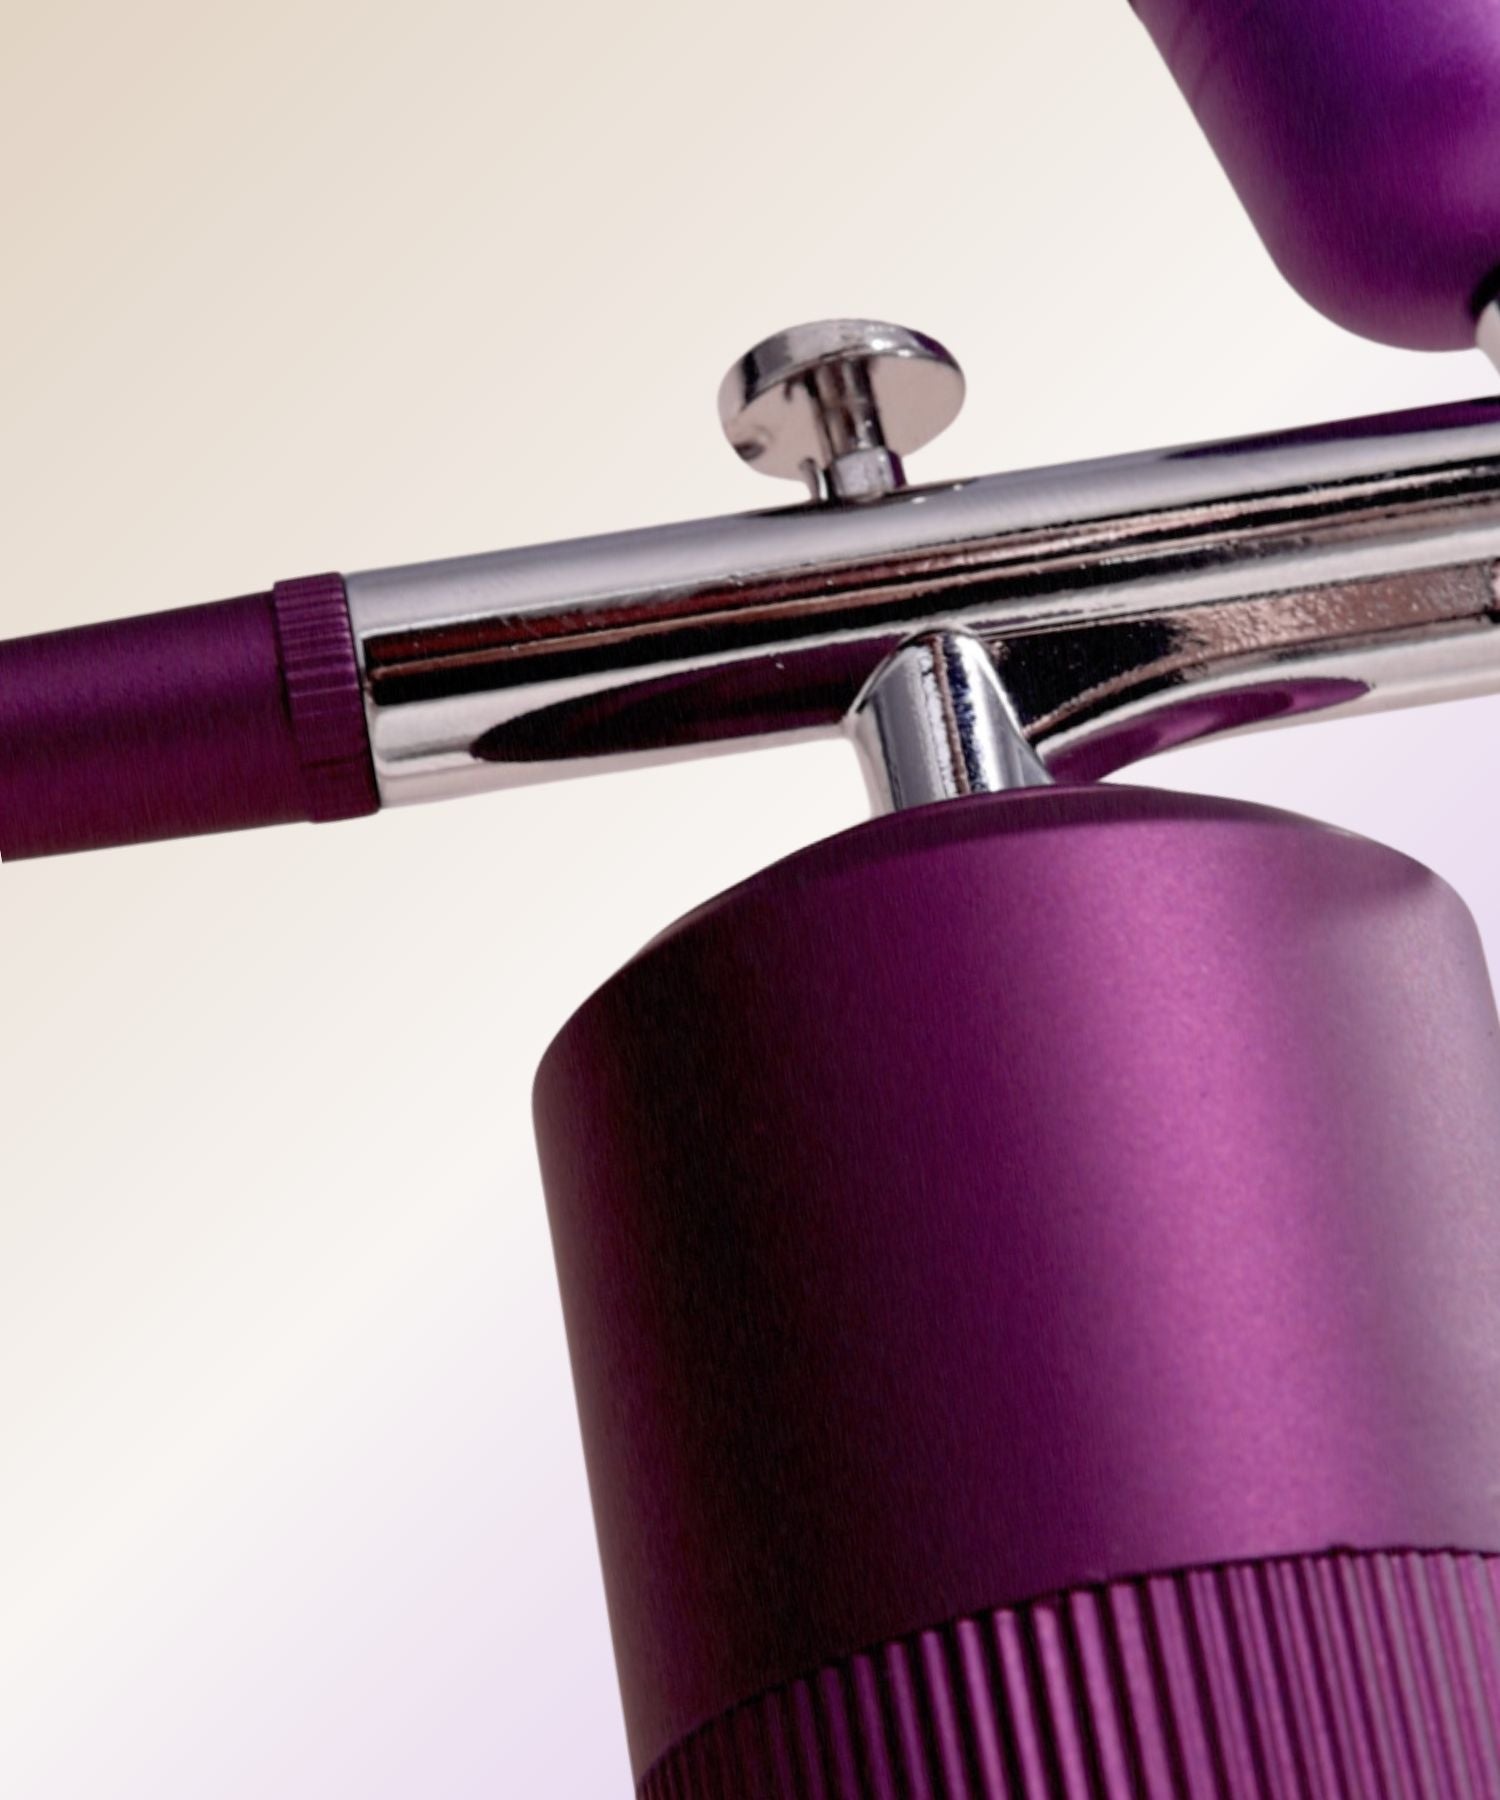
Airbrush Machine: Because how could you possibly achieve those flawless, defined Airbrush Brows without it? That's right! Our wireless and portable Airbrush is your ultimate go-to tool for crafting full and fabulous brows with ease.
Airbrush Stickers: Designed with precision in mind, our set includes 12 pieces of precision-cut stickers in 3 unique shapes. With these stickers, you can match each client's individual brow shape.
Mapping Paste: This essential tool defines brow lines and shields them from dye spray, ensuring a flawless and clean brow look for your clients. It is super easy to remove!
How to: Combining Brow Lamination and Airbrush Technique
By combining this treatment in one sitting, you know for sure your clients will want to come back for more. Basically, everything you could wish for your brows, combined into one treatment. Sounds like heaven right? To achieve the perfect combination of Brow Lamination and Airbrush Technique, follow these 10 simple steps:
Step 1: Preparation
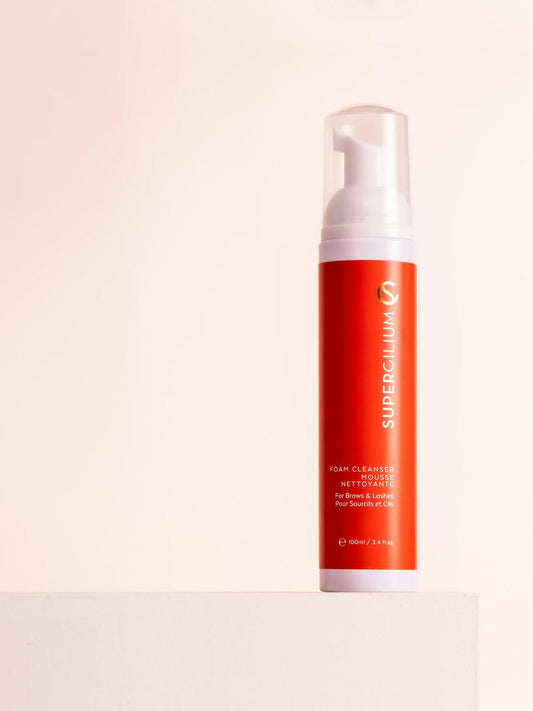
Begin by preparing the brows for the Lamination treatment. Cleanse the brow hairs properly using our Foam Cleanser to remove any dirt or oils.
Step 2: Application of Relaxing Lotion
Apply the Nr. 1 Relaxing Lotion to the brows, ensuring that it covers all hairs. Leave the solution on the brows for a few minutes, allowing it to work its magic based on the hair type.
Step 3: Application of The Laminate
Once the Relaxing Lotion has been absorbed, remove the Nr. 1 and apply Nr. 2 The Laminate to the brows. Set the desired process time according to the client's hair type and the desired outcome. Remember, always consult with your client about what her/his wishes are!
Step 4: Nourishing Elixir
After the lamination process is complete, remove the Nr. 2 apply Nr. 3 Nourishing Elixir to the brows. This solution helps to strengthen the brow hairs and removes any residue left from the previous steps.
Pro Tip #1: The Nr. 3 is also important to not let the eyebrow dye soak too quickly into the brow hairs, resulting in a too-dark look. Because of the ingredients in the Nr. 1 and Nr. 2, the Liquid Dye will absorb much quicker.
Step 5: Cleansing the brows
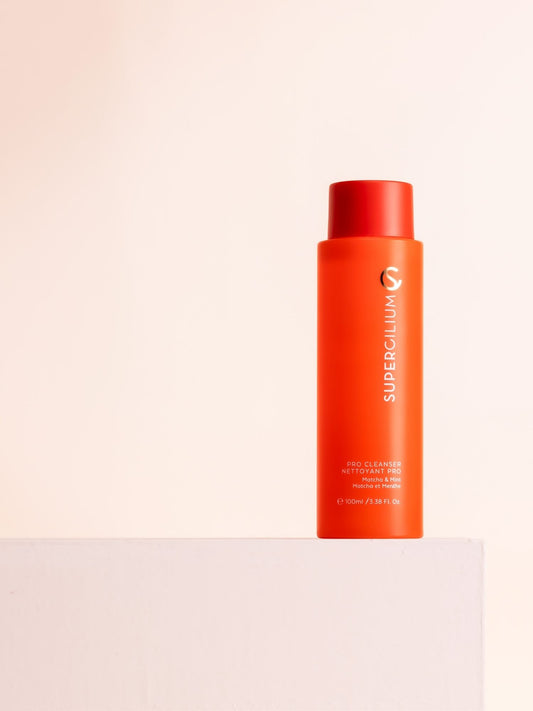
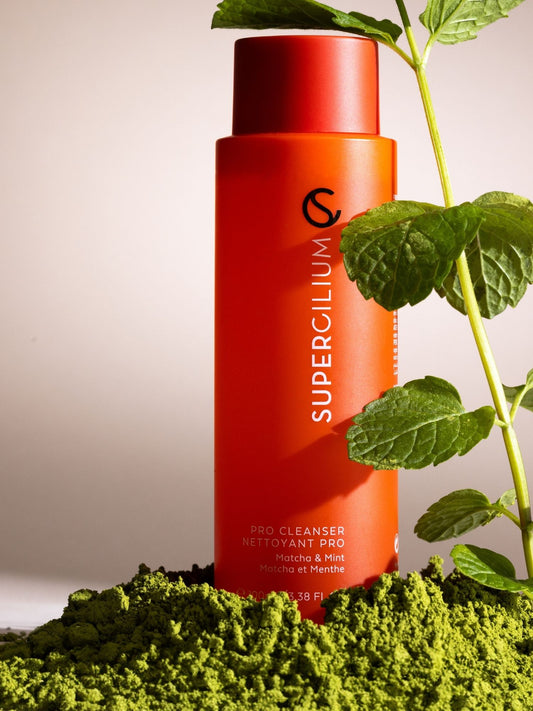
Before beginning the airbrush technique, ensure that the brows are clean and free from any residual product from the Brow Lamination. Use Foam Cleanser or Pro Cleanser to clean the brows.
Step 6: Mapping and protection
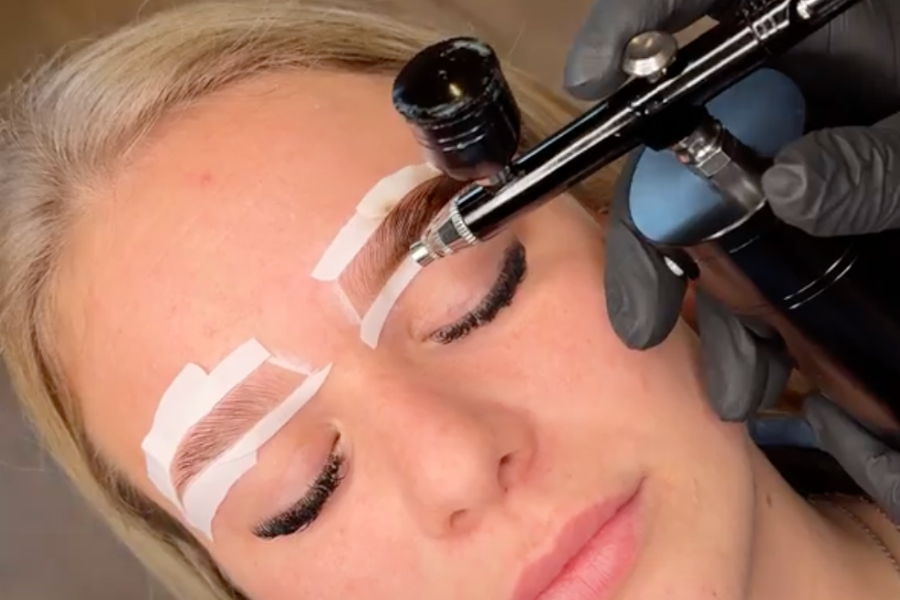
Use the Brow Mapping Technique to sketch the desired shape of the brows using Brow Mapping Paste. Apply stickers around the brow area to create clean and defined lines and ensure precise application of the brow dye.
Pro Tip #2. Protect the skin around the brows with Nourishing Defense Balm to prevent any unwanted staining. Since the airbrush technique involves spraying, there's a chance the dye may land on the skin around the stickers. By doing this, you can remove the dye easily remove from your clients skin!
Step 7: Dye application
Apply the Liquid Dye with Keratin in thin and even layers, building up the color gradually for a natural-looking finish. Allow each layer to dry before applying the next layer.
Pro Tip #3: To achieve stunning ombré brows, start by applying a more saturated layer at the tail, gradually lightening the color as you move toward the fronts of the brows. This technique creates a seamless transition and a soft, natural-looking ombré effect.
Step 8: Cleaning and care
Once the eyebrow dye has been applied, clean up any excess product and dye to ensure a clean and polished look.
Step 9: Shaping the brows
Finish off the look by shaping the brows to perfection, whether it's through tweezing, waxing, or threading. Ensure that the brows complement the client's facial features and desired aesthetic.
Pro Tip #4: Many professional brow artists prefer waxing after the Airbrush Technique because it allows for a more precise and clean finish. Waxing helps remove stray hairs and define the shape of the brows.
Step 10: Adding the final touch
Completing the brow transformation involves applying the Brow Micro Concealer. This final touch makes the brows pop and creates a more defined brow look that your clients will undoubtedly love.
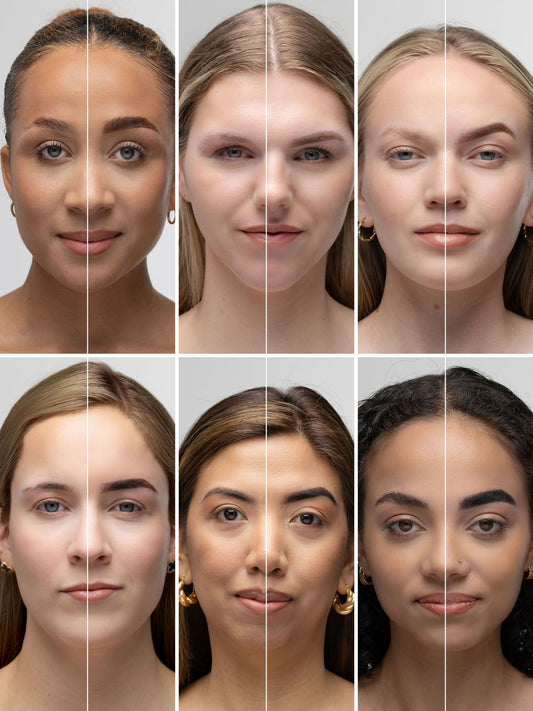
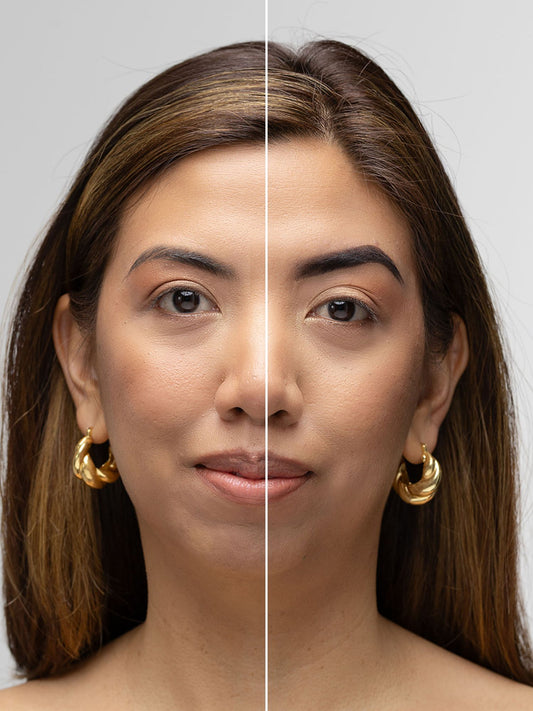
By combining the Brow Lamination and Airbrush techniques, you can create stunning, defined brows that elevate your client's overall look and leave them feeling beautiful and confident!
Become an Airbrush Pro
Excited to dive deeper into the world of airbrush brows? Look no further! We've partnered with two Dutch Brow Masters, Jenniree from Brows by the Brow Doctor and Elisa from Perfection Elements. These award-winning, highly regarded brow educators bring a wealth of experience and talent to the table.
In our comprehensive course, they'll guide you through every aspect of the Airbrush Brow trend, covering essential techniques for success. Learn the ins and outs of Airbrushing, from proper machine cleansing to troubleshooting, mastering mixing ratios, and invaluable tips for seamless application. Gain insights on holding your machine, finding the best angles, and keeping things tidy. With their expertise, you'll become an Airbrush Pro in no time!
Don't miss this opportunity to improve your brow skills and stay ahead of the curve with the latest trend in the brow world. This is your time to become an Airbrush Pro!

