


Get the Perfect Henna Stain: 6 Must-Know Tips
written byŽaneta Mlčáková
In This Article
1. Prepping
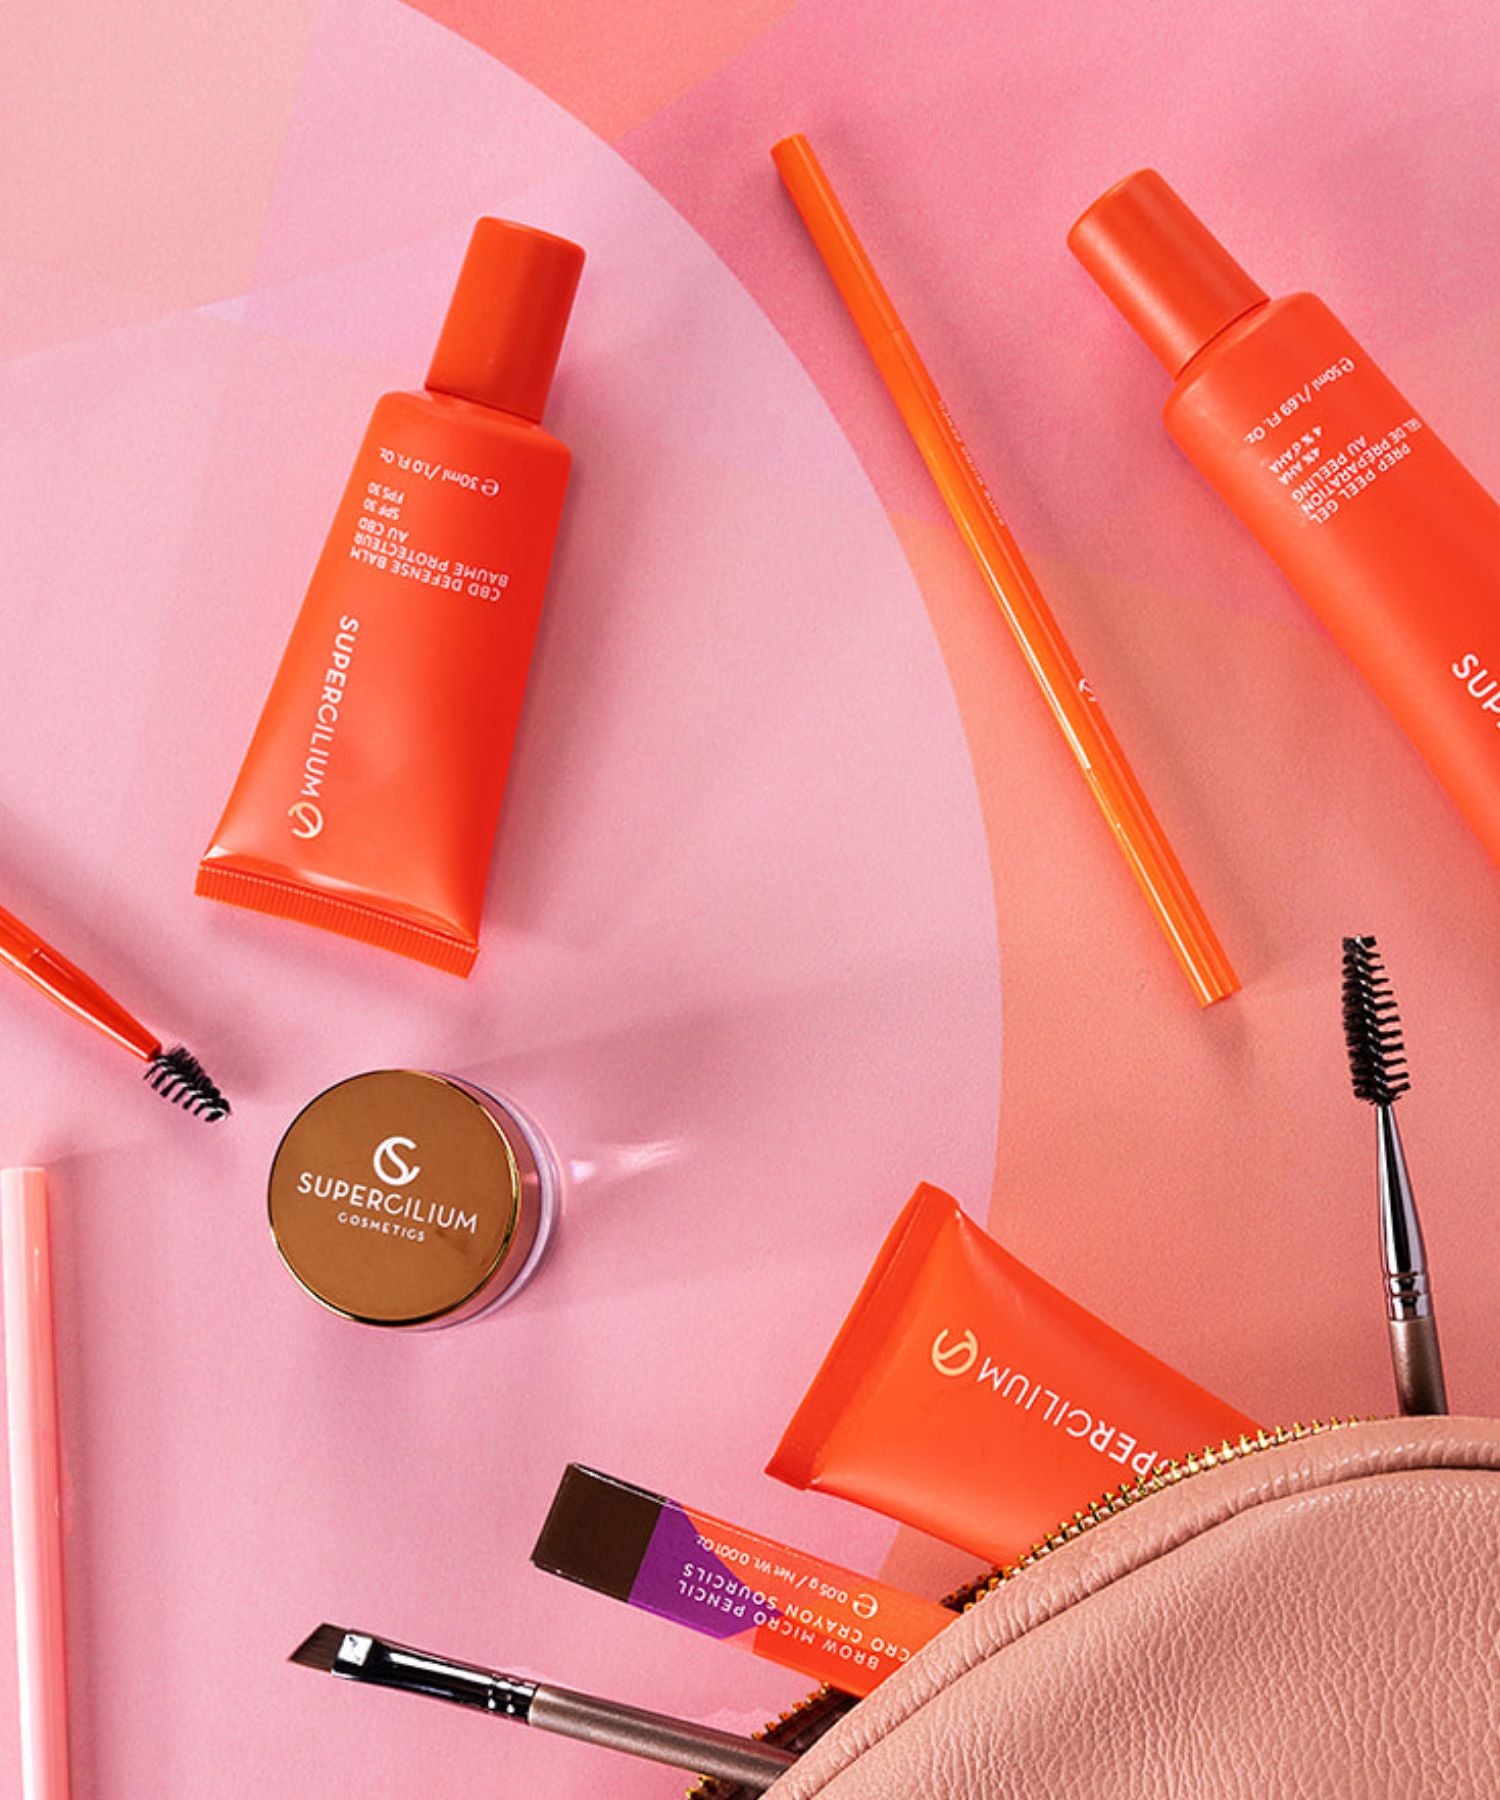
There is a reason to say that before anything else, preparation is the key to success. And with brow treatments, there is no exception! Preparation of the brows for henna colouring is very important and should be done carefully. You can take all the time you need to properly prepare the brows! The cleaner the brows, the better the henna can penetrate the skin.
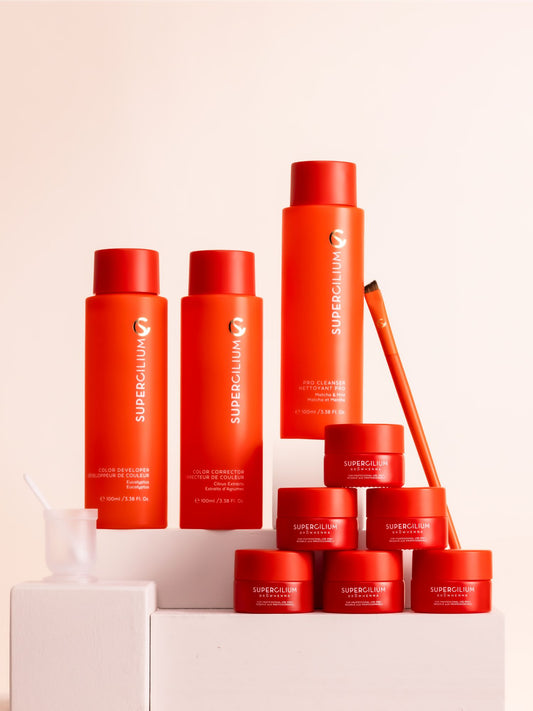
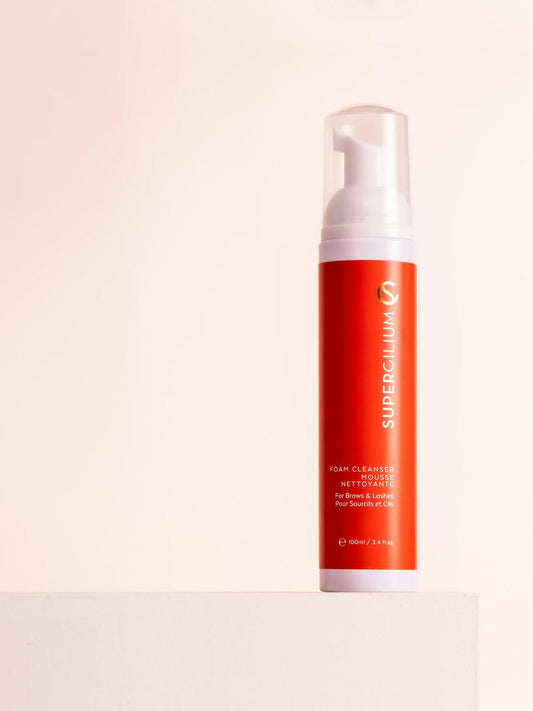
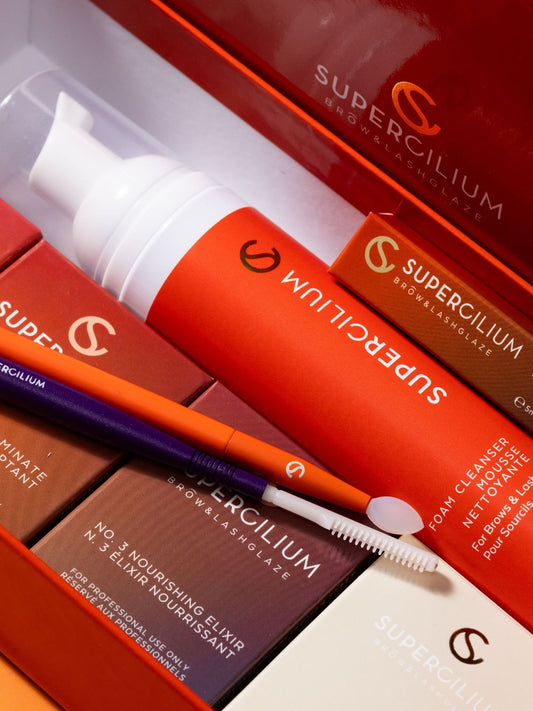
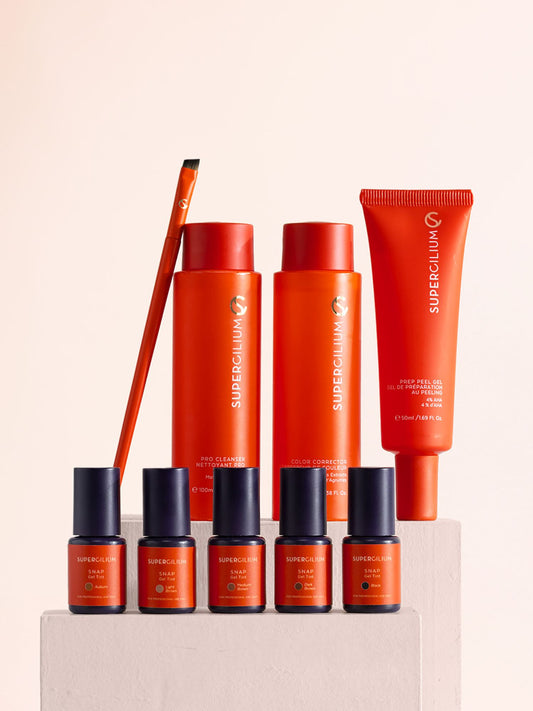
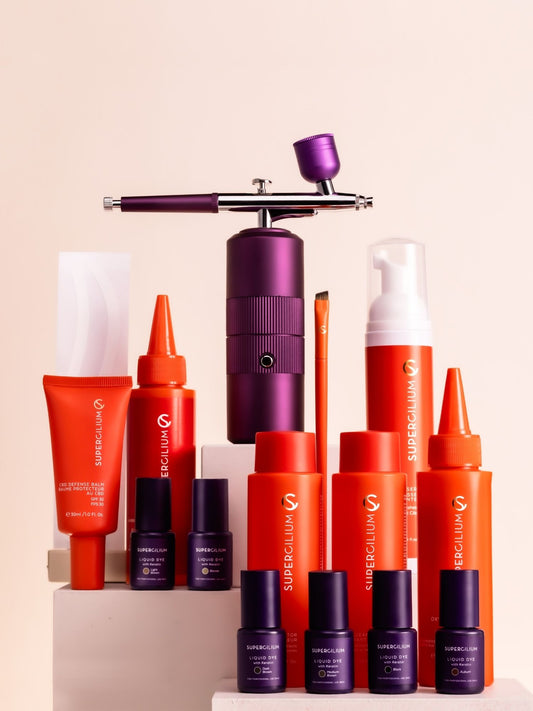
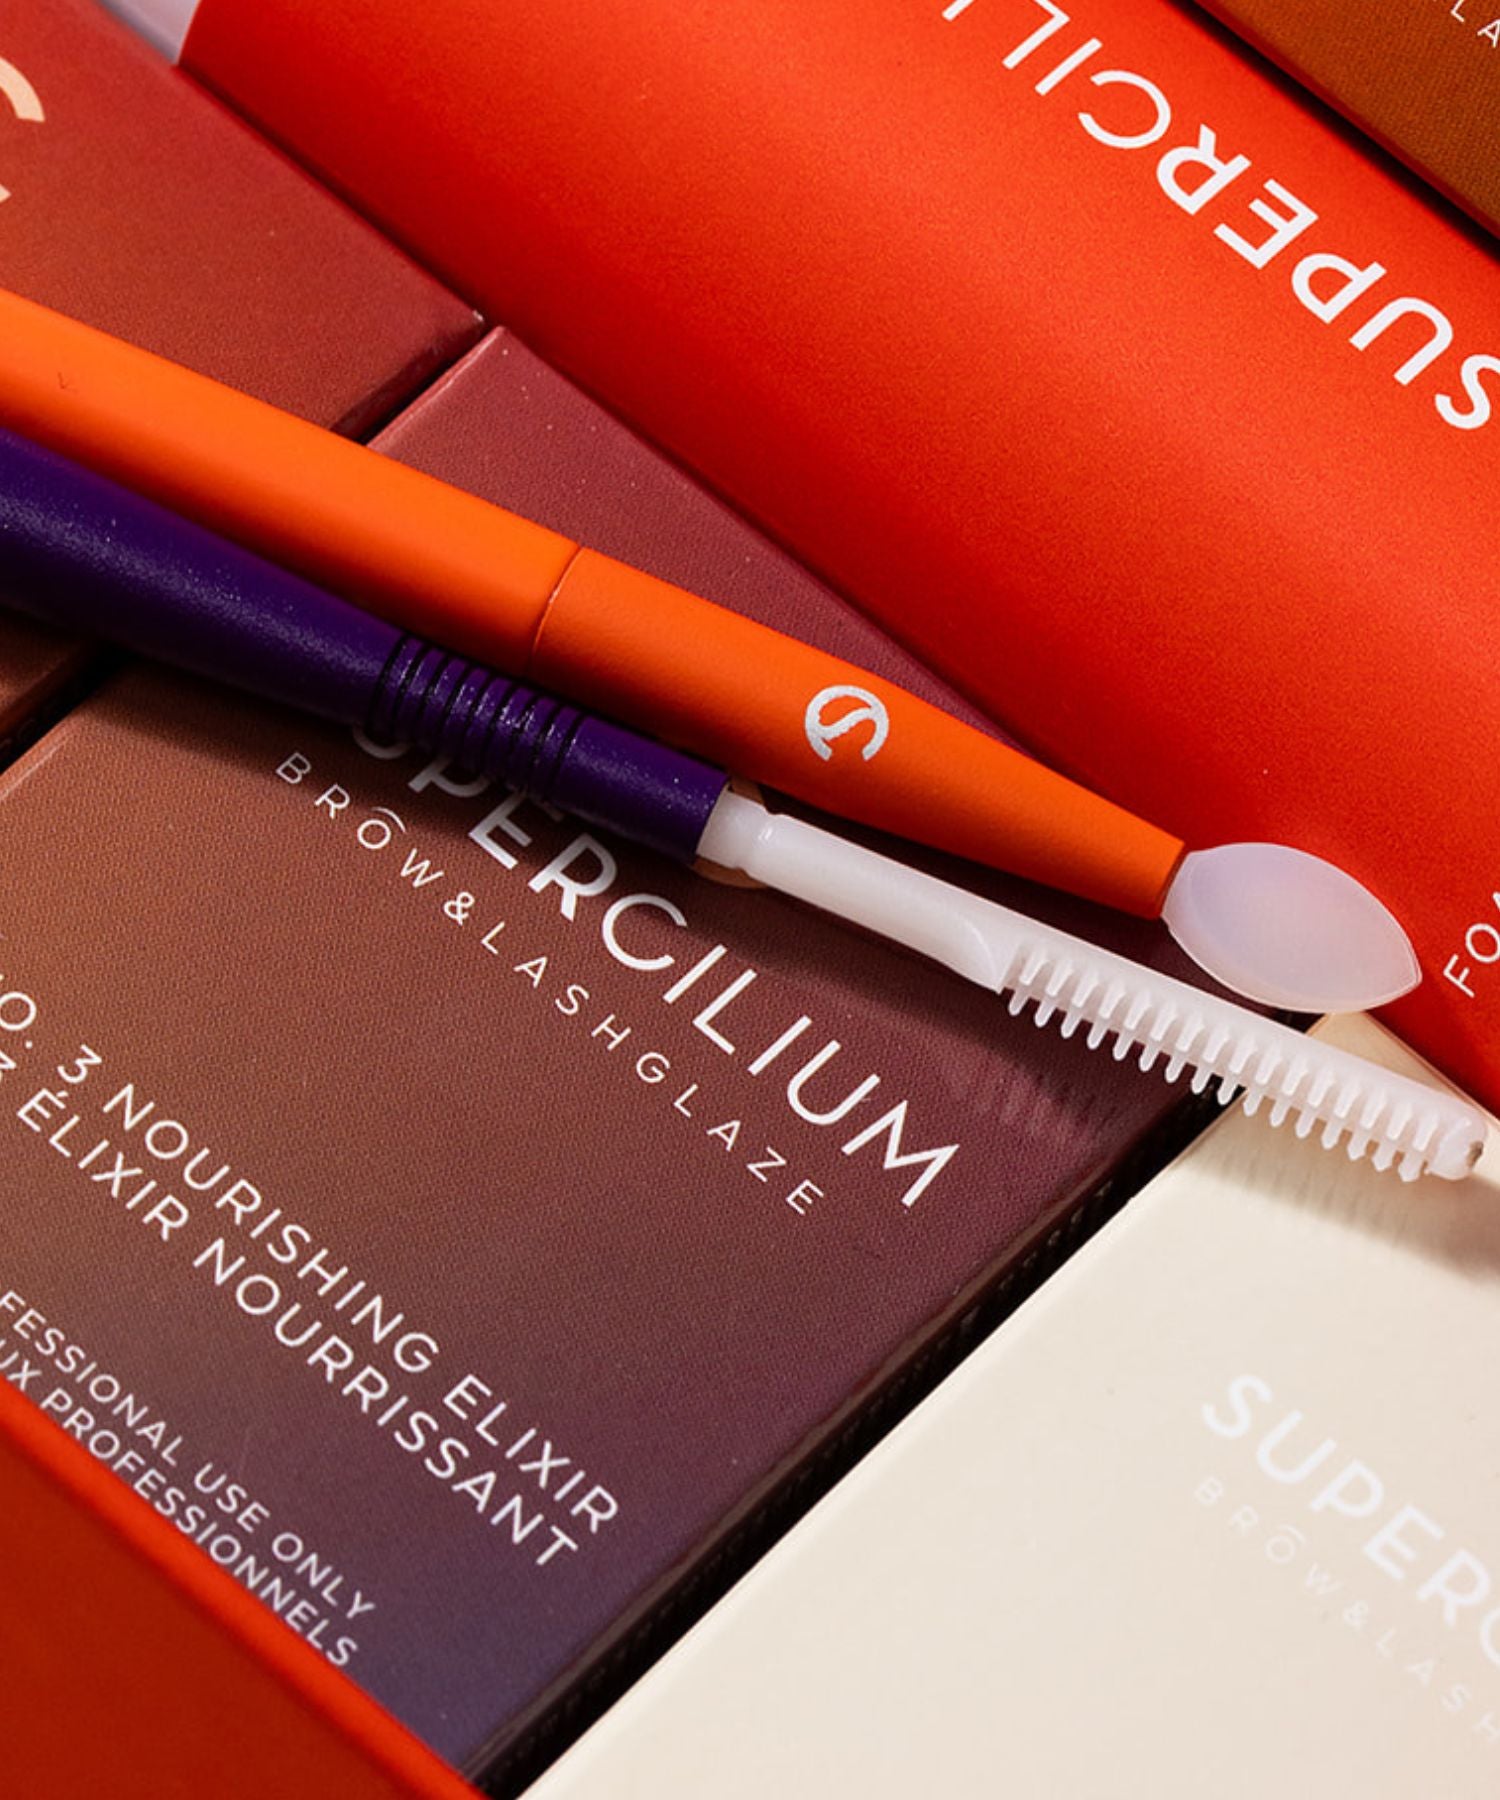
What do clean brows look like? Completely free of all makeup, excess oils and dirt. These all can act as a barrier and prevent the henna from penetrating the skin. Do not forget to use the right products to prepare the brows: The Supercilium Pro Cleanser with the ingredients of Matcha & Mint will help the skin cool down before the henna treatment, but will also protect the skin from dehydration. Lastly, use the Prep Peel Gel that penetrates deep into the pores to exfoliate and remove dead skin cells. Remember, using the right products really makes a difference.
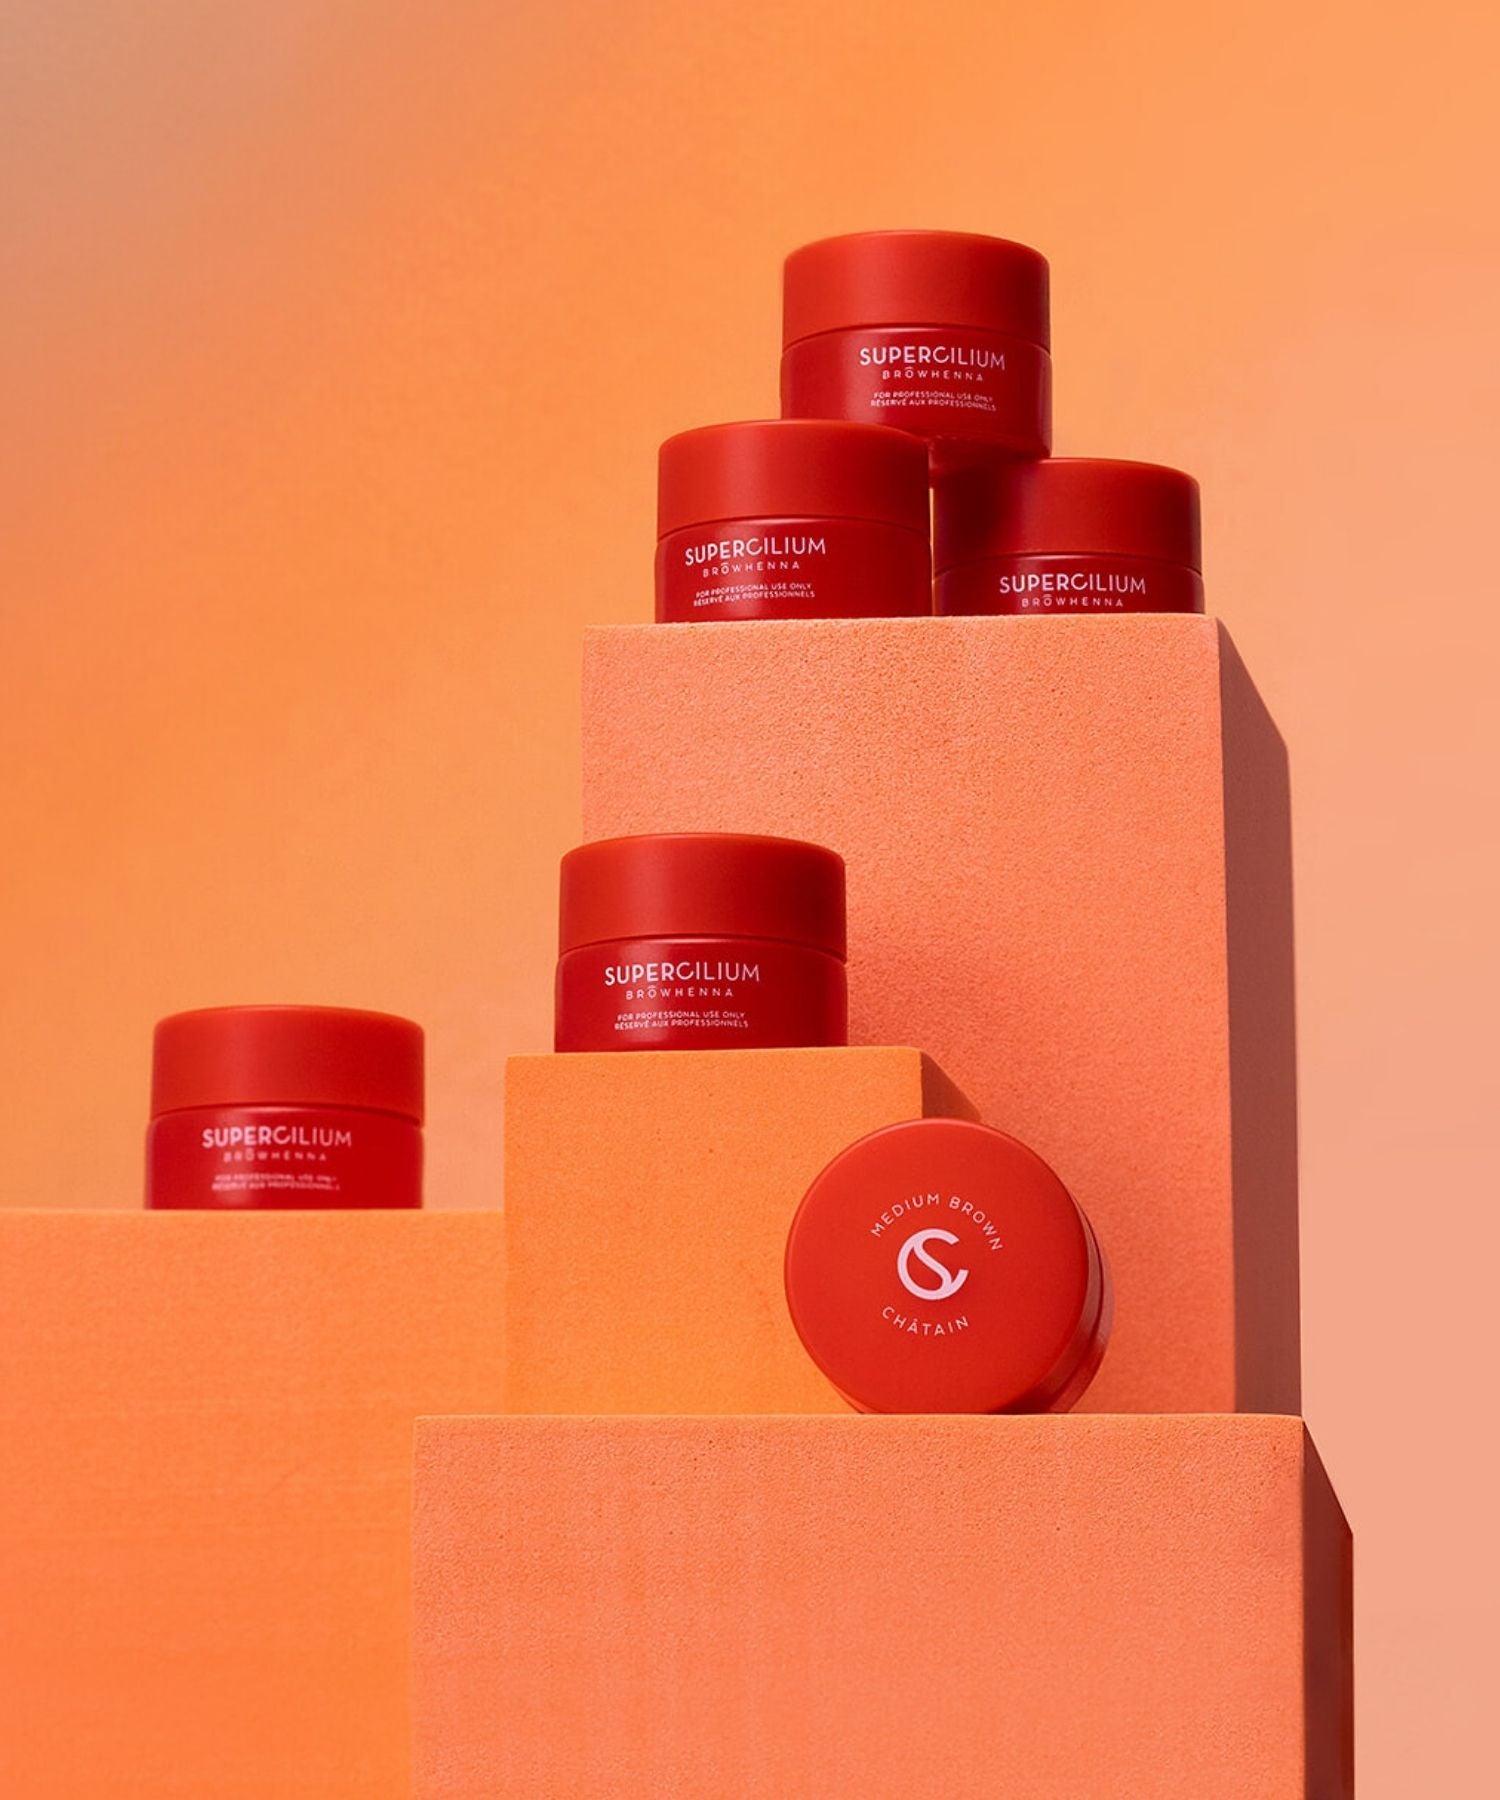
2. The right mixture
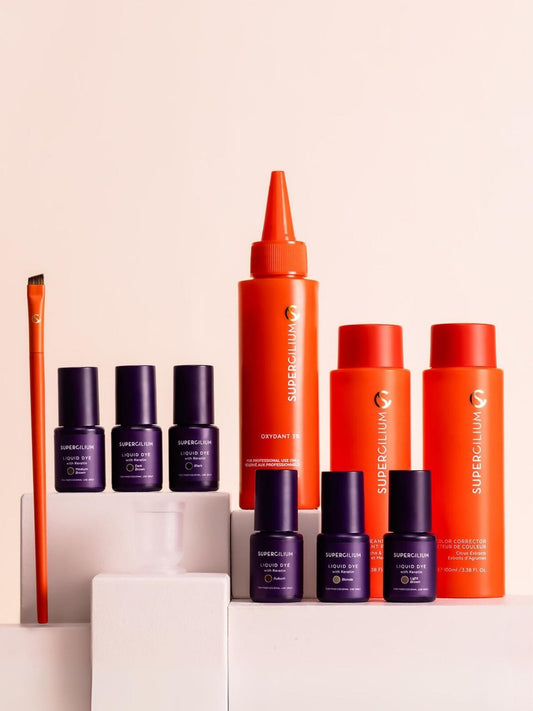
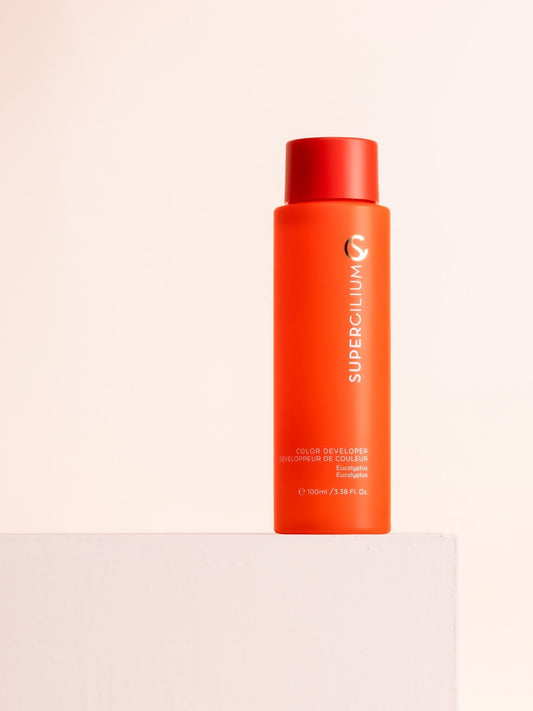
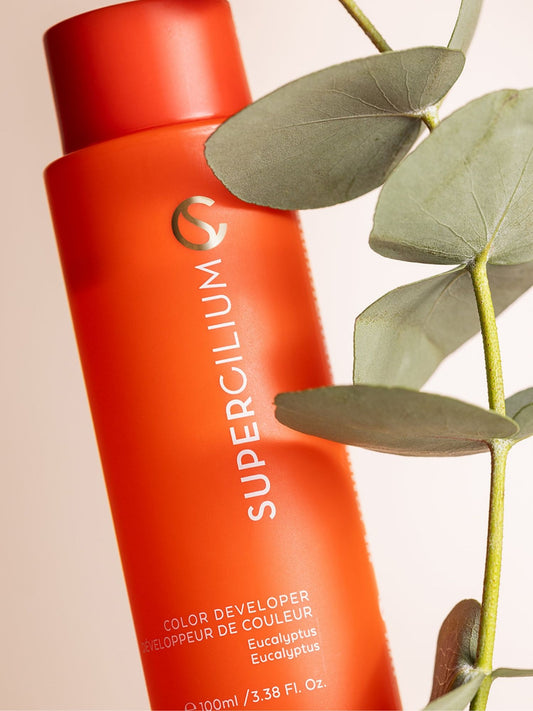
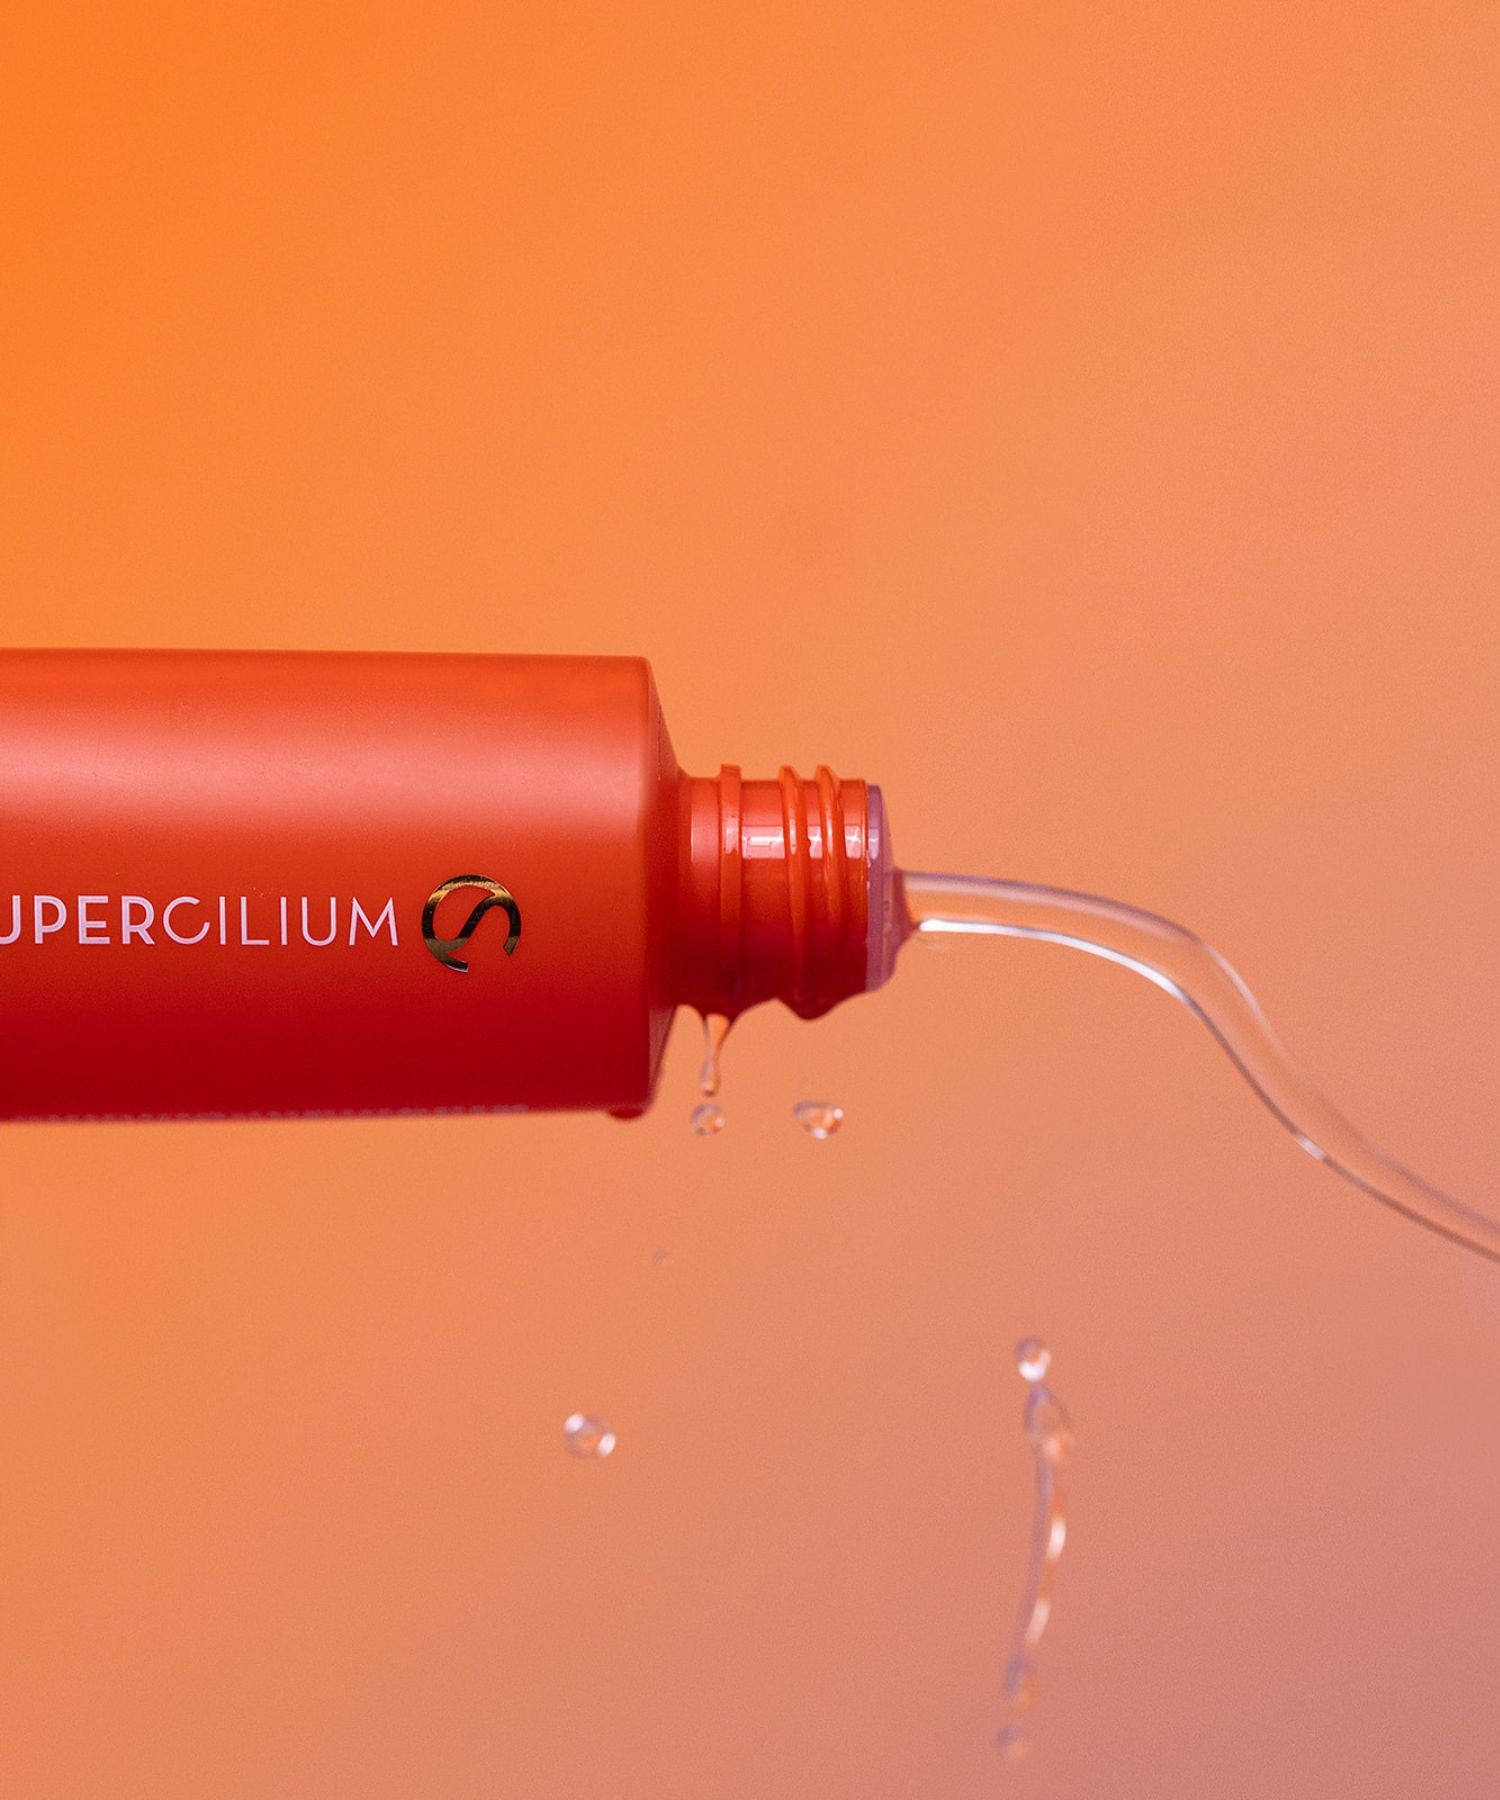
You probably know that the right mixture is the key to achieving the perfect henna brows. What to mix? One scoop of henna with 10-20 drops of Colour Developer. The right henna mixture is not too thick, nor too runny. Our advice for the best results:
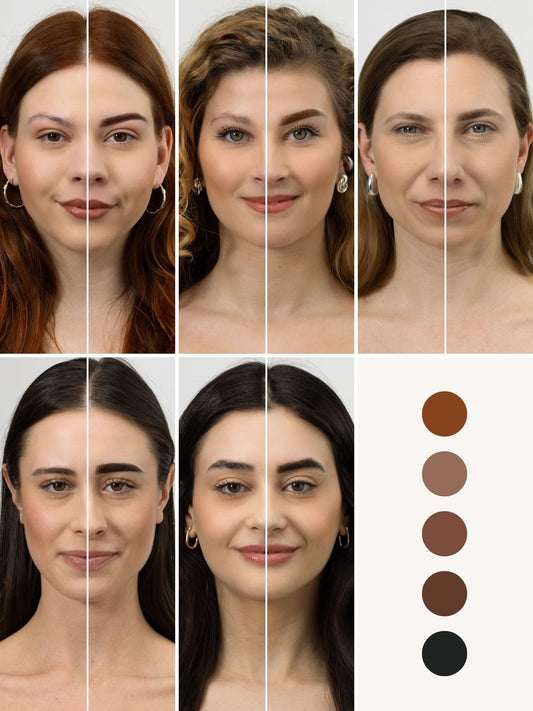
→ Lighter colors: 15-20 drops.
→ Darker colors: 10-15 drops.
Watch Our Henna Mixing Tutorial on YouTube!
The Brow Artist in the video is using our previous Brow Henna packaging - but don’t worry, the formula is exactly the same. Learn how to mix shades like a pro and create custom results for every client!
3. The secret
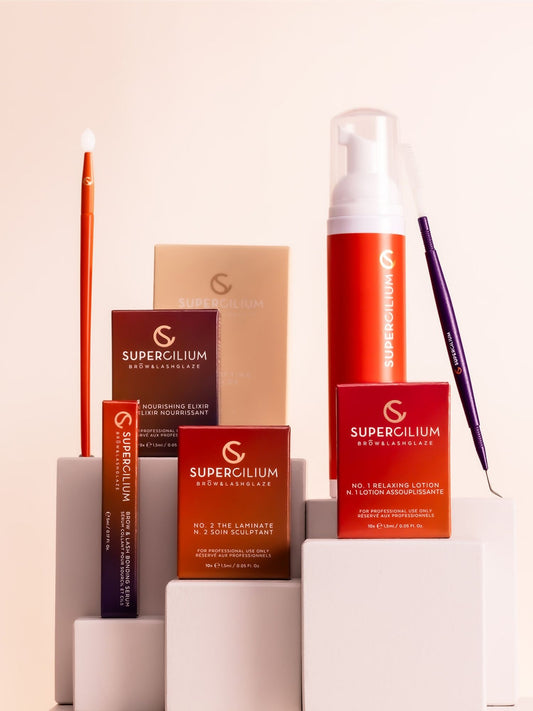
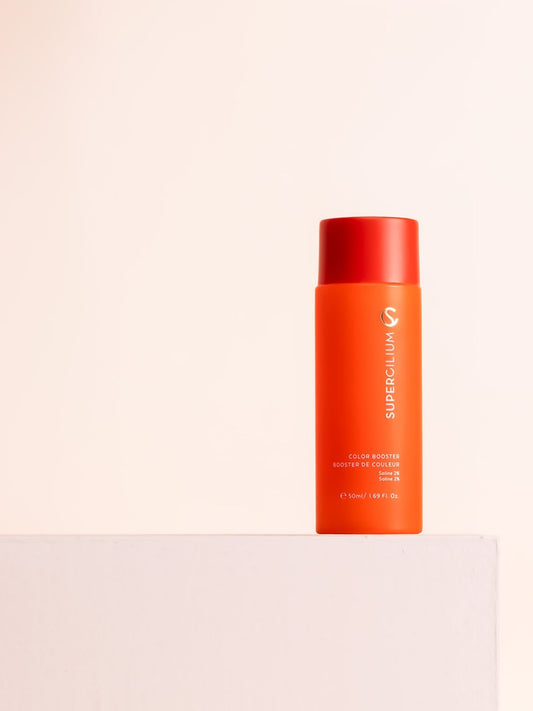
When looking at the number of orders since introducing this product, we can’t really call this a secret anymore. We highly recommend adding the Colour Booster to your mix. It intensifies the henna stain and extends the longevity of henna. This is the holy grail for brow henna treatment on clients with oily skin! When adding the Colour Booster to the henna mix, the skin absorbs the henna pigment much better. If you ever struggle with your henna stain, Colour Booster is your new bestie!
Your mix when combining the Colour Booster & Colour Developer:
→ For light henna colours (Blonde, Light Brown, Medium Brown):
One scoop of henna + 15-20 drops: half Colour Developer, half Colour Booster.
→ For darker henna colours - (Dark Brown, Black, Auburn):
One scoop of henna + 10-15 drops: half Colour Developer, half Colour Booster.
PRO TIP: If your mixture is still too thick, you can always add a few extra drops of the Colour Developer.

4. Let your henna oxidise
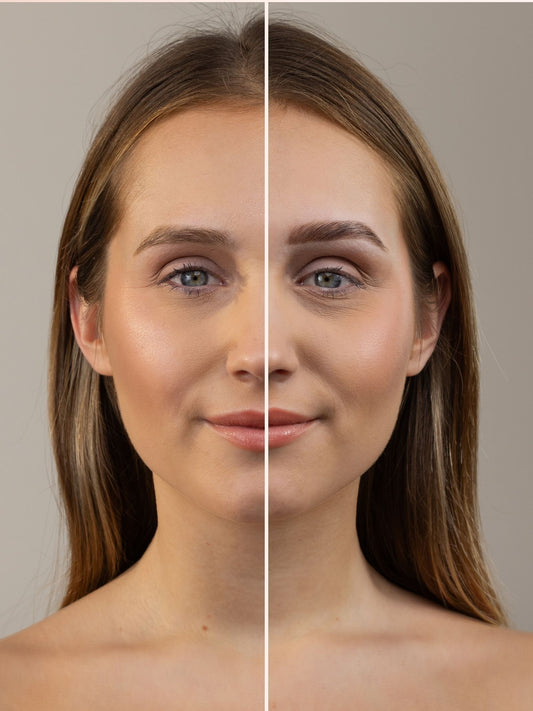
Let your henna mixture sit for 5 min before applying. This step is vital since the henna needs time to fully oxidize so it can do its magic. It is a natural process of henna. To not lose your valuable time, you can meanwhile prep the brows or start with brow mapping! Brow mapping is a template for the ideal brow shape of your client, based on their unique facial feature, to achieve symmetrical and flawless brows!
5. Stamping technique
Another trick is using the Stamping application technique. With this technique, you’re stamping the henna onto the skin with small movements. The stamping technique, also called pressing, is the best technique for henna brow treatments to allow the henna to really penetrate the skin. This video below shows you how!
6. Layers
Another tip that works great is to work with several brow henna layers. It's better to apply multiple thin henna layers than to work with one super thick layer. Always wait for a little before applying the next layer onto the brows. After applying your first layer, wait a minute for it to absorb into the hair and skin. Make sure to stamp/press it deeply into the skin for it to stain both skin and hair. Then, depending on the client and personal preference as well as color, you are ready for the second round. And if preferred, even a third round is possible. This technique will also help to work super accurately and neatly.
PRO TIP: After the 2nd layer, you can remove henna at the beginning of the eyebrows for a natural ombre look and leave the tail and mid-brow developing. This gives you also an insight into how quickly the henna develops on your client’s skin since this is different for every client.
Used all these tips and your henna game is still not perfect? These are possible reasons why your henna does not stain:
- Your client is using a self-tan
- Your client has an oily skin
- Henna was not oxidized enough
- Your client didn’t follow the aftercare instructions.
- Your henna is open for too long. We recommend 6 months max.
- Henna won't stain on damaged or scarred skin tissue
We are sure that when following these 6 tips, the henna stain on your client's brows will be perfect! And remember: if you want to level up your henna brow treatments, check our Supercilium Academy for more expert tips!