
Henna Brows Tutorial for Beginners: Step-by-Step Guide
written byNicole Domingues
In This Article
Featured Products


What is Brow Henna & why do clients love it?
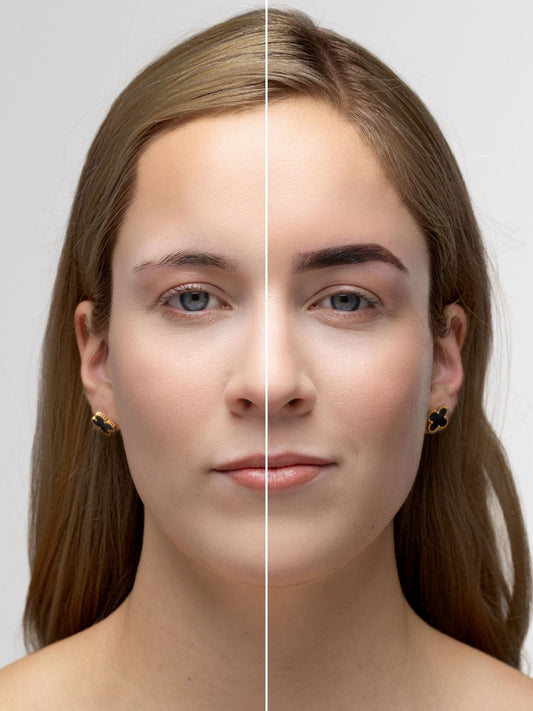
Before diving into the tutorial, let’s talk about why adding Brow Henna to your service menu is a total game-changer. Unlike traditional chemical tints that rely on hydrogen peroxide to penetrate the hair cuticle, natural brow henna is activated simply with water or specialized developers.
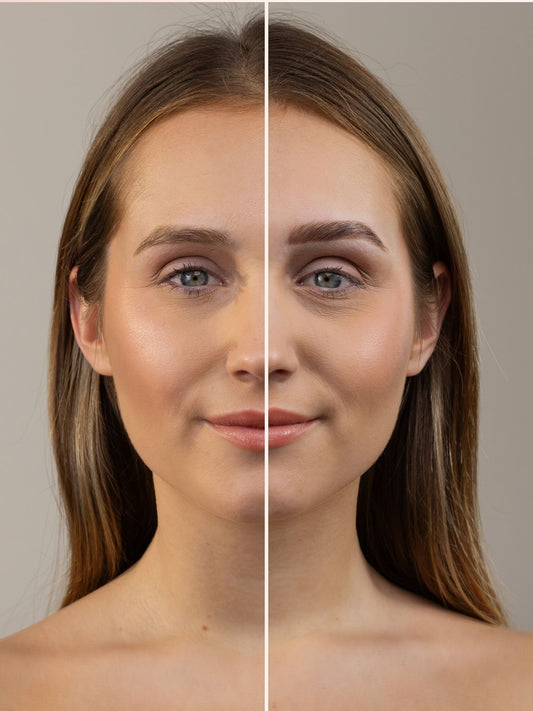
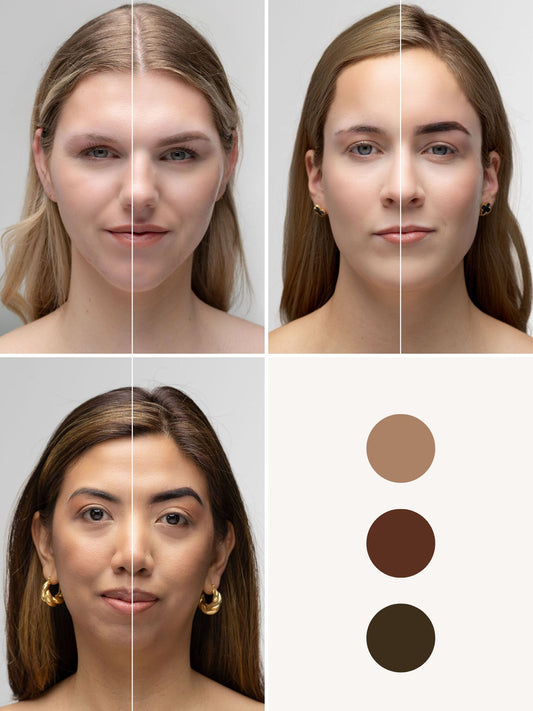
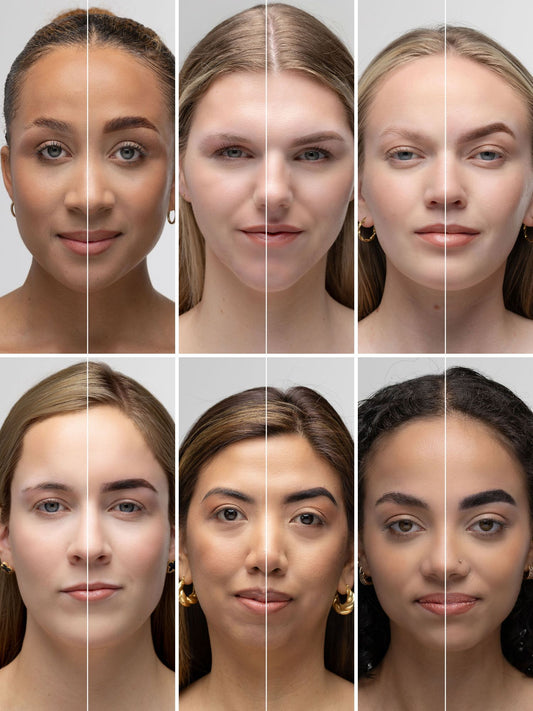
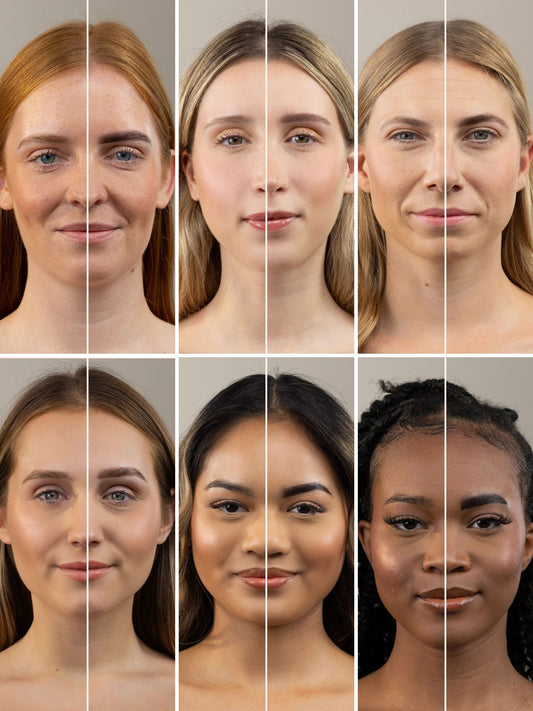
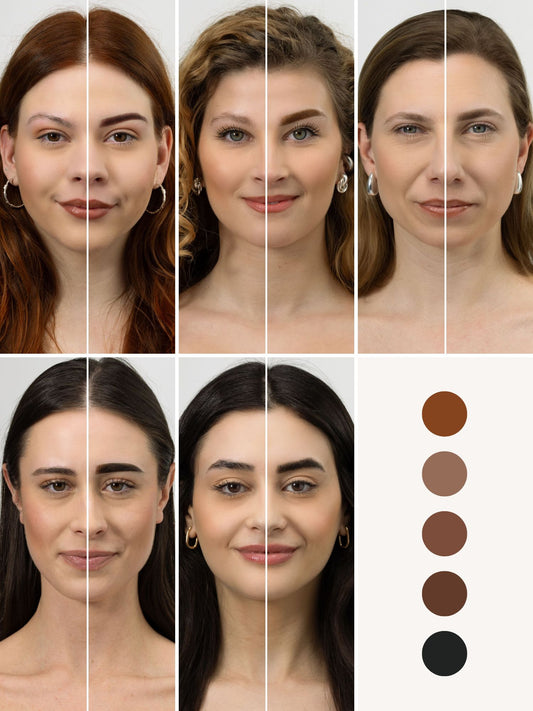
It coats the outside of the hair shaft, making brows look visually thicker, fluffier, and healthier. Plus, because henna stains the epidermis (the top layer of the skin), it fills in sparse gaps, covers up old beauty mistakes, and gives clients that powdery, "powder-brow" effect without any permanent commitment!
What you need before you start (The ultimate henna toolkit)
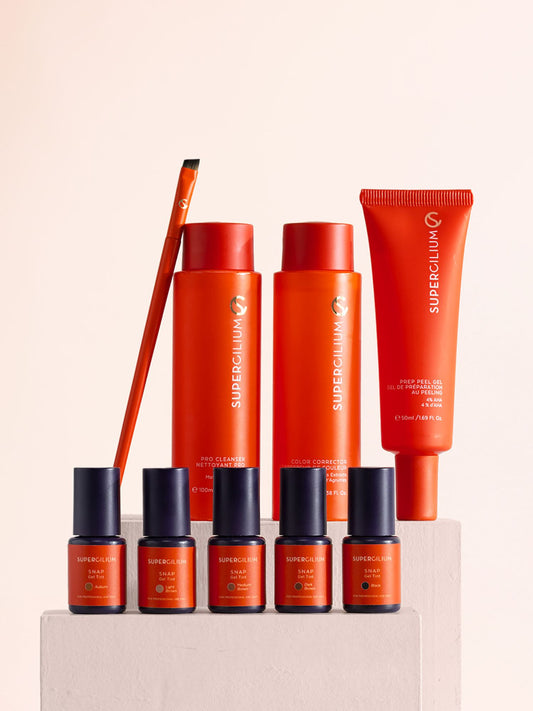
To get that smooth, rich stain without any patchy spots or uneven fading, having high-quality products on your trolley is non-negotiable. Here is your ultimate beginner kit checklist:
-
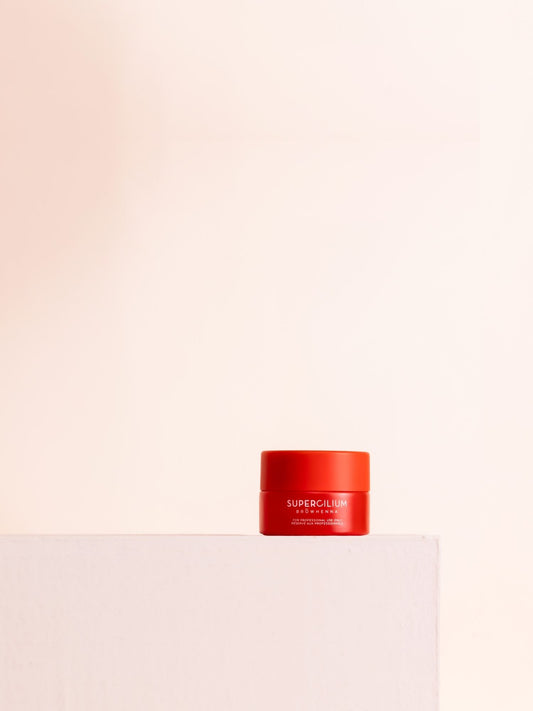
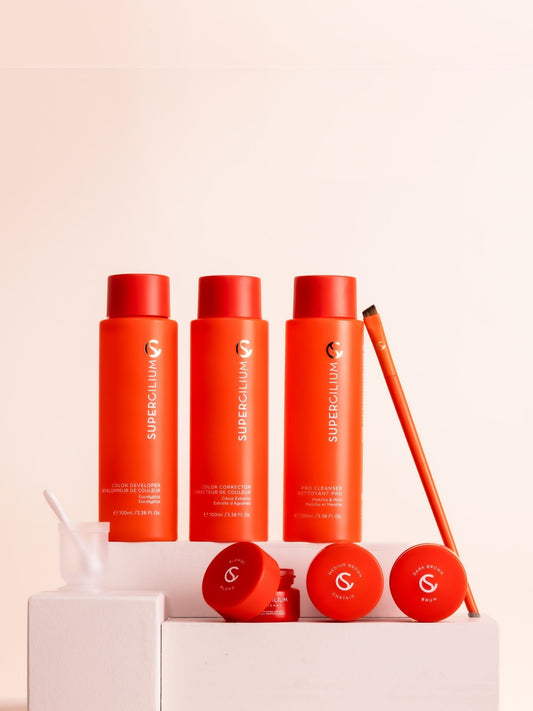
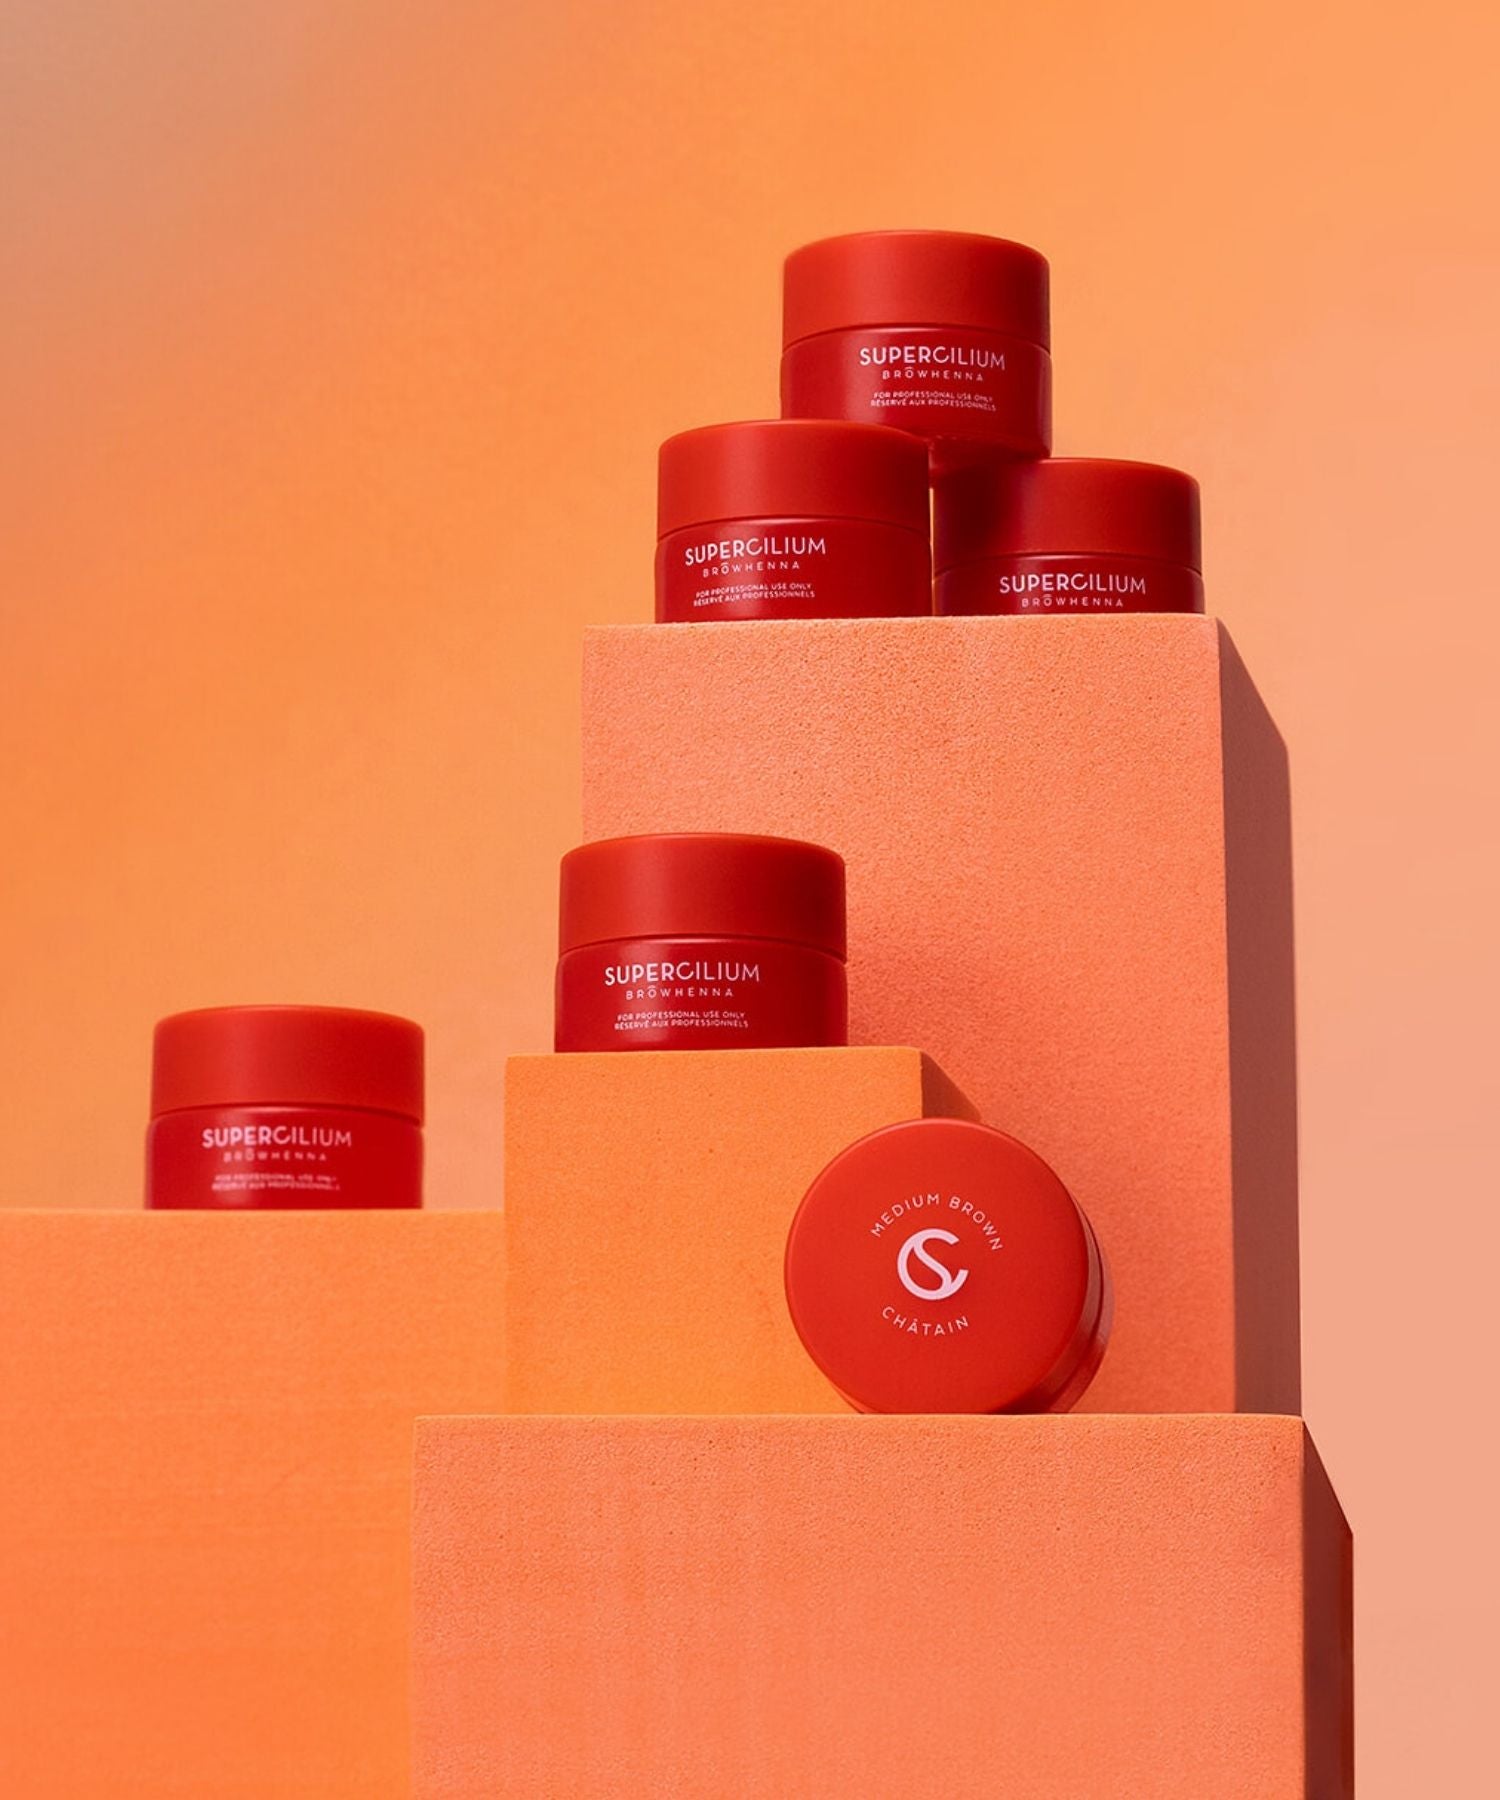
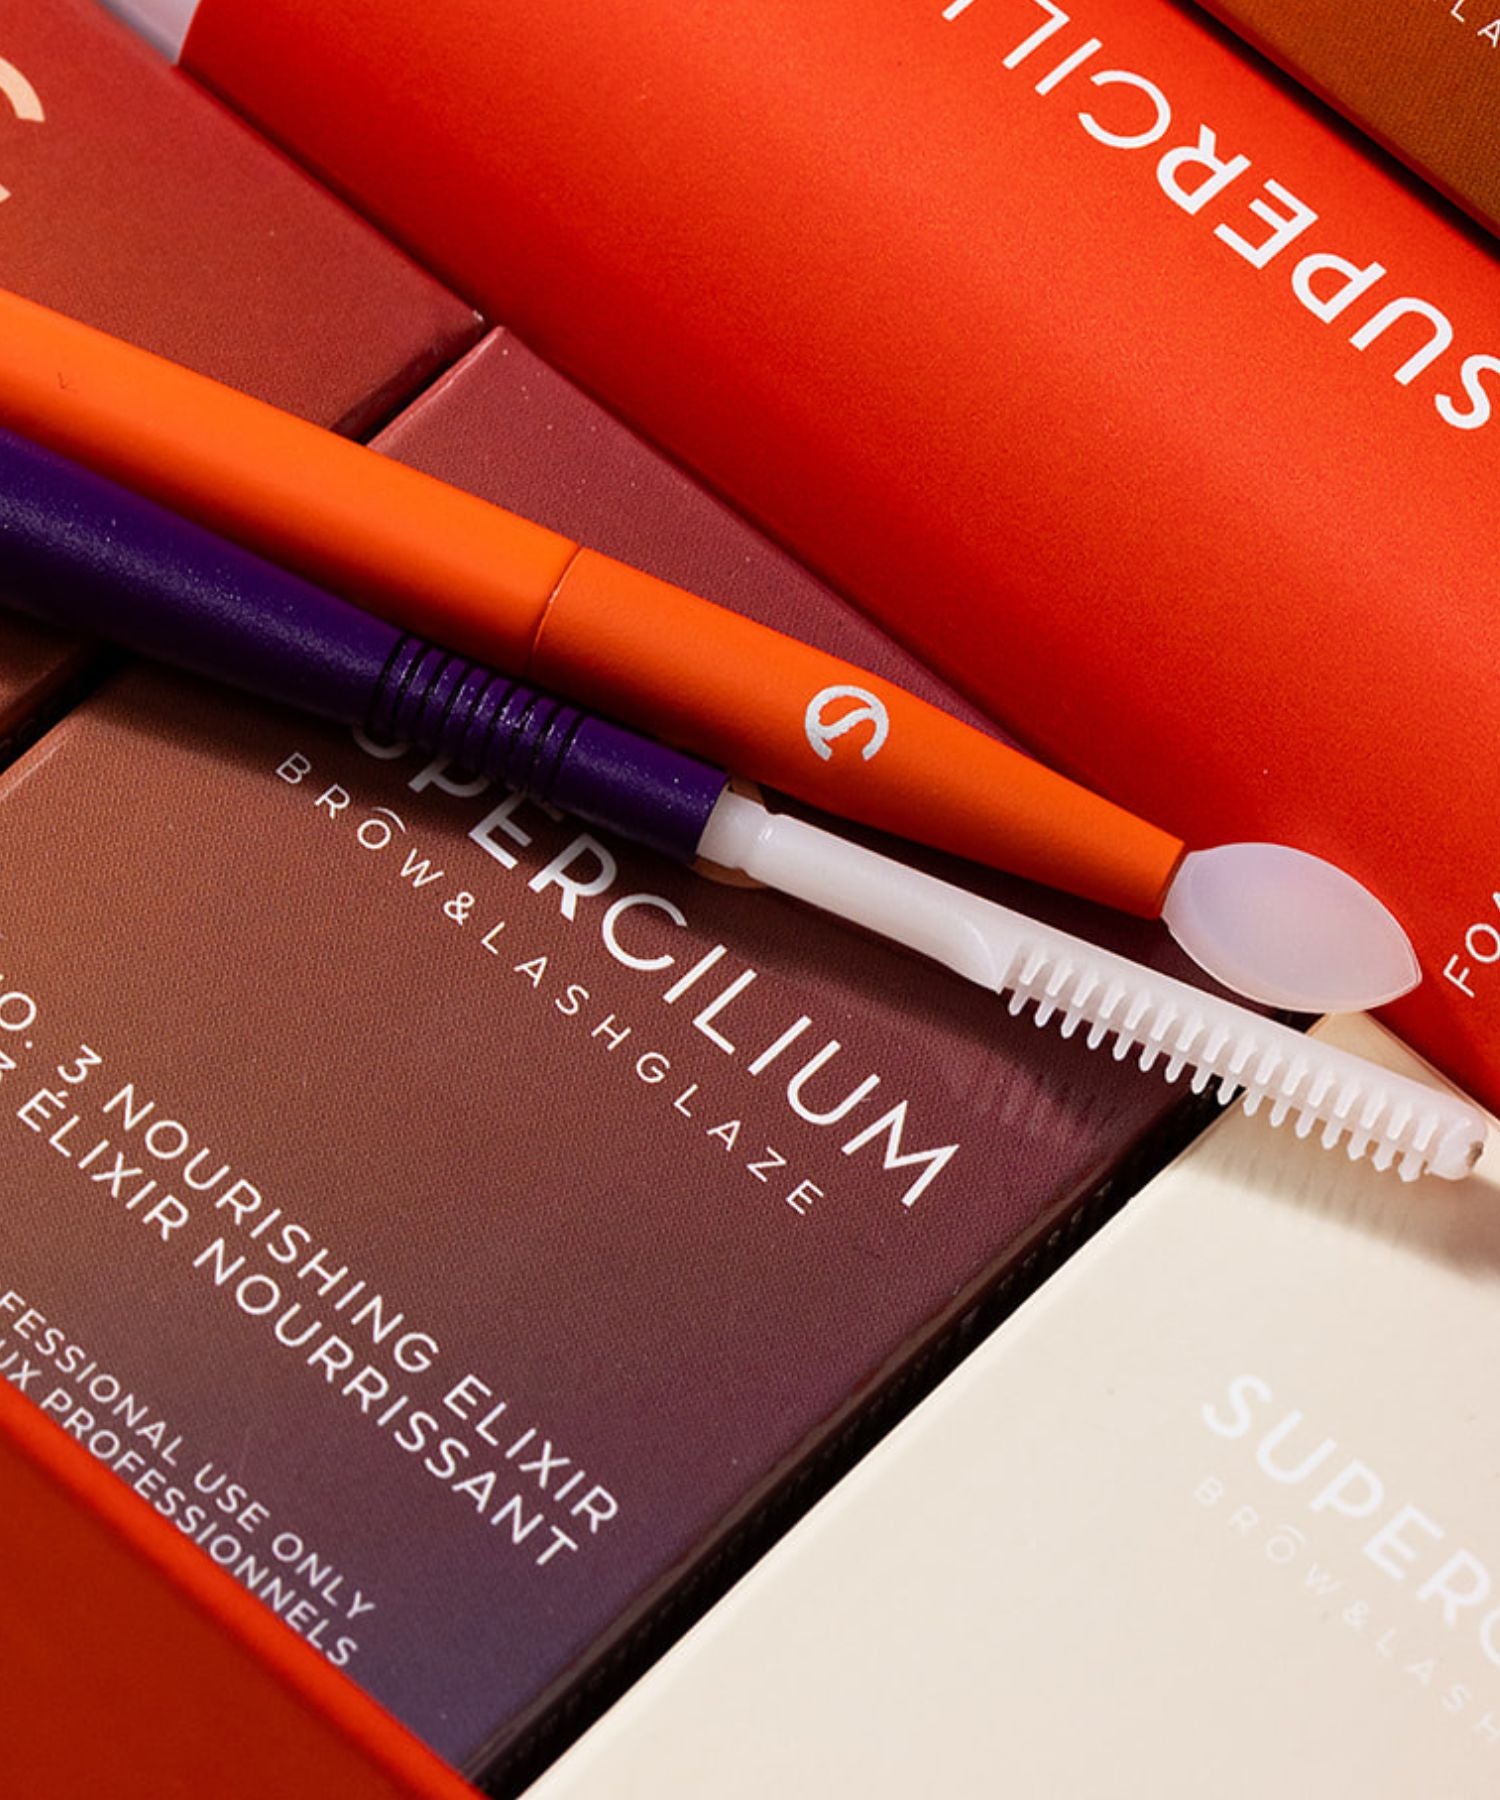
Supercilium Brow Henna↗: Made with fine, high-grade henna powder for smooth mixing and even color absorption.
-
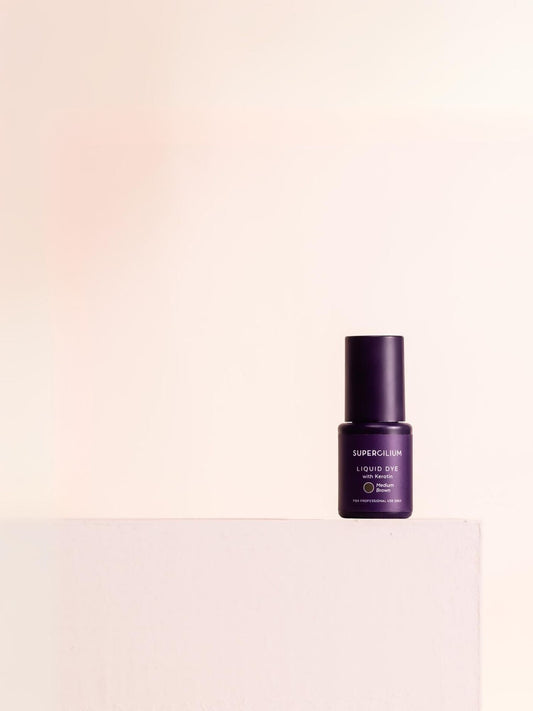
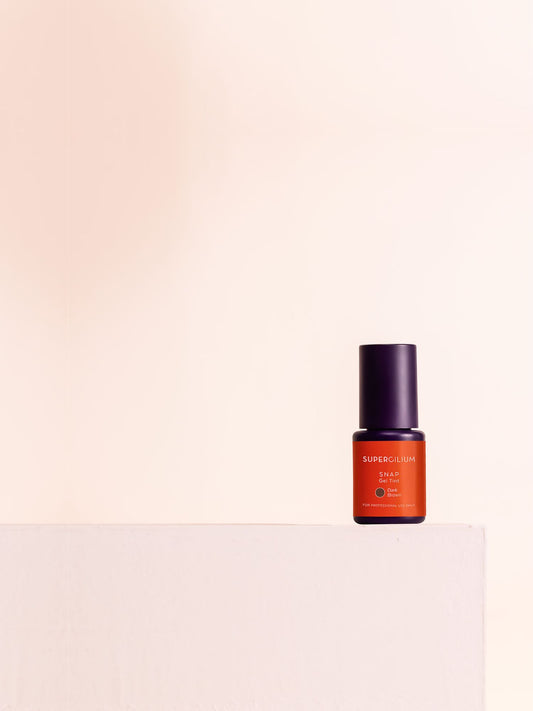
Color Developer↗: Formulated to activate the natural henna pigments into a creamy, easy-to-apply paste.
-
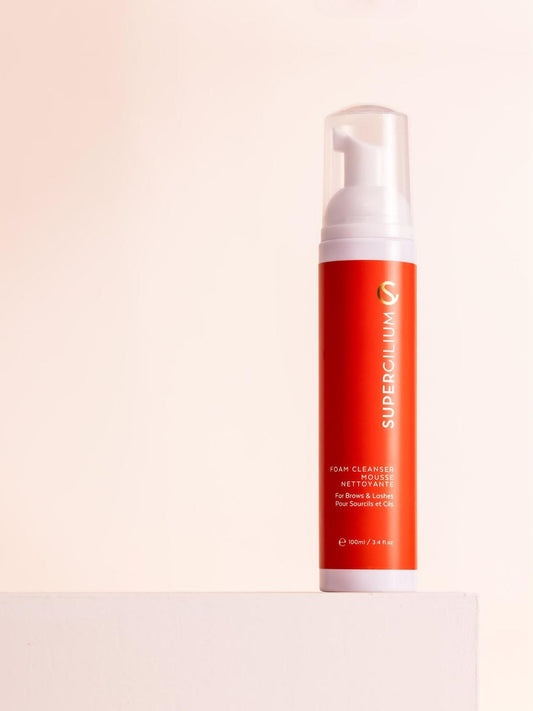
Pro Cleanser↗: To strip away oils, cosmetics, and dead skin before tinting.
-
Mapping String & White Brow Paste↗: Essential for outlining clean, symmetrical borders before applying pigment.
-
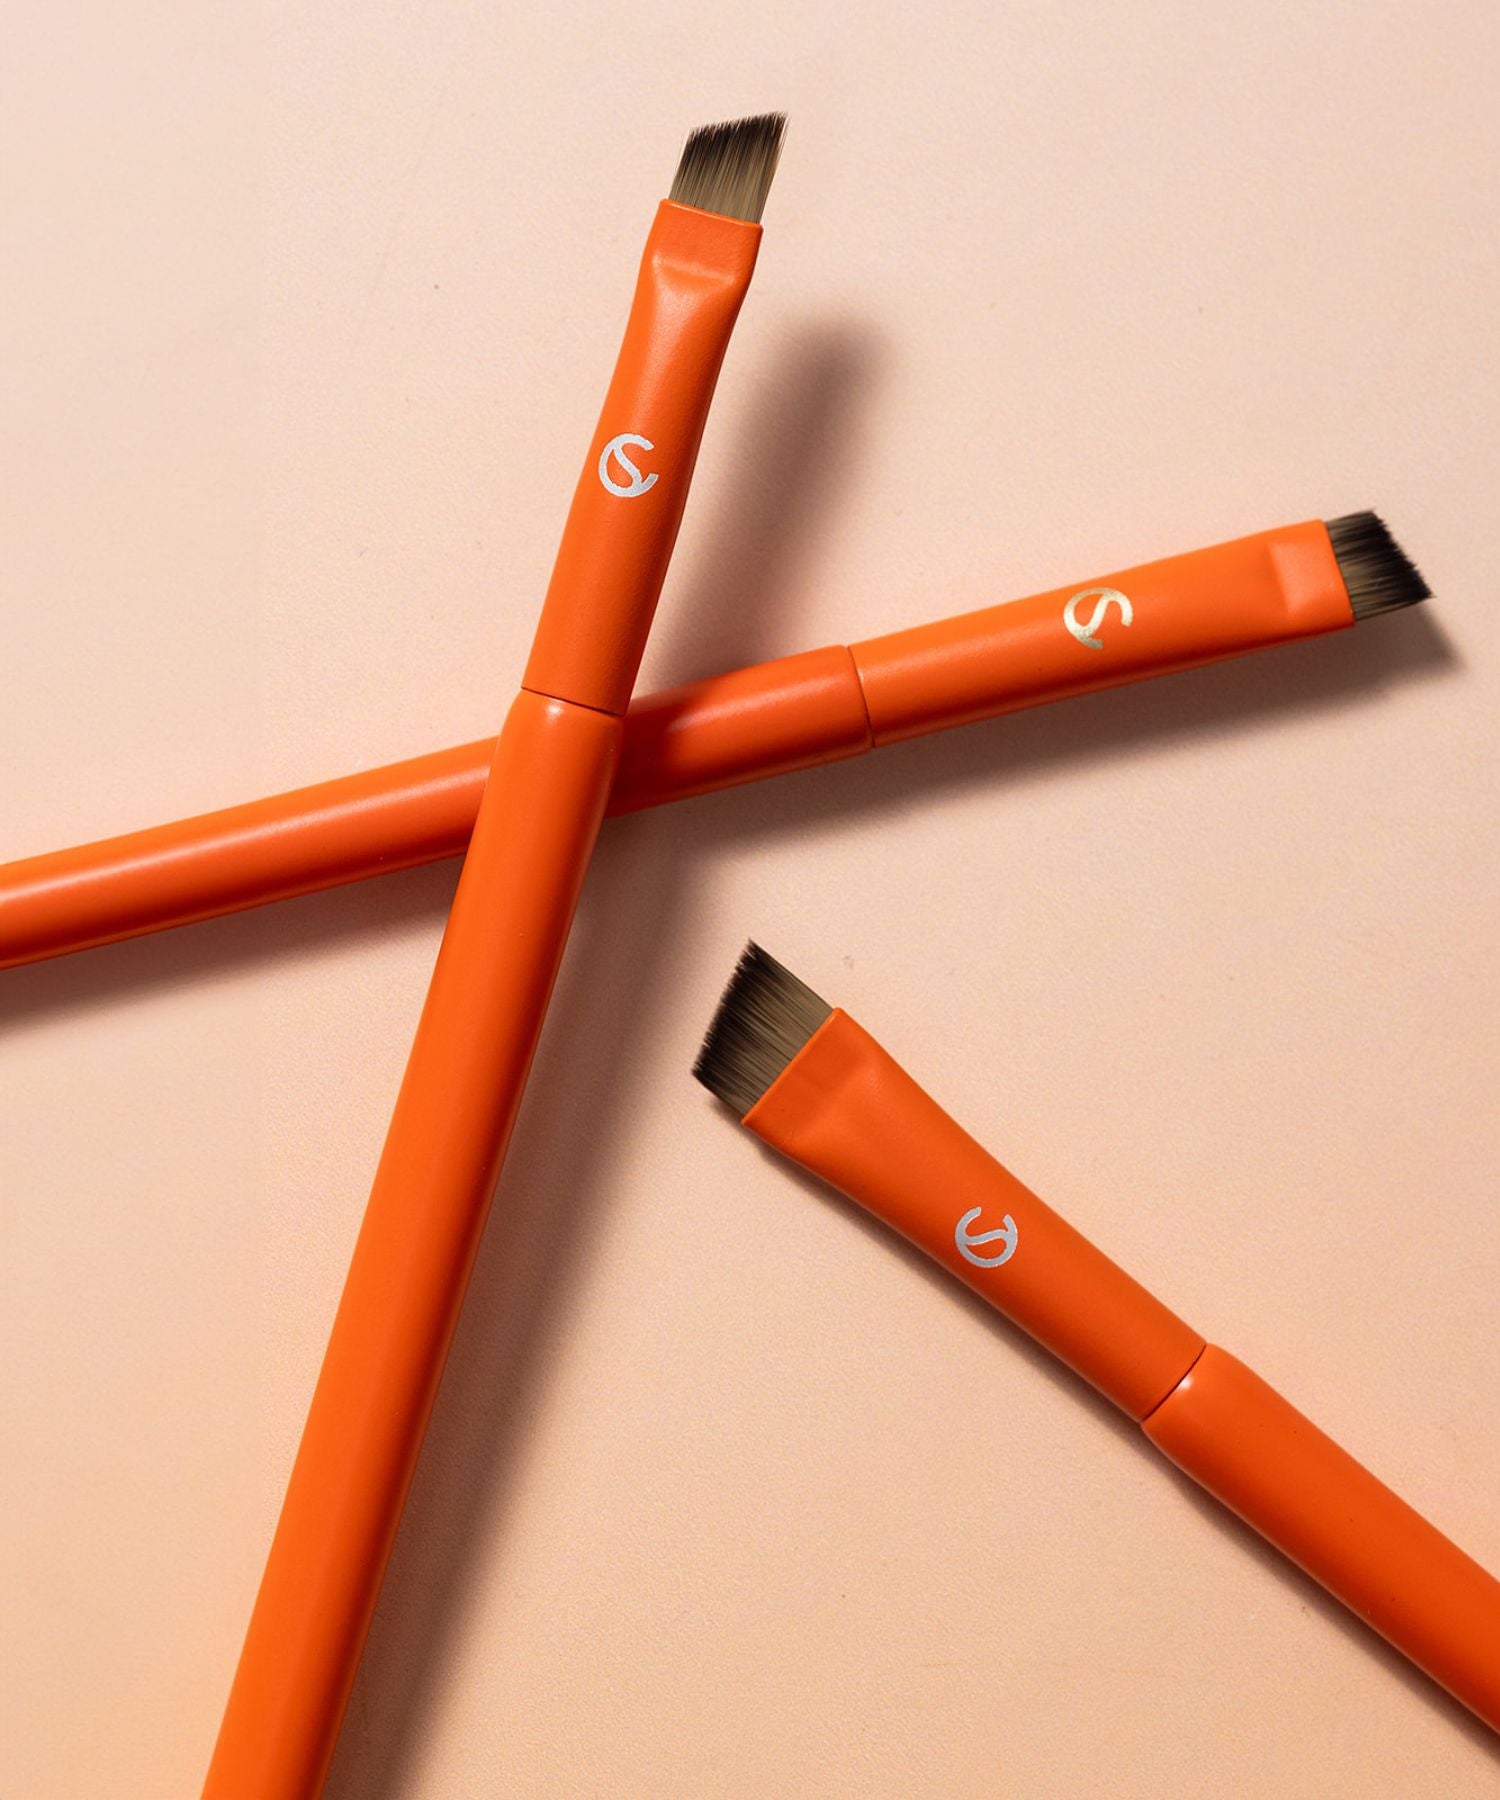
Angled Brow Brush↗: A firm, short-bristled brush for pressing the henna directly onto the skin beneath the hair.
-
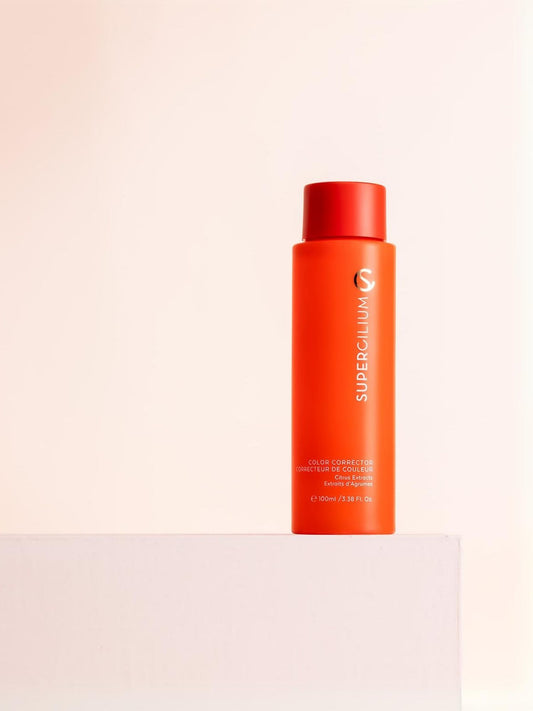
Color Corrector↗: For sharpening borders, lifting accidental smudges, and creating soft ombré fronts.
Watch the Full Video Tutorial!
Want to see the brush angles, mixing texture, and cleanup steps in real-time?

Follow @supercilium @studioarchbeauty for daily professional brow tips!
Step-by-Step Henna Brows Tutorial
Follow these simple steps featured in our video tutorial to create flawless, client-approved brows every single time:
Step 1: Deep Clean & Prep the Canvas
Henna loves clean skin! If there is any leftover makeup, moisturizer, or excess sebum on the brow area, the stain will fade prematurely or apply patchily. Cleanse the brows thoroughly with your Pro Cleanser↗ and gently exfoliate the area using a soft brow scrub.
"Clean skin is 90% of your stain strength. Never skip your prep routine!"
Step 2: Precise Brow Mapping
Before mixing your color, map out your client's ideal shape using white mapping paste↗ or string. Outline the lower baseline, the arch peak, and the tail. Having clear, visible white borders acts as a physical barrier, preventing your henna from bleeding into areas you don't want to stain!
Step 3: Mix the Henna Paste
Add 1 scoop of Supercilium Brow Henna↗ powder into a non-metallic mixing cup. Add 10 to 12 drops of Color Developer↗ or warm water. Stir thoroughly with a mini-whisk or mixing stick until the mixture reaches a smooth, soy-sauce-like consistency, no dry lumps allowed! Let the paste sit for 1 to 2 minutes so the natural henna pigments can fully activate.
Step 4: Layers
Using your angled brush, start applying the henna from the tail of the brow toward the front.
-
Don't just swipe the product on top of the hairs, press and stipple the henna paste deep into the skin beneath the brow hair.
-
Keep your edges razor-sharp against your white mapping lines.
-
Apply a second thin layer once the first layer starts to dry if you want a deeper, more dramatic skin stain!
"Work in small, controlled sections and press the henna into the skin so every single hair follicle gets covered."
Step 5: Clean Up Your Lines
While the henna is still wet, use a clean cotton swab or precision microbrush dipped in Color Corrector↗ to wipe along the edges and sharpen the tail tip. This gives you those crisp, camera-ready lines your clients will love!
Step 6: Create the Ombré Effect
Leave the henna on for 10 to 15 minutes overall, depending on the client's hair texture and desired intensity. To create a soft, natural ombré front:
-
Remove the henna from the very front section of the brow after just 3 to 5 minutes using a damp cotton pad.
-
Leave the body and tail to process for the full duration.
Step 7: Wipe Away & Nourish
Once the processing time is complete, wipe away the remaining dried henna using a moist cotton pad. Brush the brows upward with a spoolie, apply a drop of nourishing brow oil, and unveil your client's fresh transformation!

Fast-Track Your Success
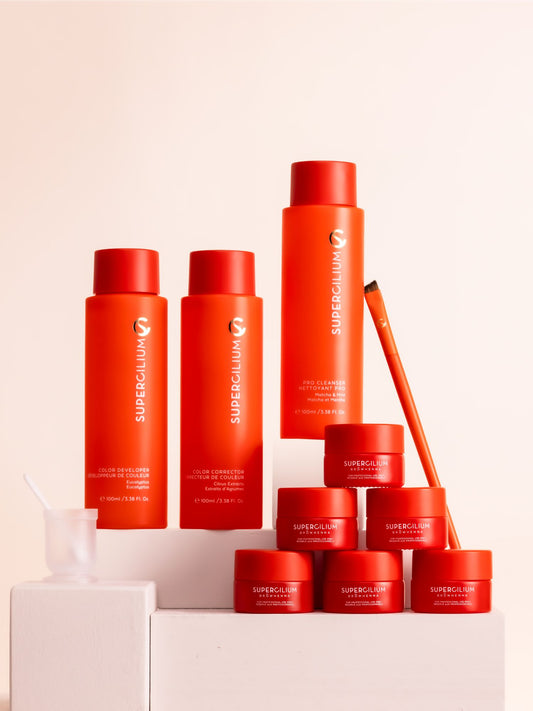
Ready to set yourself up for absolute success from day one? The Supercilium Brow Henna Starter Kit↗ is an absolute must-have. Packed with all 6 versatile henna shades, developer, cleanser, and professional mapping tools, this kit gives you up to 330 treatments to maximize your salon profit!
Want to master the theory, undertones, and precise application techniques with total confidence? Pair your kit with our Certified Henna Brows Course↗ at Supercilium Academy. You'll get step-by-step video lessons, expert guidance, and an accredited certification to showcase right on your salon wall!
Frequently Asked Questions (FAQs)
How long do henna brows last?
Supercilium Brow Henna lasts up to 2 weeks on the skin and up to 6 weeks on the natural brow hair shaft, depending on the client's skin type, daily skincare routine, and aftercare diligence.
Can I perform brow henna on oily skin?
Yes, but keep in mind that oily skin types shed skin cells faster, which means the skin stain may fade closer to 5 to 7 days. Ensure you degrease the skin thoroughly during Step 1!
How do I stop henna brows from turning red or orange?
Always make sure you let the henna paste sit for 1 to 2 minutes after mixing so the pigments stabilize. Using professional shades formulated with cool bases—like Supercilium Brow Henna—ensures rich, natural brown tones every time.
Ready to Elevate Your Salon Menu?
Henna brows are quick to perform, easy to master, and provide incredible value for your clients. Stock up on your favorite shades and starter sets by visiting the Supercilium Brow Henna Collection↗ today!
Have you tried this technique yet? Tag us and the featured creator in your before-and-after transformations on Instagram so we can share your work with our global brow community!