

Step 3 explained: The secret to long-Lasting Brow Lamination results
written byRafaela Tessari
In This Article
What happens to brows after Brow Lamination?
Let’s dive right in.
A Brow Lamination treatment ↗ is a chemical process that restructures the brow hairs to create that lifted, fluffy look. And no matter if the formula is vegan or more gentle, it still has an impact on the hair, even if it’s less aggressive than other chemical treatments. That’s why Brow Lamination Aftercare ↗ is so important if you want to maintain healthy brows after Eyebrow Lamination and achieve long-lasting results.
Here’s how the Brow Lamination steps work:
- Step 1 – Relaxing (Solution 1 ↗): The hair structure is softened, allowing you to reshape the brows and redirect the hair growth
- Step 2 – Setting (Laminate Solution ↗): The hairs are fixed into their new position, locking in that lifted, styled look
At this point, the brows may look “done”… but they’re not. Because after these two steps, the hair has been processed and left vulnerable. This is exactly why you can’t stop here.
- Step 3 – Nourishing (Elixir ↗): This step restores moisture, strengthens the hair, and brings back flexibility and shine.

Why Brow Lamination Aftercare is so important
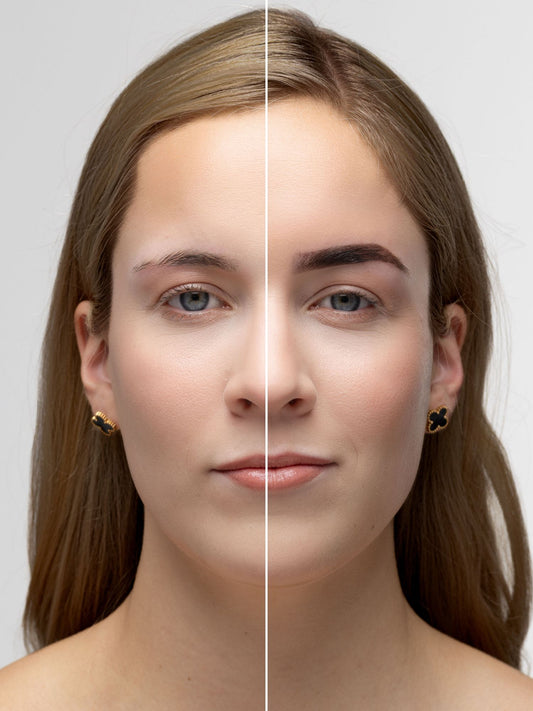
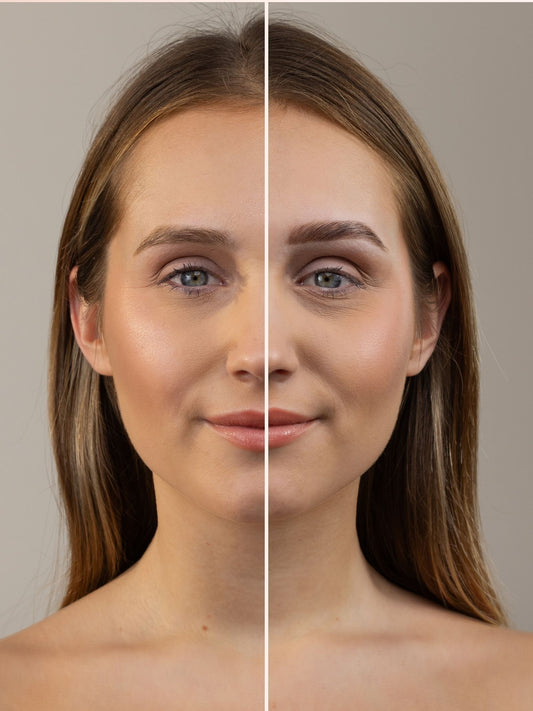
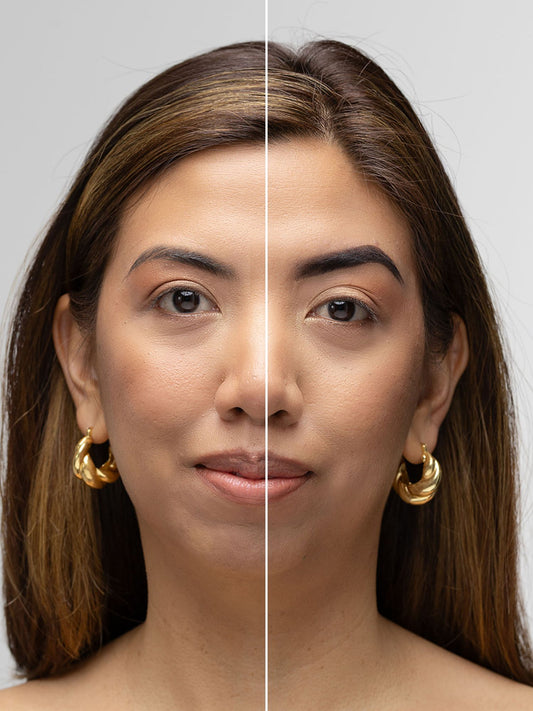
After a Brow Lamination treatment, the brows may look perfectly styled - but underneath, the hair has gone through a restructuring process. This means the brows are more sensitive, slightly dehydrated, and in need of proper Brow Lamination Aftercare to recover. If you want to maintain healthy brows after lamination and achieve long-lasting results, aftercare is not optional - it’s essential.
Without the right after Brow Lamination Care, you may start to notice:
- Brows feeling dry or rough to the touch
- Loss of shine and flexibility
- Hairs becoming harder to style
- Brow Lamination results fading faster than expected
This is exactly why a proper Brow Lamination routine matters. The goal of a professional Brow Lamination treatment isn’t just to create shape - it’s to maintain soft, flexible, and nourished brows in the weeks after!
Remember: the Brow Lamination steps don’t end after Step 2. Step 1 and 2 create the shape, but Step 3 ↗ is what protects and maintains the result.
When you follow the right Brow Lamination aftercare, you:
- Extend how long brow lamination lasts
- Keep brows soft, flexible, and easy to style
- Help prevent dry brows after lamination
- Maintain a healthy, glossy finish
Skipping aftercare might not seem like a big deal at first, but over time it leads to weaker, less consistent results. And that’s exactly why nourishing brows after lamination should always be part of your treatment.

Meet your Aftercare Hero
If you’re serious about Brow Lamination Aftercare and want to maintain truly long-lasting Brow Lamination results, then Step 3 is where the magic happens.
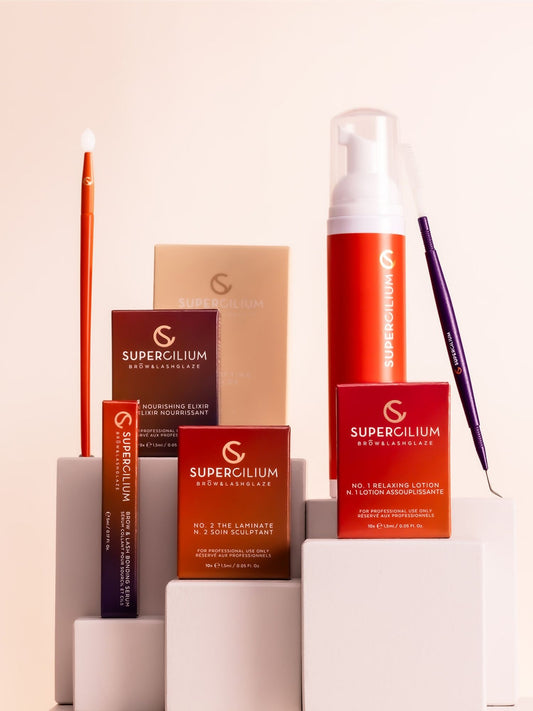
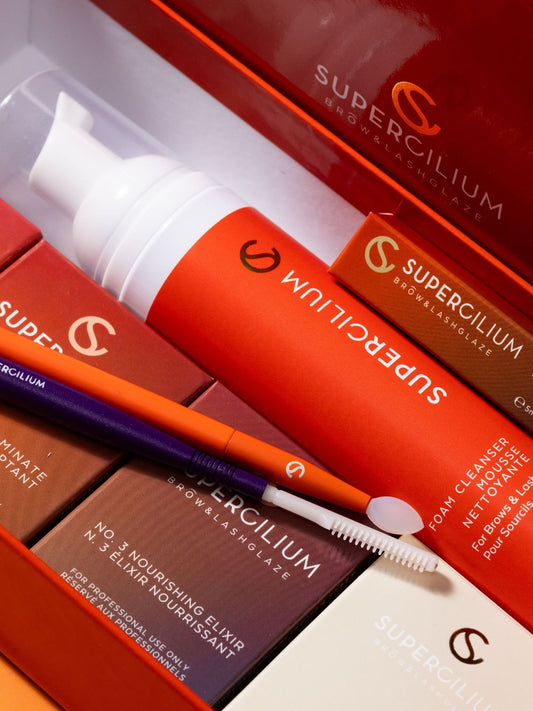
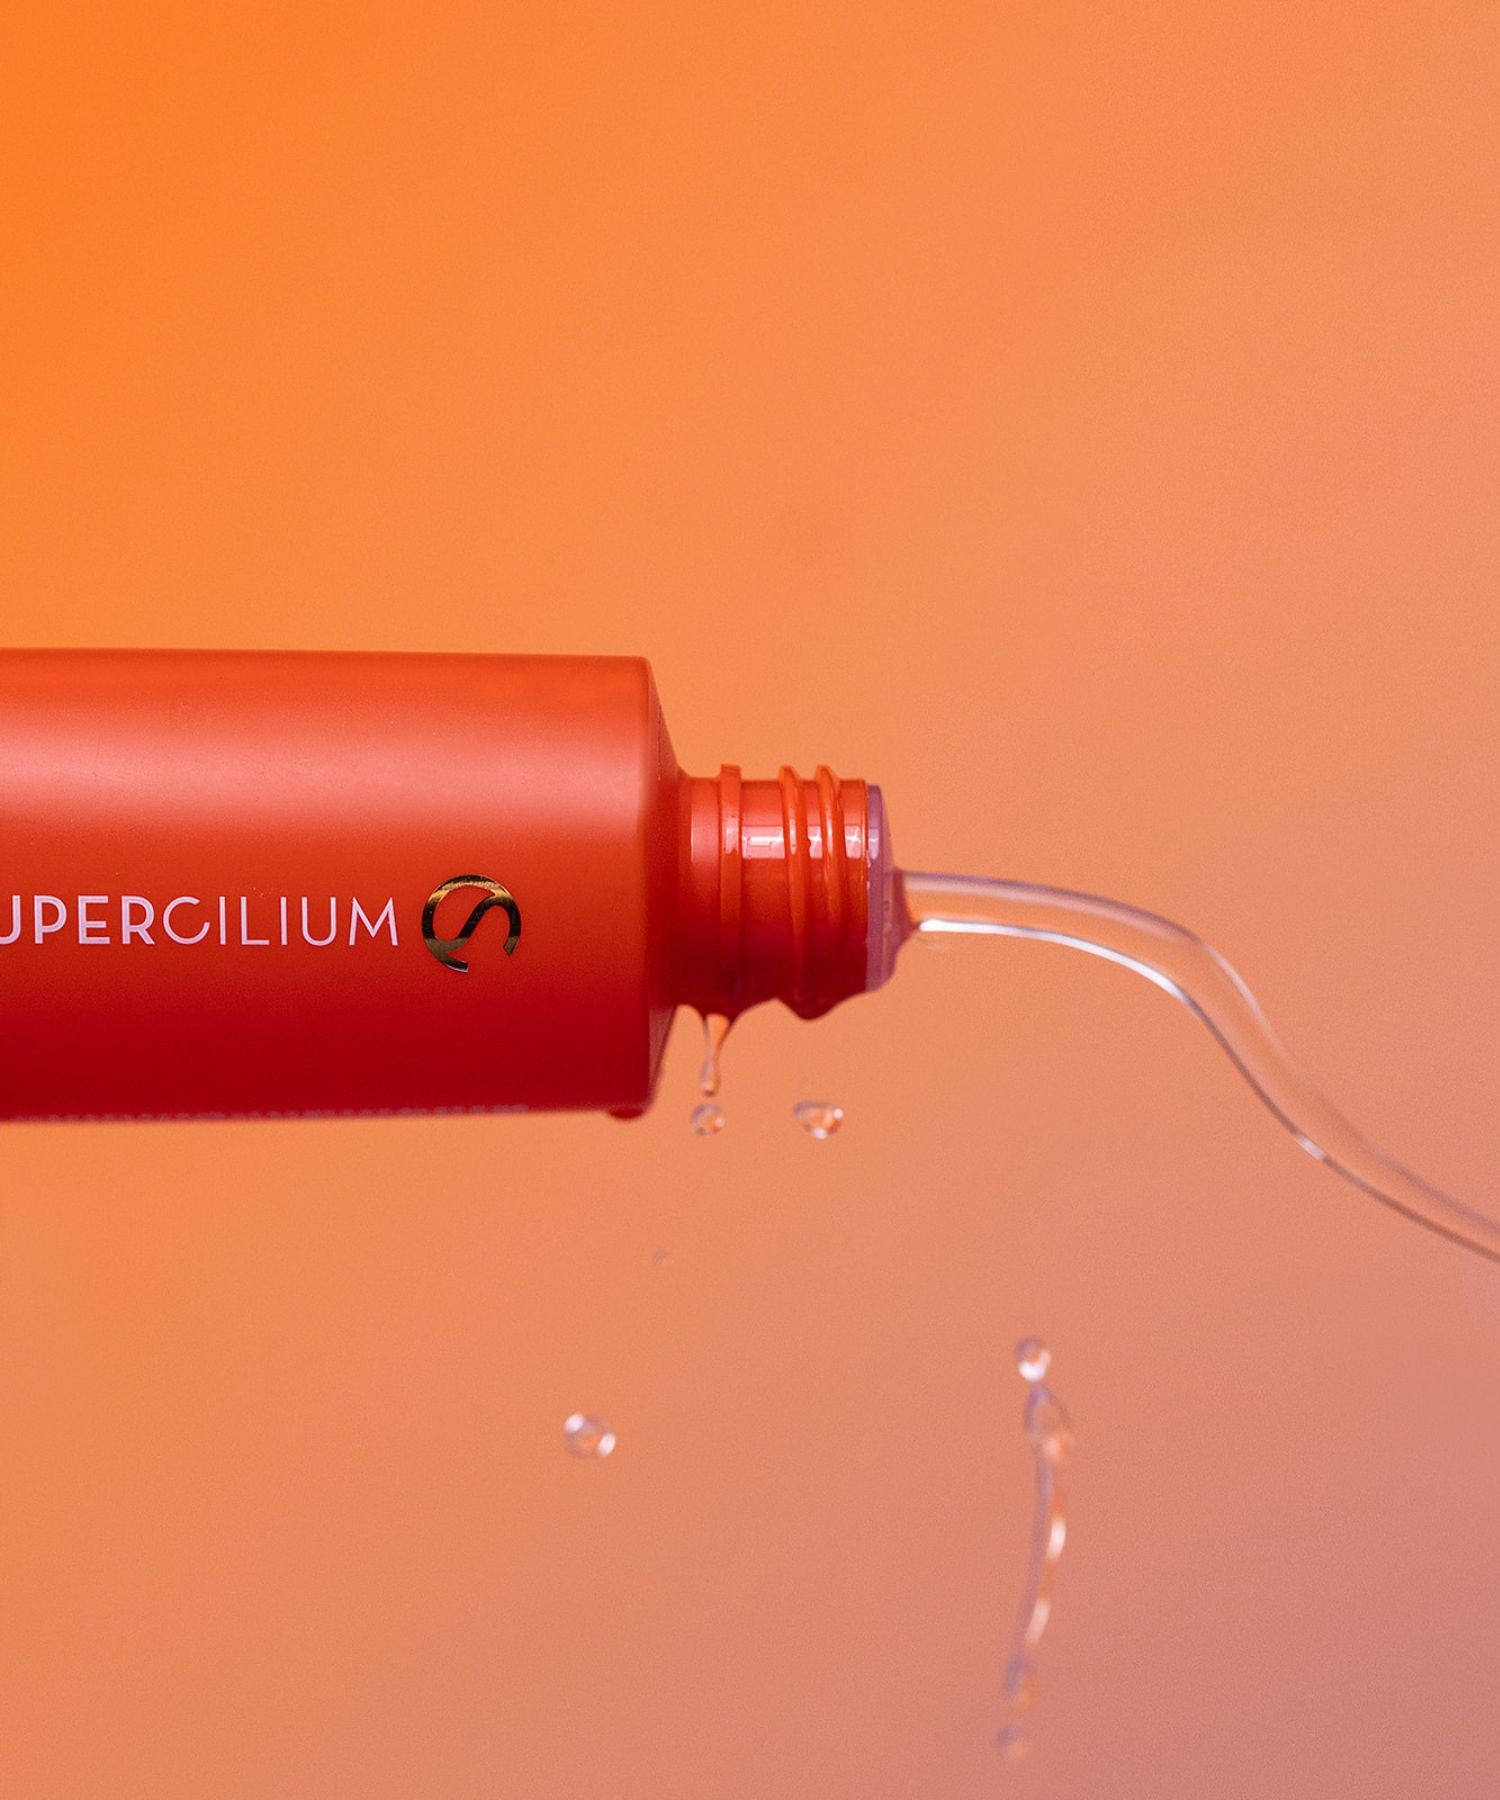
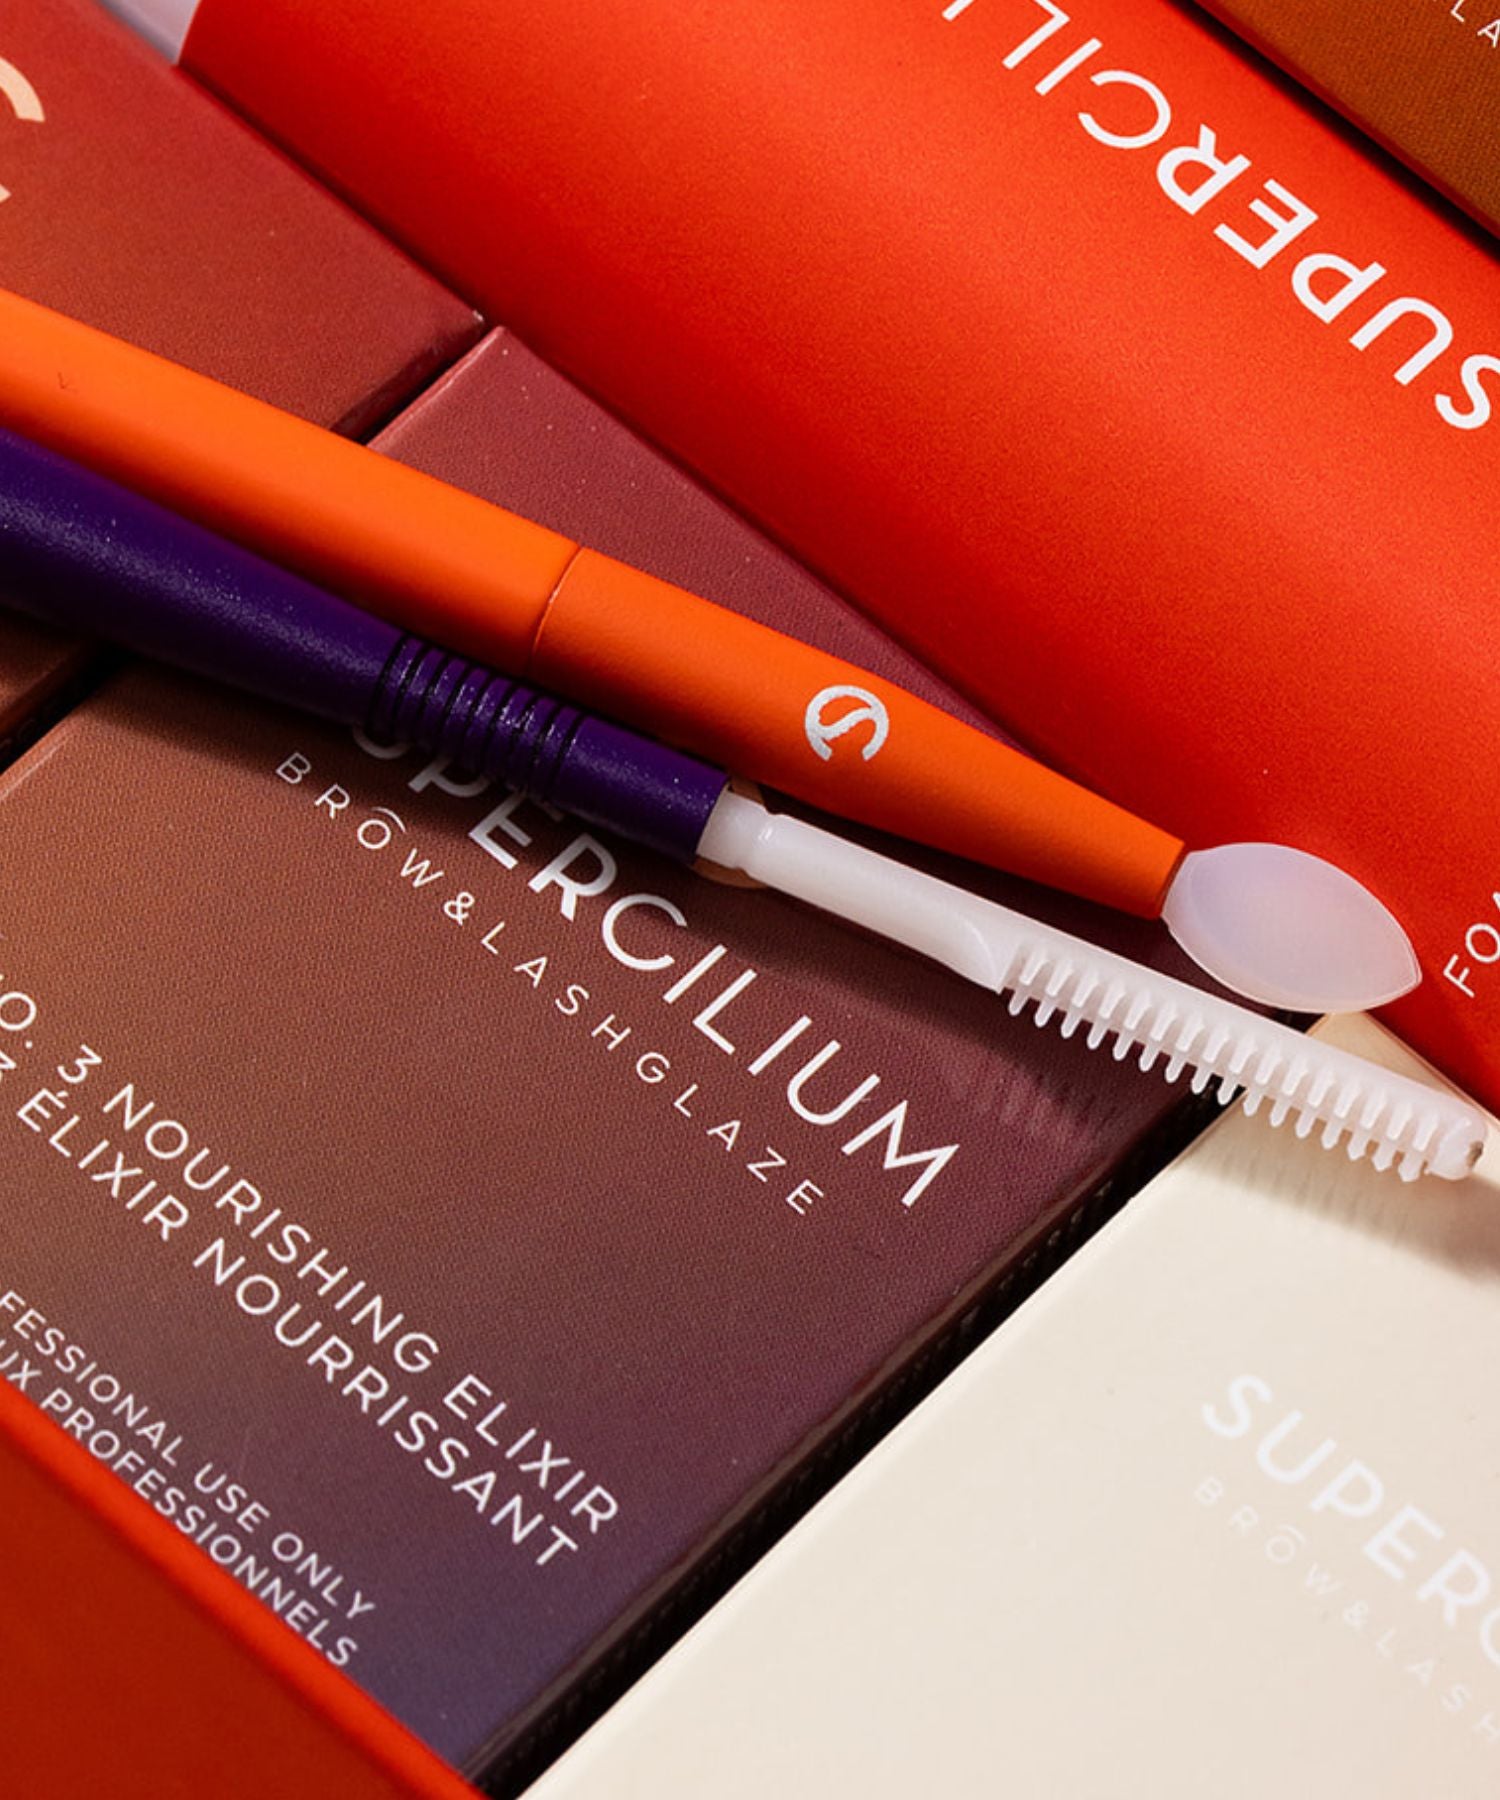
Meet your Aftercare Hero: No.3 Nourishing Elixir ↗
This final step is specifically designed to restore the brows after a Brow Lamination treatment, helping you achieve healthy brows after lamination while protecting the results you’ve just created. Because while Step 1 and 2 reshape the brows, this is the step that keeps them looking soft, healthy, and strong.
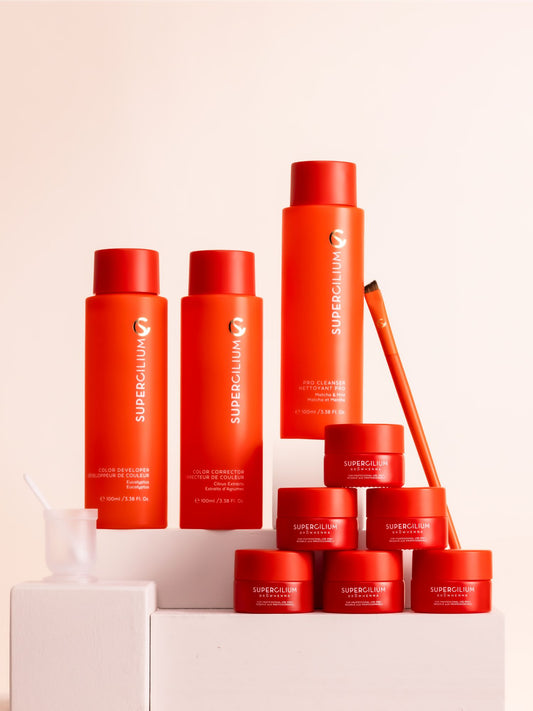
What makes No.3 so effective is its combination of nourishing, calming, and strengthening ingredients:
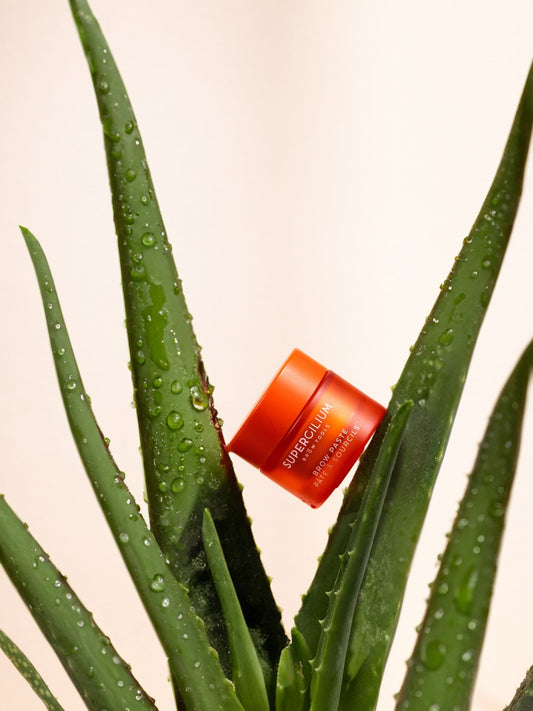
- Aloe Vera: deeply hydrates and soothes both the skin and brow hairs after processing
- Arnica: helps calm redness and irritation, making it ideal for post-treatment care helping your clients feel more comfortable
- Rosemary: acts like a shield from environmental damage while calming down irritation
These ingredients work together to support the brows exactly when they need it most, right after the chemical process. This makes it an essential part of any professional Brow Lamination routine!

The hero ingredients in Elixir Nr.3
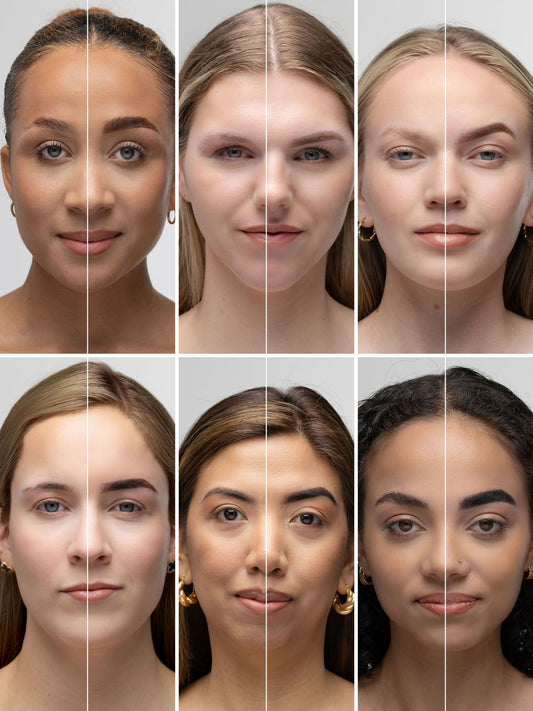
Using the right Brow Lamination products for aftercare ensures that you’re not just creating a beautiful shape, but also maintaining it. The result? Brows that stay flexible, nourished, and easy to style up to 8 weeks.
How to do Brow Lamination the right way
A Professional Brow Lamination treatment always consists of 3 essential Brow Lamination steps: relaxing, setting, and nourishing. Each step plays an important role in creating healthy, long-lasting results, so if you want the best Brow Lamination results, it’s important to complete the full process from start to finish.
Before starting, always perform a patch test 48 hours before the treatment to make sure your client has no sensitivity to the products.
Step 1: Apply the Relaxing Solution 1 ↗
The first step in the Brow Lamination treatment is to soften the hair structure so the brows can be reshaped. Apply Step 1 Solution evenly onto clean brows and leave it on according to the hair type.
Recommended processing times for brows:
- Very fine brows: 3–4 minutes
- Fine or tinted brows: 4–5 minutes
- Natural healthy brows: 5–6 minutes
- Coarse healthy brows: 6–7 minutes
While the product is processing, gently brush the hairs into the desired direction. For even better absorption, use a plastic film to cover the solution while it works.
Step 2: Apply the Laminate Solution ↗
After removing Step 1, it’s time to fix the brow hairs into their new shape. Apply Step 2 Laminate Solution and make sure the brows are brushed neatly into place before and during processing.
Recommended processing times for brows:
- Very fine, fine, and tinted brows: 5 minutes
- Natural, healthy, and coarse healthy brows: 6 minutes
This step locks in the lifted, fluffy look. At this point, the brows may appear finished - but they still need the final and essential aftercare step.
Step 3: Apply No.3 Nourishing Elixir ↗
This is the final step in the 3 step Brow Lamination process, and the one you should never skip. No.3 Nourishing Elixir is designed to support proper Brow Lamination Aftercare by restoring moisture, flexibility, and shine after the chemical process.
It helps with:
- Nourishing brows after lamination
- Supporting healthy brows after lamination
- Helping maintain long-lasting brow lamination results
- Preventing brows from feeling dry or stiff after treatment
After Step 1 and 2, the brow hairs have been restructured and can feel more vulnerable. Step 3 helps condition the hairs again, making it an essential part of after Brow Lamination care and a must in any professional Brow Lamination routine.
Final Tip for Better Brow Lamination Results
The key to better, more consistent BrowLlamination results is proper technique and understanding the full 3-step system. Enrol in our Certified Brow Lamination Course and learn how to perfect your application from start to finish with step by step videos and professional tips!