How to create Ombre Brows
written bySima Ahmed
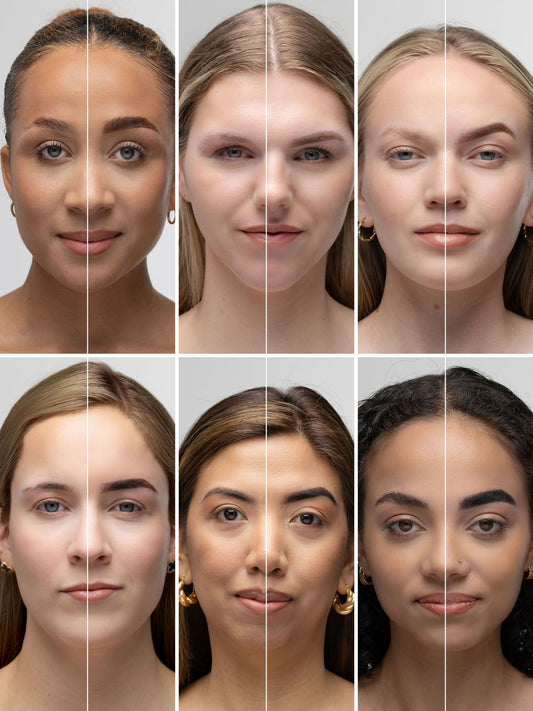
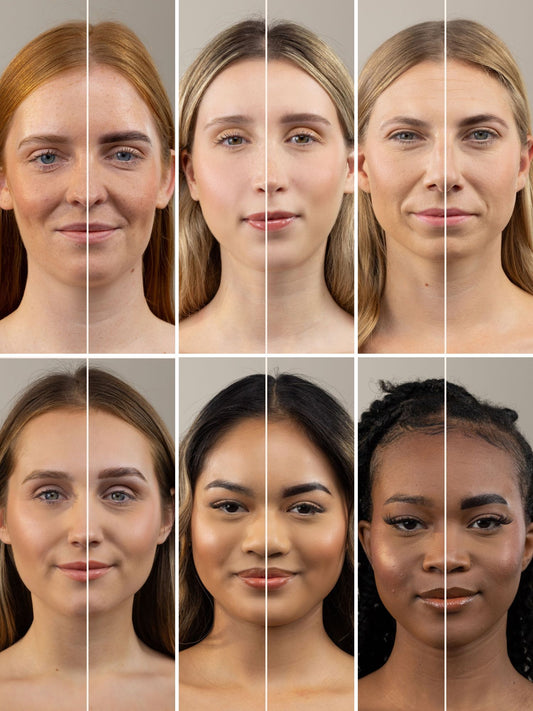
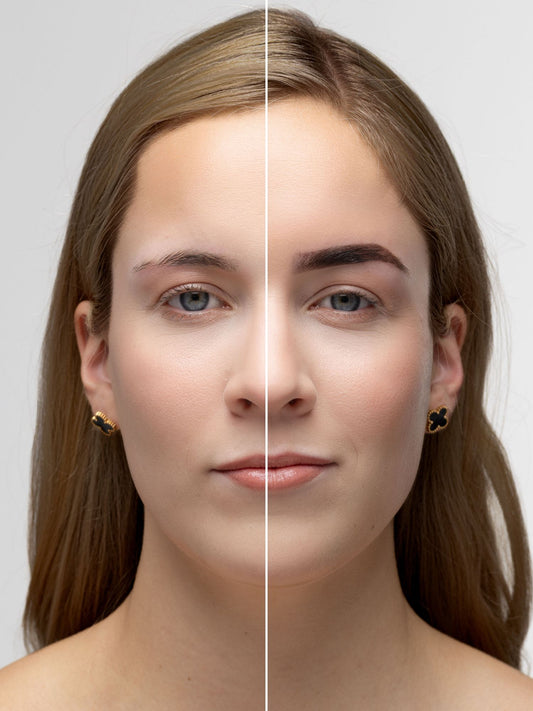
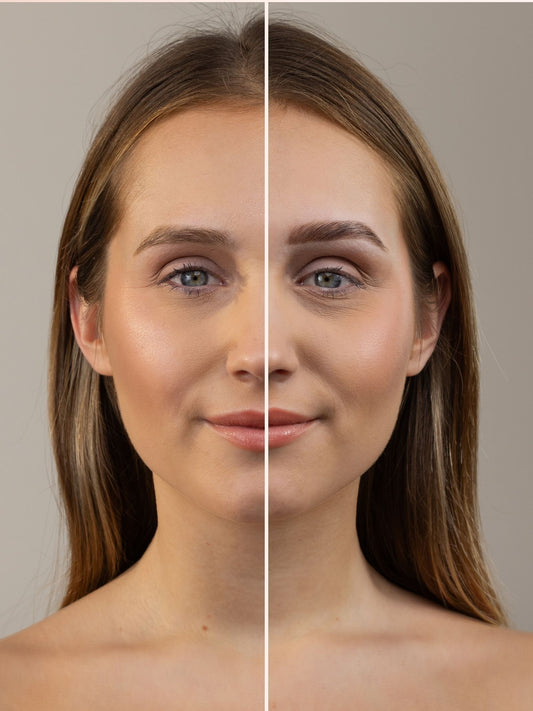
Have you wondered how people tint brows and get that perfectly soft shaded brow pencil brow look that starts light and ends much darker? We know the secret behind this endless brow trend and that is the ombré technique. Our classic technique that we use during our training sessions. Good news, in this blog we will tell you how you can create the perfect ombre brows effect for your clients (or yourself).
The funny thing is, it's quite simple and totally doable for all brow artists! There is a simple trick to it, and we are here to explain exactly how to do it!
What is the ombre brows technique?
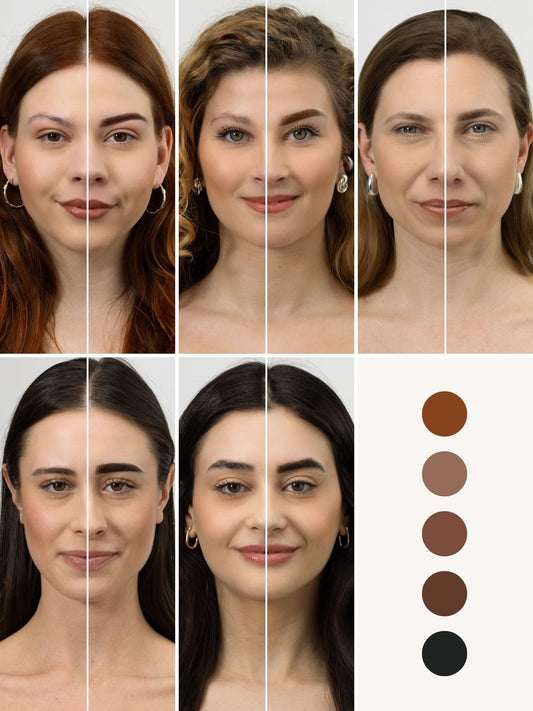
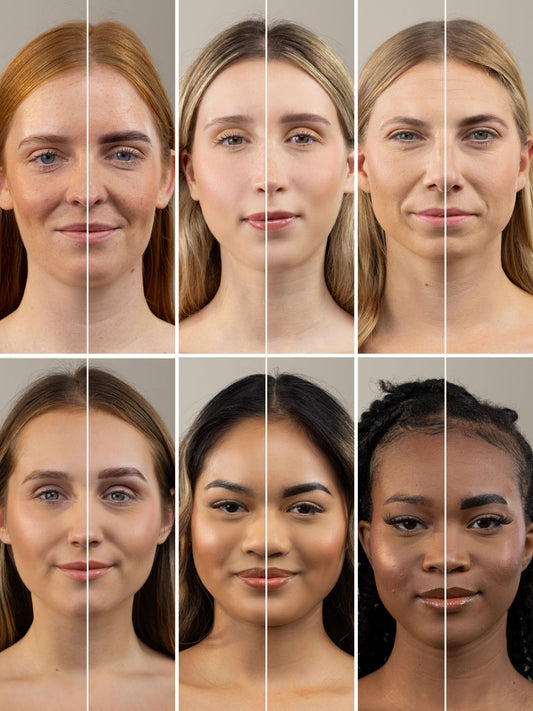
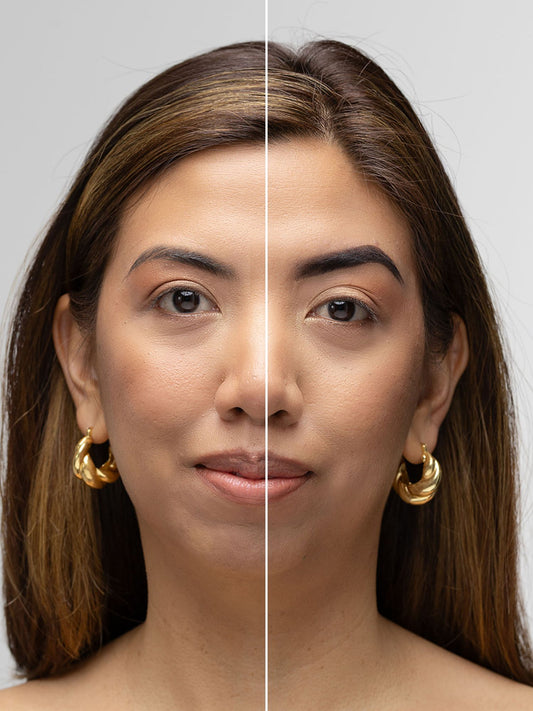
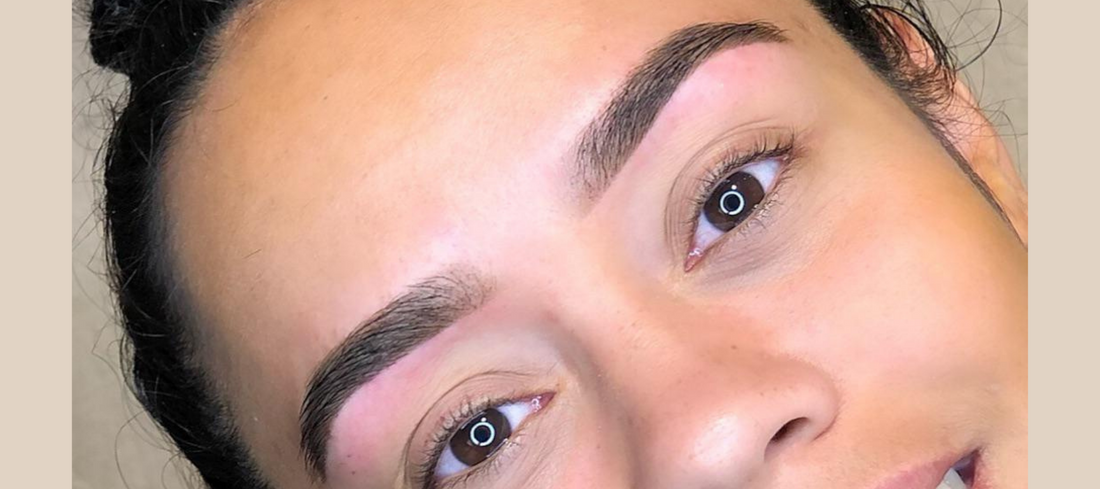
The ombre brows effect means that you apply the henna tint or regular tint from light to dark. This effect gives a natural look because natural eyebrows often go from light to dark. This technique is often used with semi-permanent makeup also called ombre powder brows. With both henna and ombre powder brows, you want to achieve a natural result. Otherwise, eyebrows can look severe and unnatural. This doesn't do much good for a client's face.
Did you know that.....
- Henna brows can last up to 2 weeks on the skin and 4 to 6 weeks on the hair.
- You need to keep your eyebrows dry for the first 24 hours after a henna brow treatment. This allows the henna to penetrate better into your skin and it will stay on longer.
- A henna brow treatment costs between €25 - €45. If you're thinking about getting permanent ombre brows you can always try henna brows first to see if you like the result. A powder treatment costs easily €275 - €400.
Supercilium Brow Henna in 5 easy steps
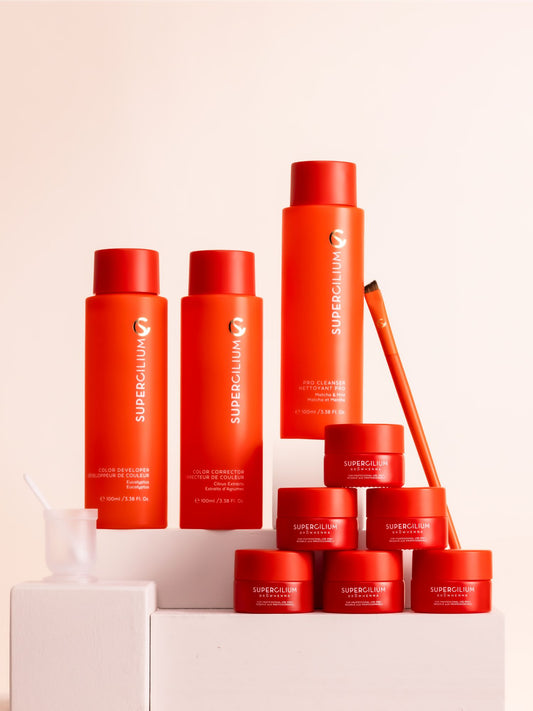
As mentioned in previous blog posts, we have a simple 5 step process on how to tint brows with our Supercilium Brow Henna. We will cover those steps again quickly.
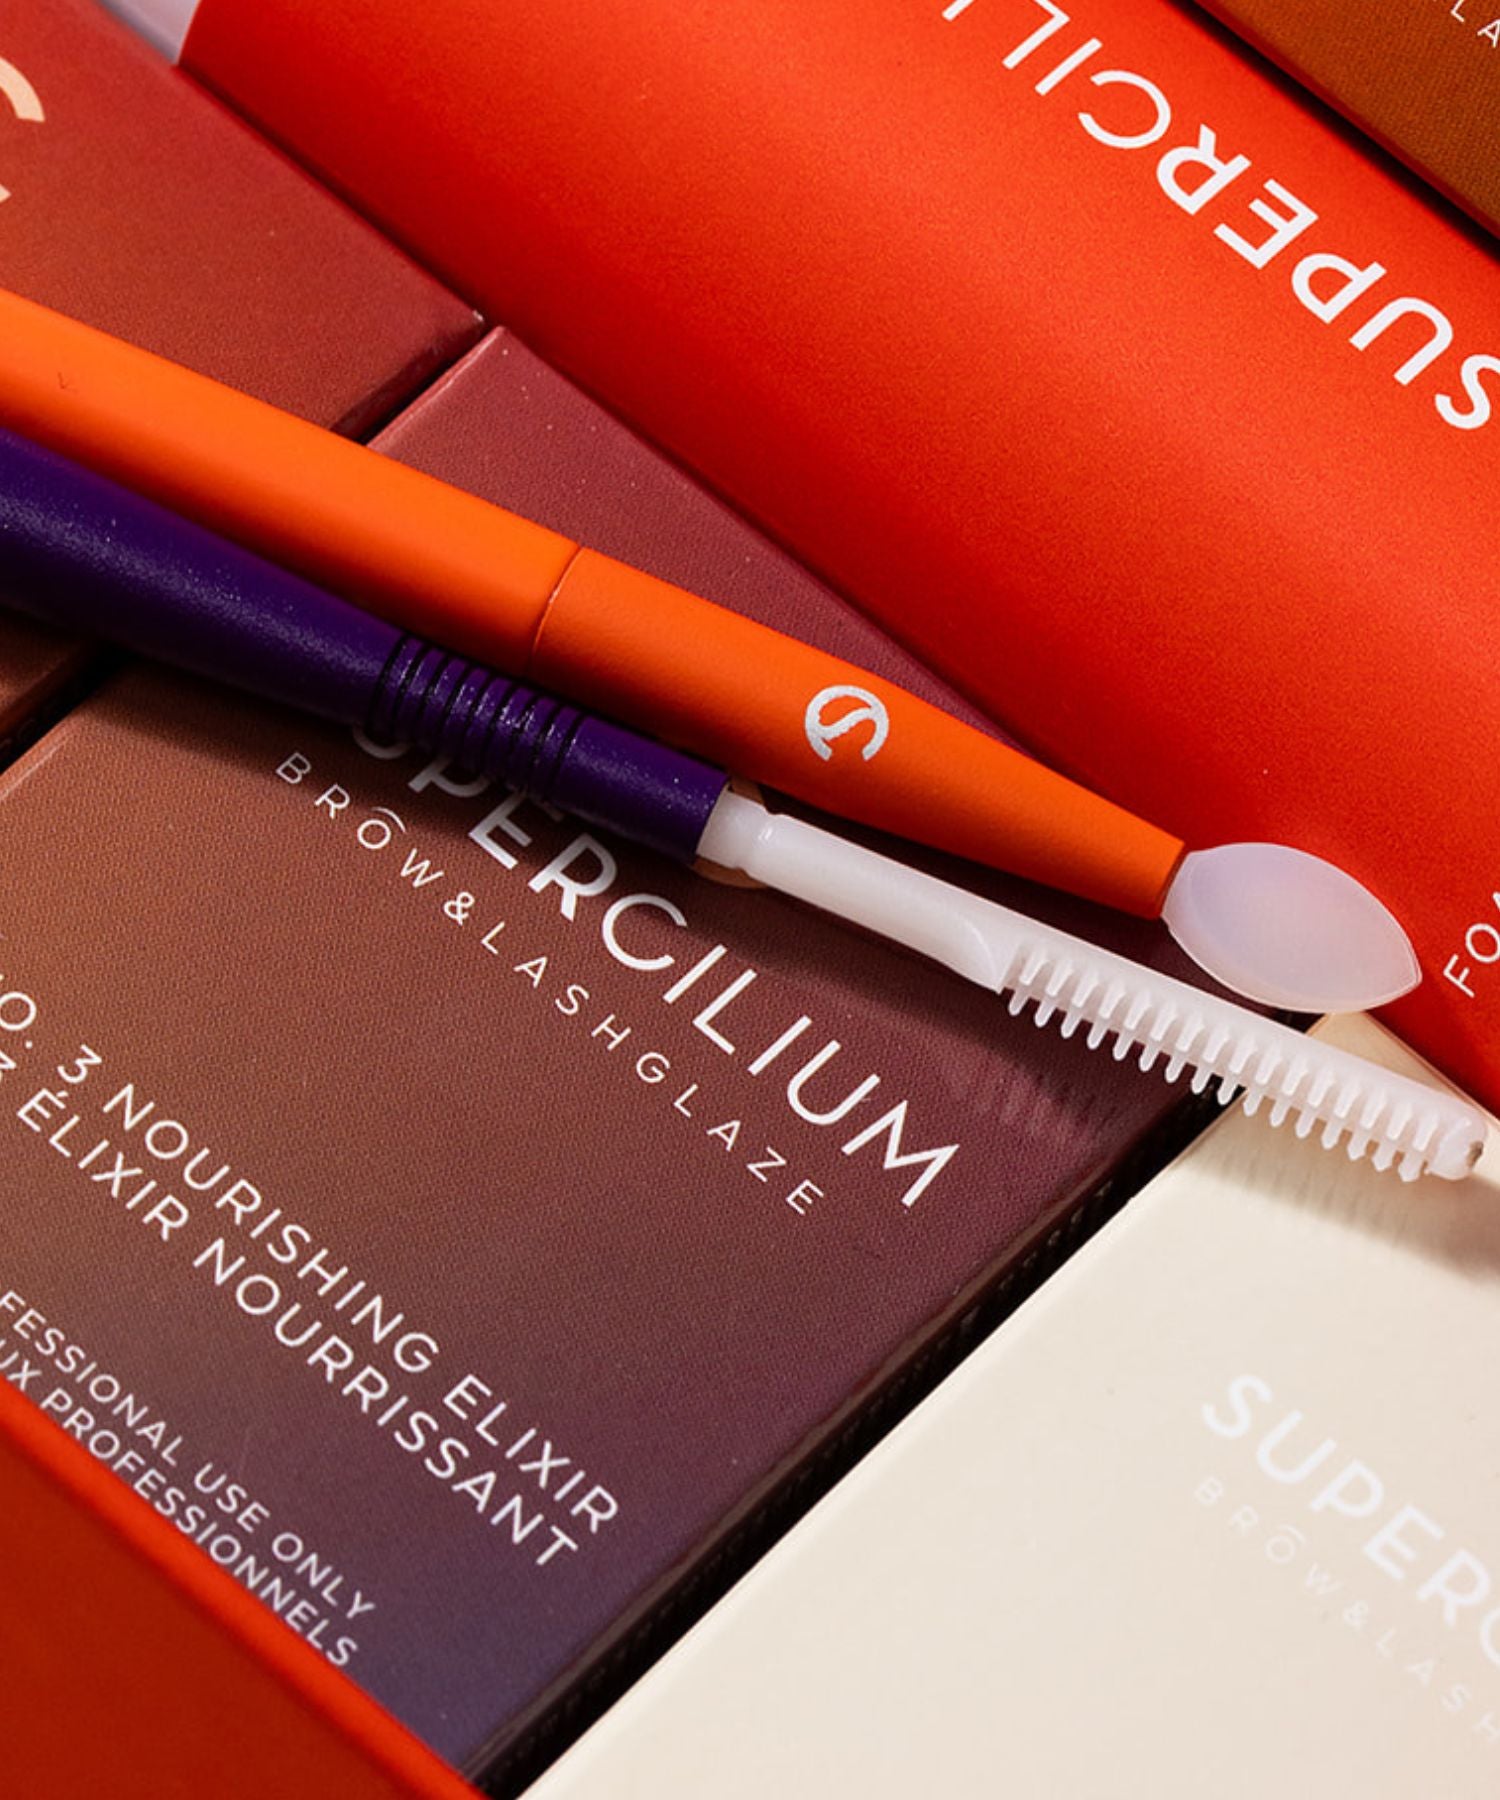
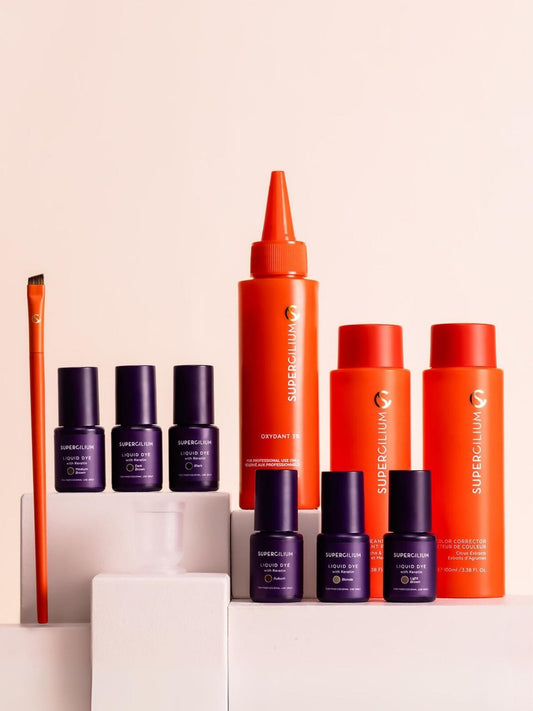
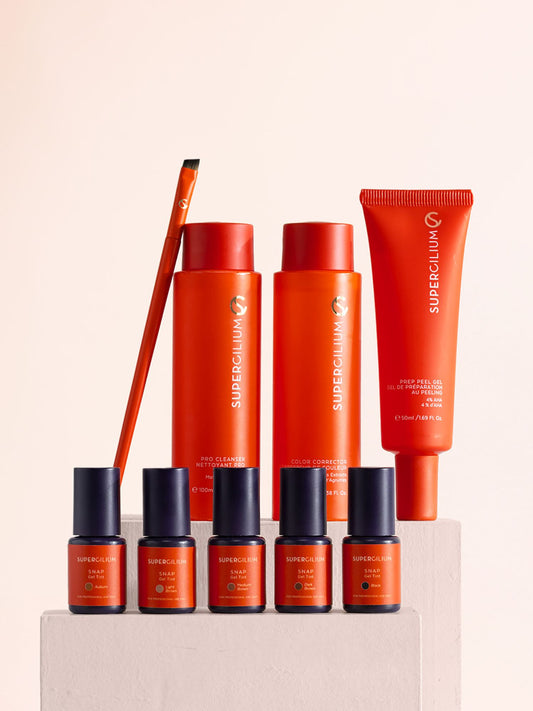
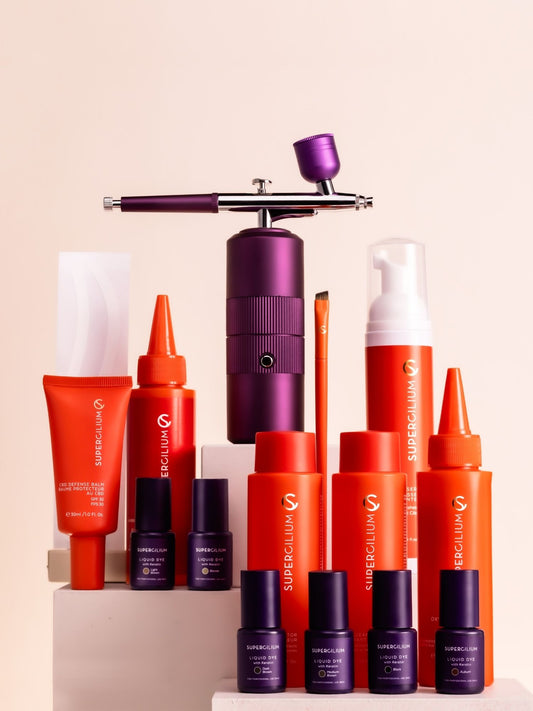
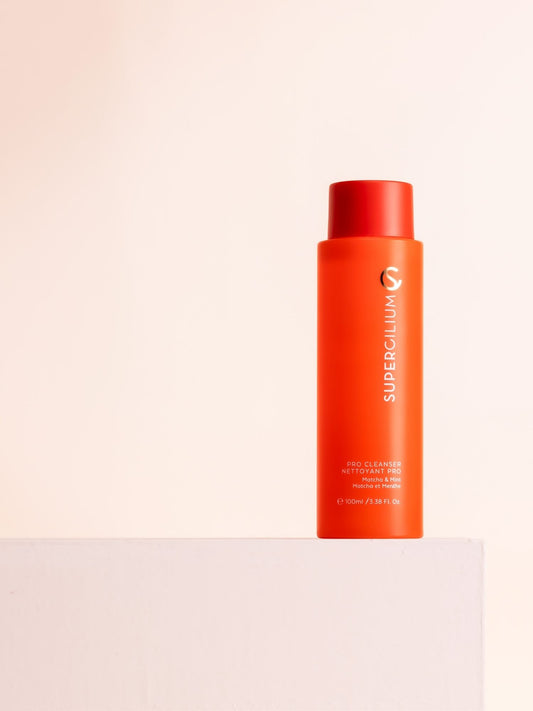
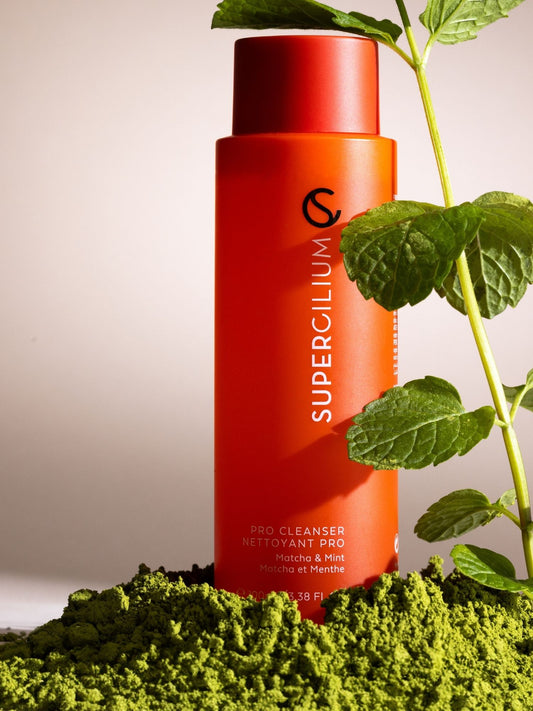
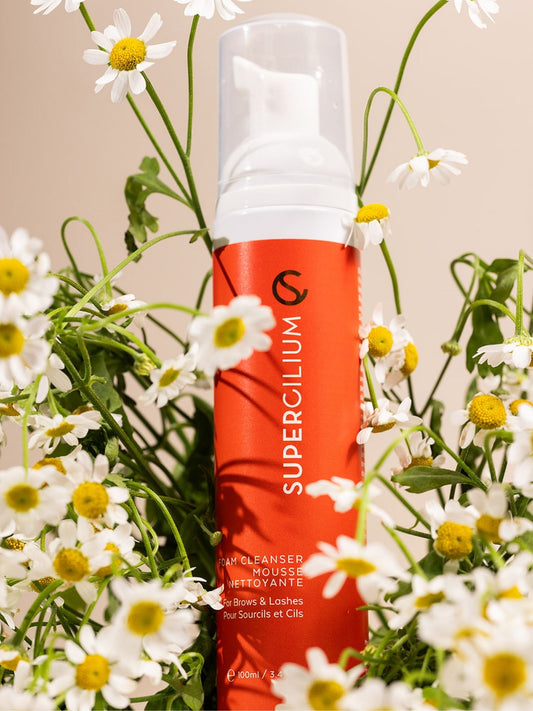
- First, clean the eyebrows with Supercilium Pro Cleanser to strip oils from the skin. An even better result is achieved when eyebrows are peeled in advance. The client can do this at home with the Supercilium Prep Peel.
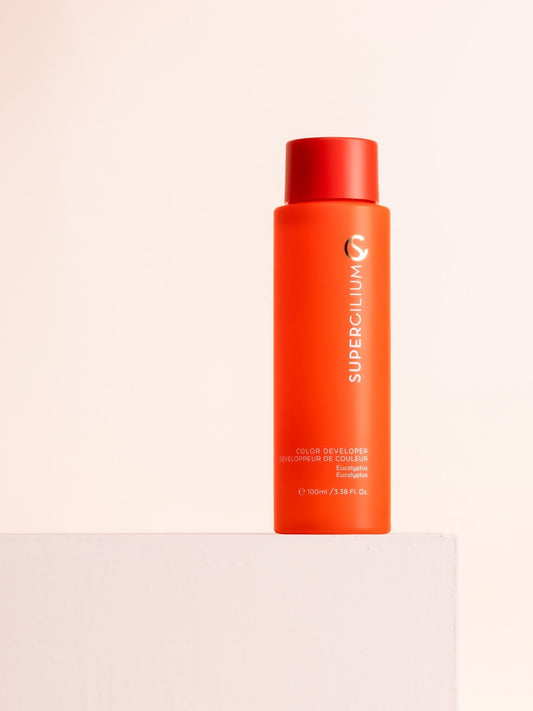
- Mix 1 measuring spoon (25g) with about 15-20 drops of the Supercilium Color Developer until a smooth substance is achieved. Wait 5 minutes before you start using it. It’s important that the henna is not too runny!
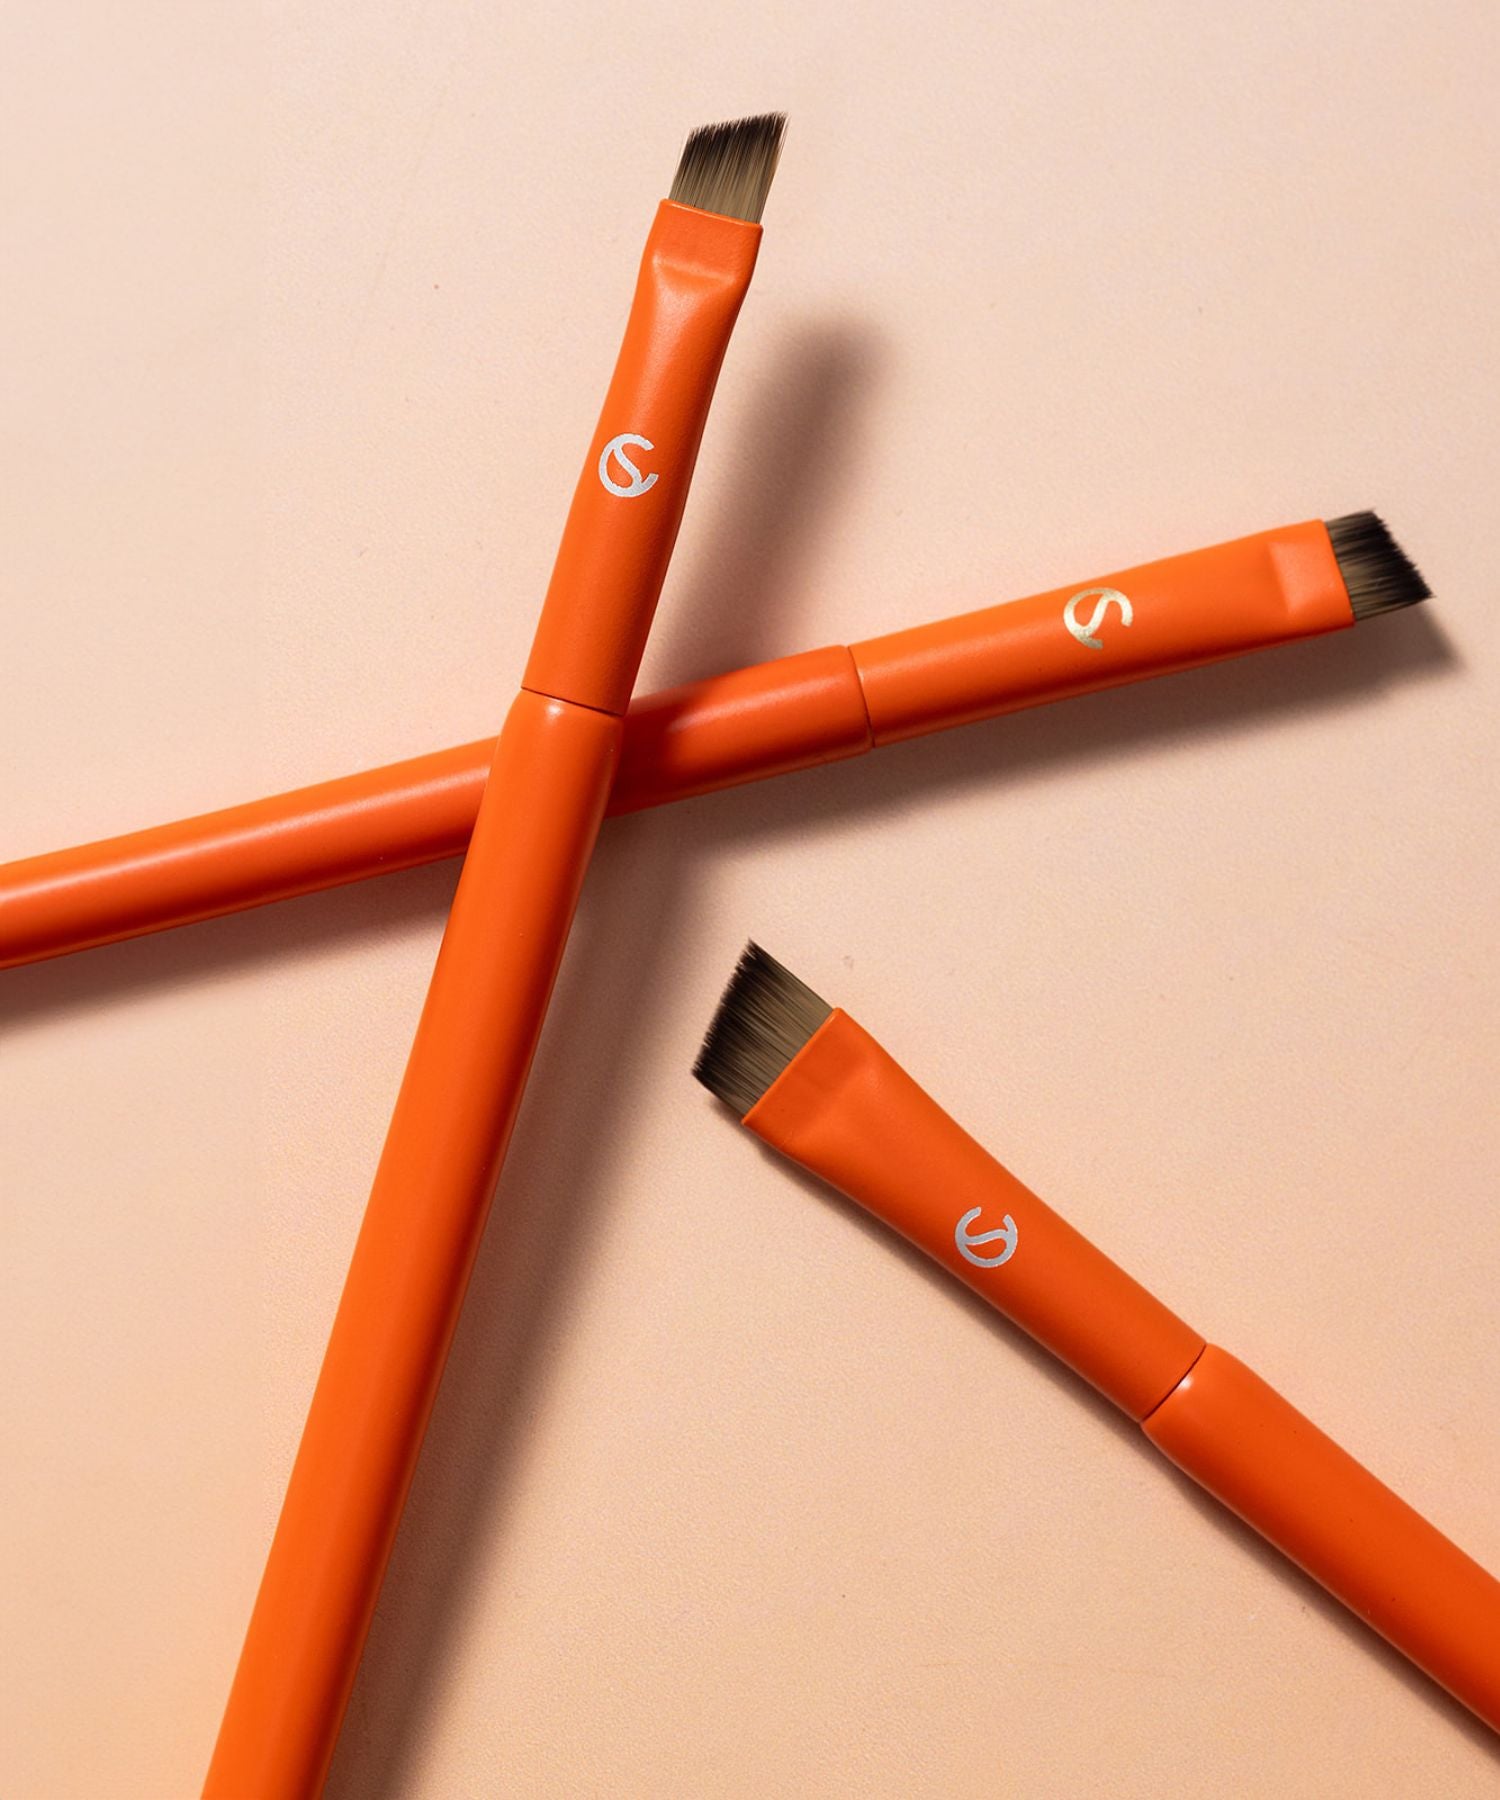
- Apply a layer of henna with an angled brush. Press/stamp the paint into the eyebrow until all skin is covered, back to front as well. Make sure you create sharp lines. Correct small mistakes using a cotton swab with Supercilium Color Corrector.
Here is the golden trick for the ombre brows effect!
Begin by applying henna to the bottom line of the eyebrow. Draw a tight line from the beginning of the eyebrow to the tail of the eyebrow. Repeat the same process with the upper line of the eyebrow. Finally, cover the entire eyebrow.
- Remove the Henna Brow tint from the inside of eyebrows after 3-5 minutes for an ombre effect, with a damp – not too wet – cotton pad. If still too light, reapply and leave on for another 3-5 minutes. When removing the henna sooner from the inside and leaving for longer on the outside, it stains darker there while giving you a natural fade effect.
- Finally remove the rest of the henna after 15-20 minutes. The longer the dye sits, the better it will penetrate the skin and the longer the effect will last.
And that was it! You really got a not permanent effect of the ombre powder brows. I told you it was easy! But just wait for the game changer effect.
Before you apply Henna
Before you start with applying any brow tint on any brows--we advise all our brow babes to start with doing a skin patch test. Although our henna is 88% natural, there is still a small chance that certain skin types have allergic reactions or some discomfort. We strive to prevent any mishaps with performing an allergy test 48 hours before use, even if your client is already familiar with coloring products.
Contraindication for Henna Brows
Although henna is a fine treatment it is not for everyone. Below is a list of the main contraindications for henna brows.
Allergy to PPD
In tint there is the dye PPD which ensures that you can make different shades. However, many people are allergic to this substance. Therefore, we emphasize continuous prior to the brow treatment to do a test to exclude that you are allergic. An allergic reaction to PPD can lead to swollen, red and itchy eyebrows. In the worst case, your eyebrow hairs may fall out.
Pregnancy: During pregnancy the hormones in your body change. Because of this, your skin can react differently than normal. Your skin color can change for example. You can have more sensitive skin than usual. If you want to get Henna Brows? Then we recommend you do this after you have stopped breastfeeding.
Damaged skin: Do you suffer from psoriasis, eczema, rashes, or blisters around the eyebrows then putting Henna Brows at that time is not recommended. If you are getting Henna Brows you want to work with perfect healthy skin. If that's not the case then you must wait until your skin is fully healed to prevent infections and inflammations. The same applies to skins that have recently undergone chemical peels.
Oily skin: Oily skin type is not necessarily a contraindication to Henna Brows. However, it is important that you know that Henna Brows don't work very well on oily skin types. An oily skin will repel the pigment faster than a dry skin.

brows by @browstories
Are you also in love with the ombre results? Then we have good news! In our top 10 henna brows blog post, we have more great results for you!

