5 common Airbrush Brows mistakes and how to avoid them with Jenniree
written byŽaneta Mlčáková
In This Article
Meet Jenniree
This Caribbean beauty from "Brows by the Brow Doctor" will teach you everything about the hottest brow trend. As an award winner for her amazing brow creations and educational work, she’s the perfect partner to help you master Airbrush Brows. We also call Jenniree our little brow spy because she always knows what’s hip & happening in our brow community. Definitely follow her on Instagram if you want to stay ahead. Continue to read her tips on how to avoid Airbrush mistakes!

What are Airbrush brows?
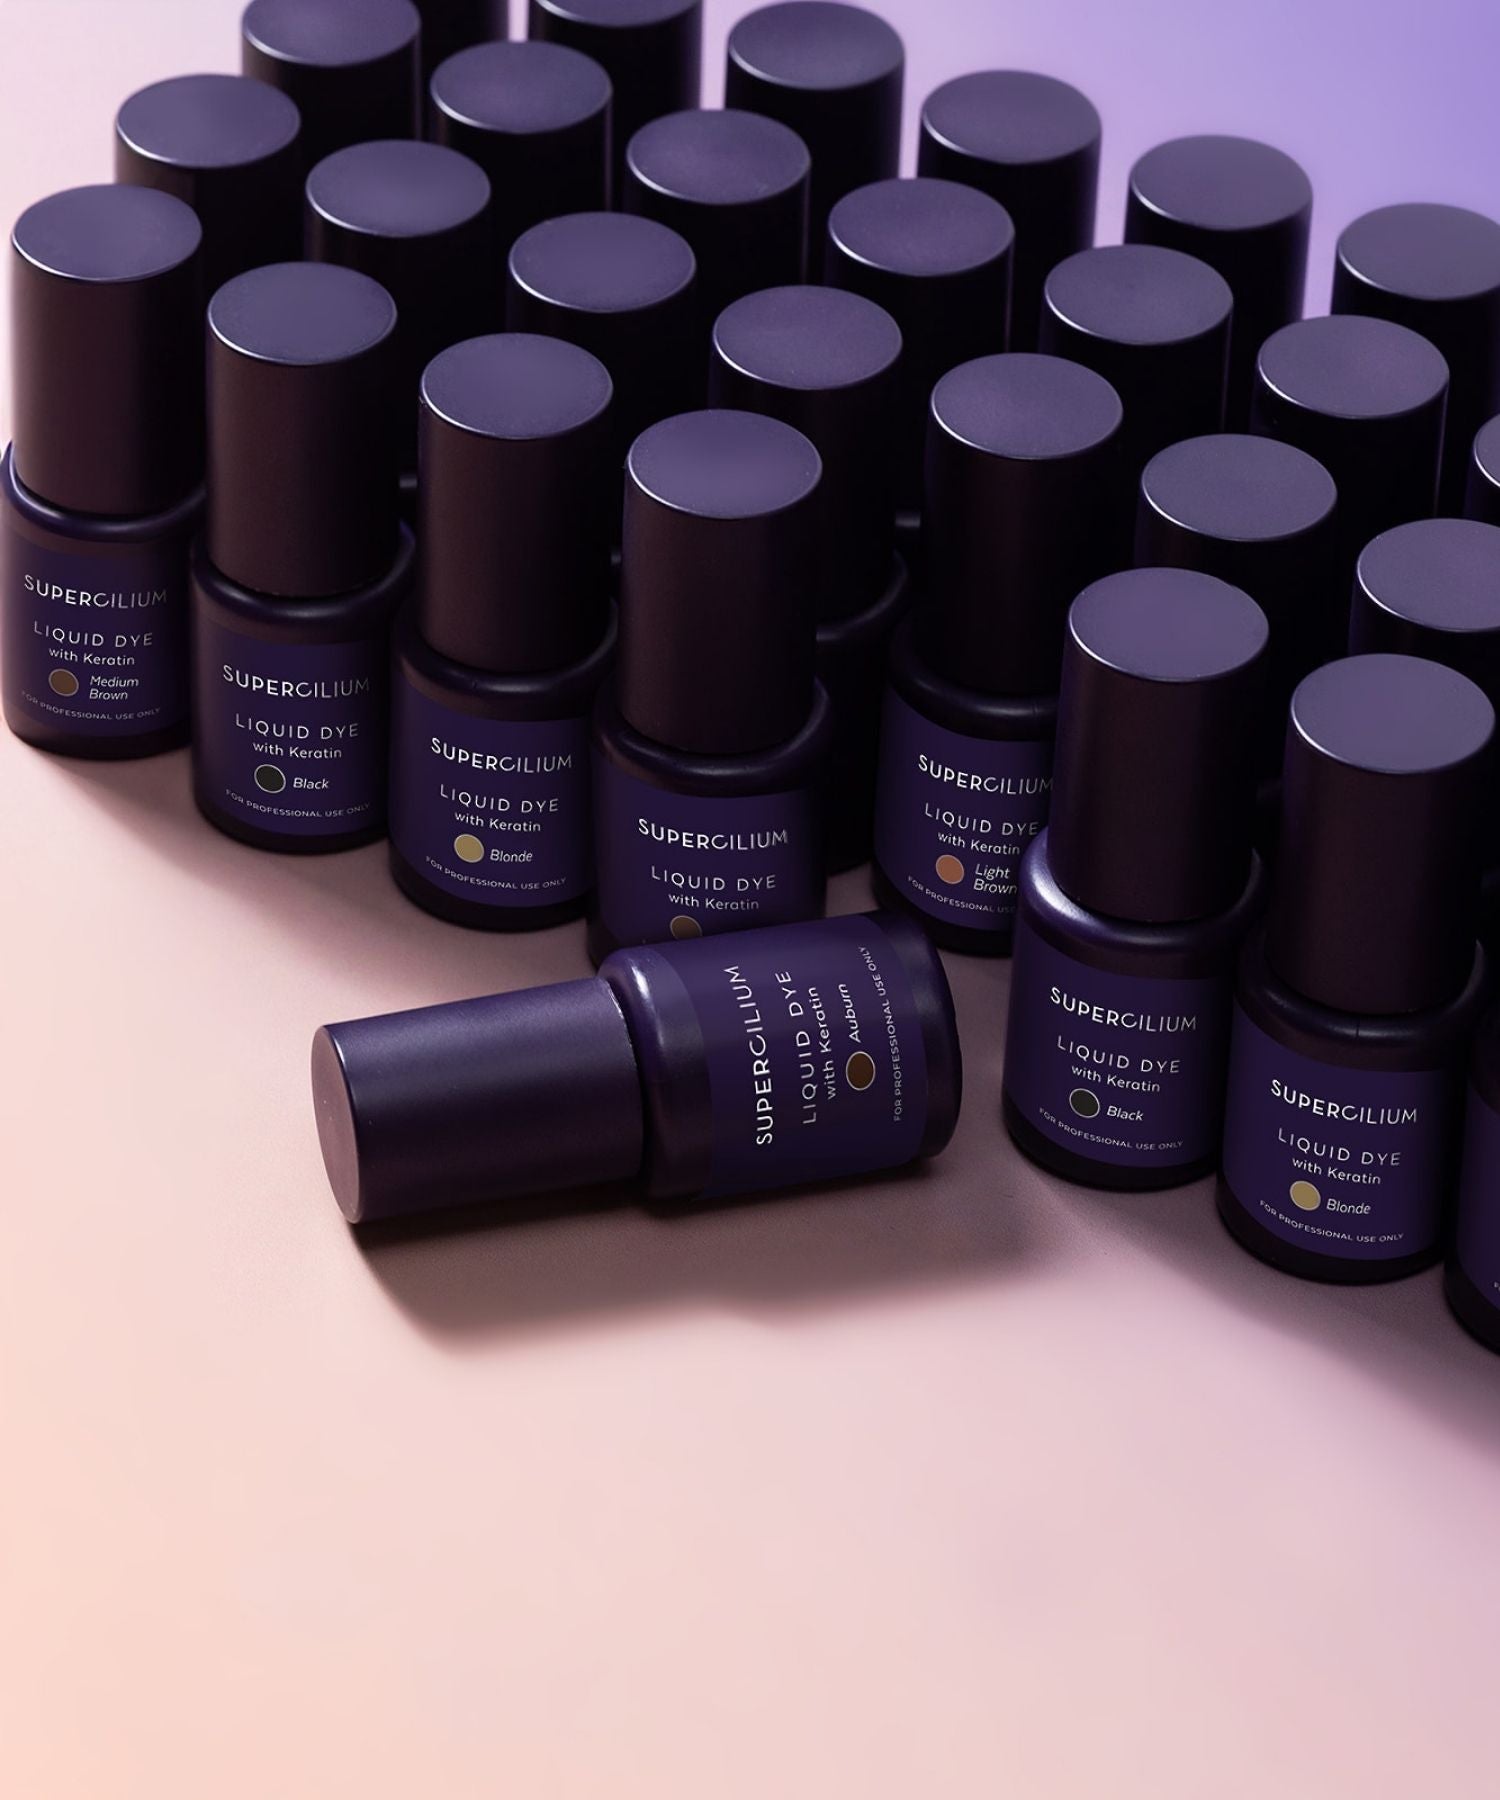
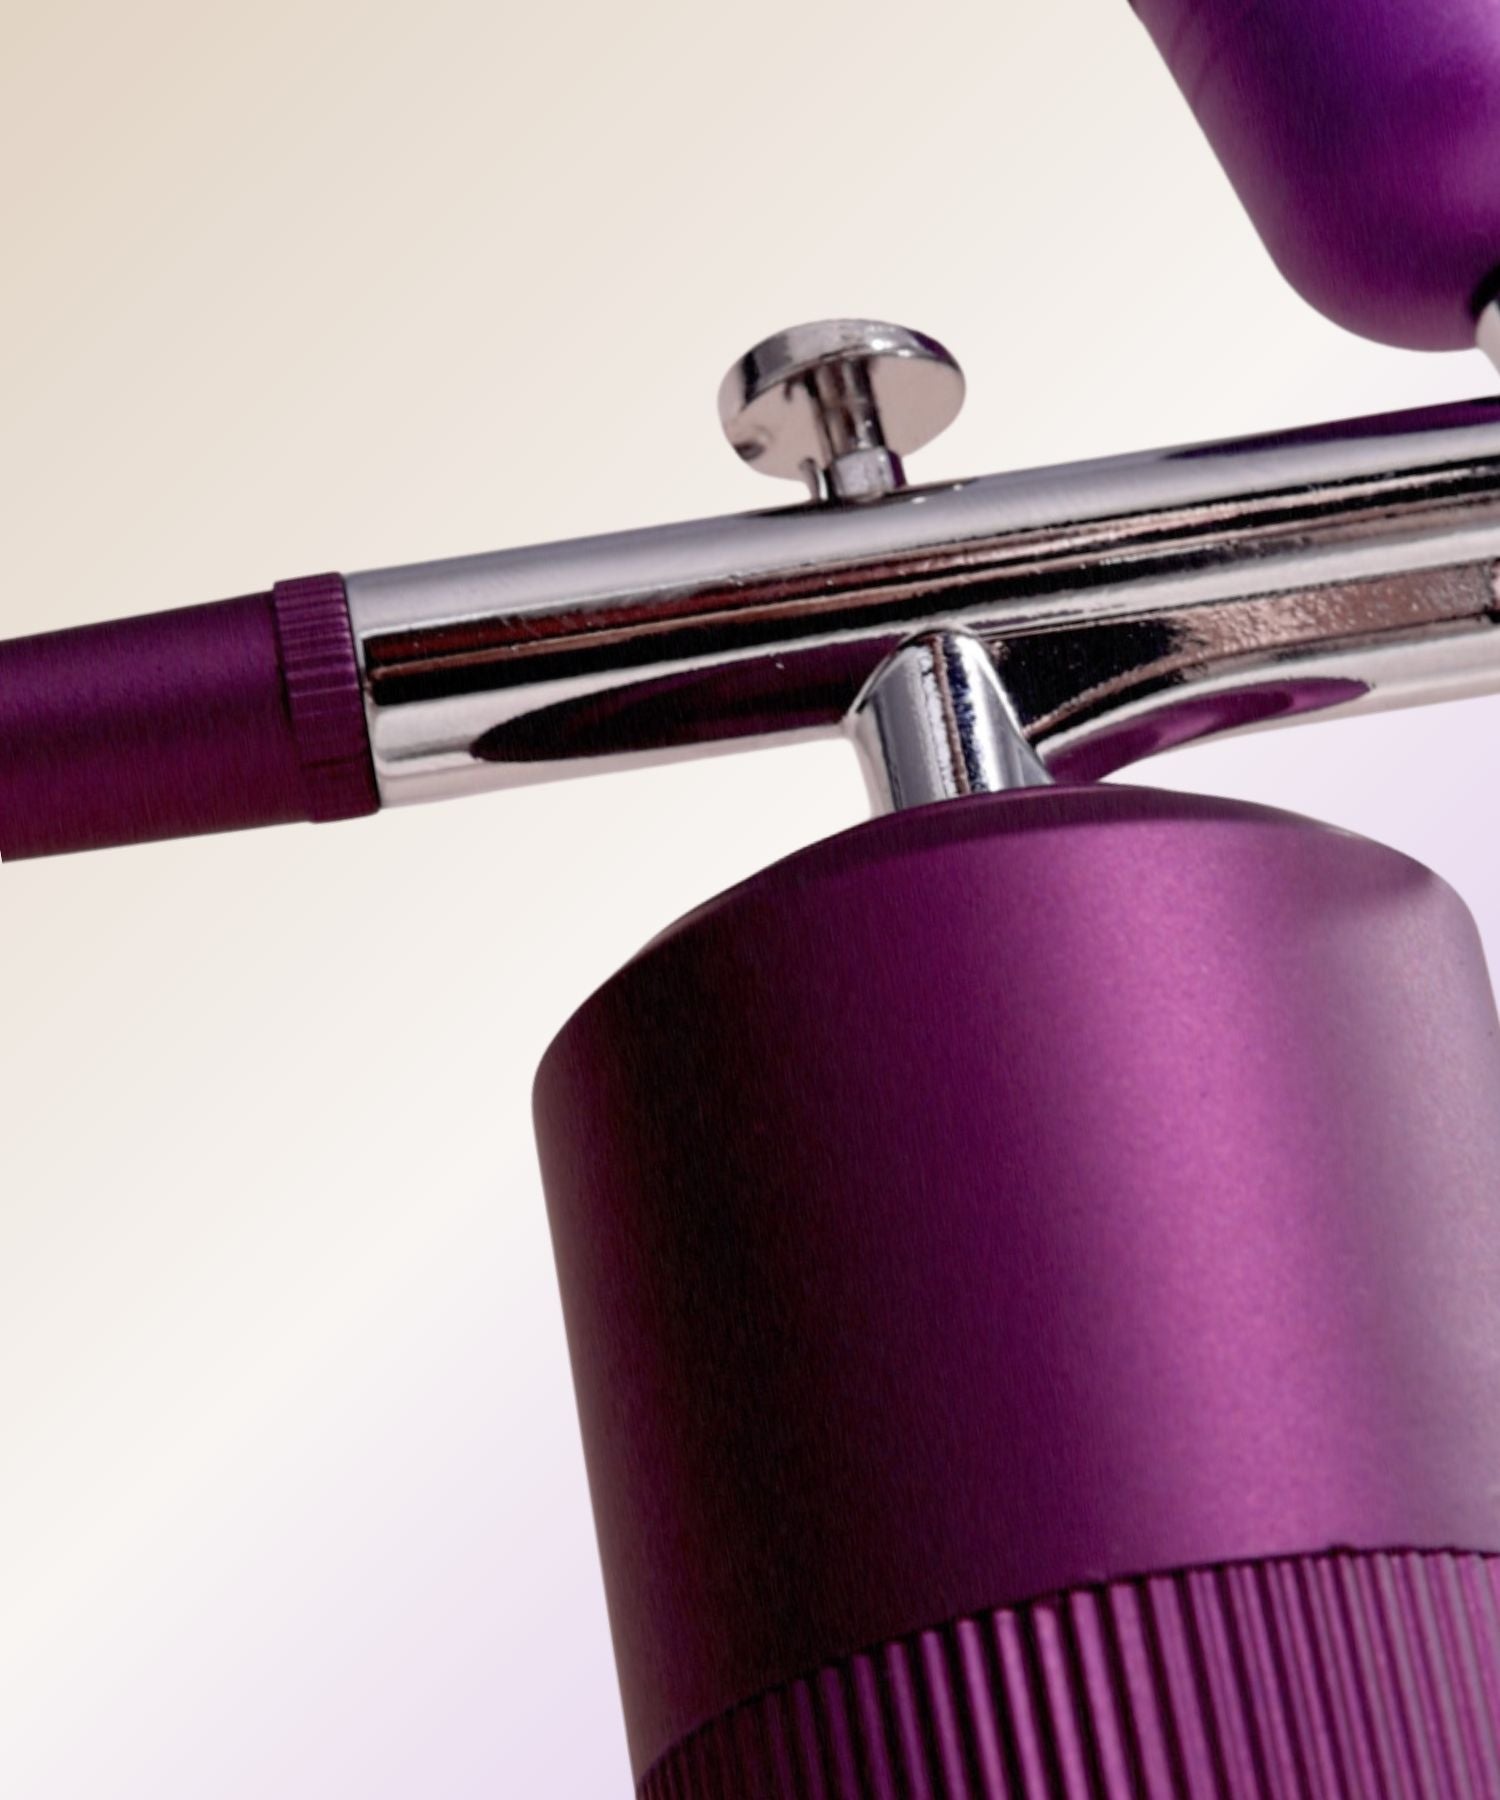
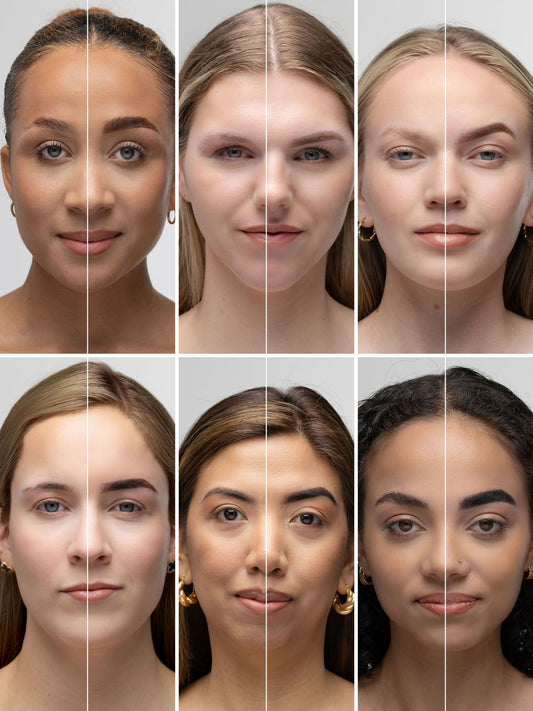
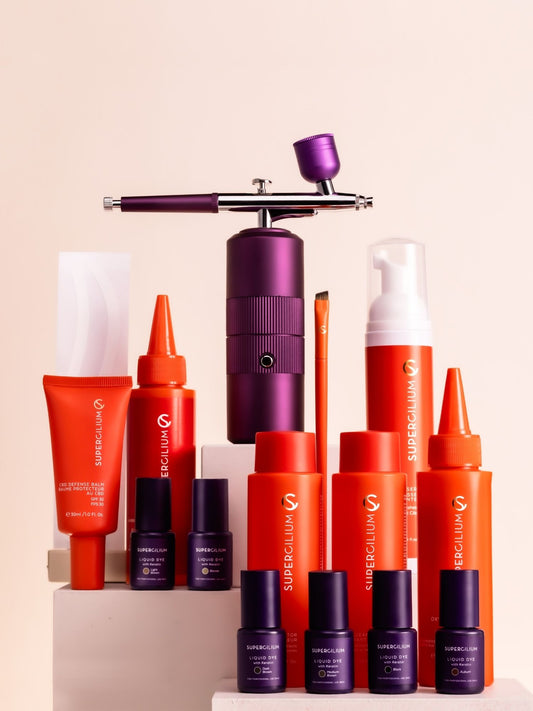
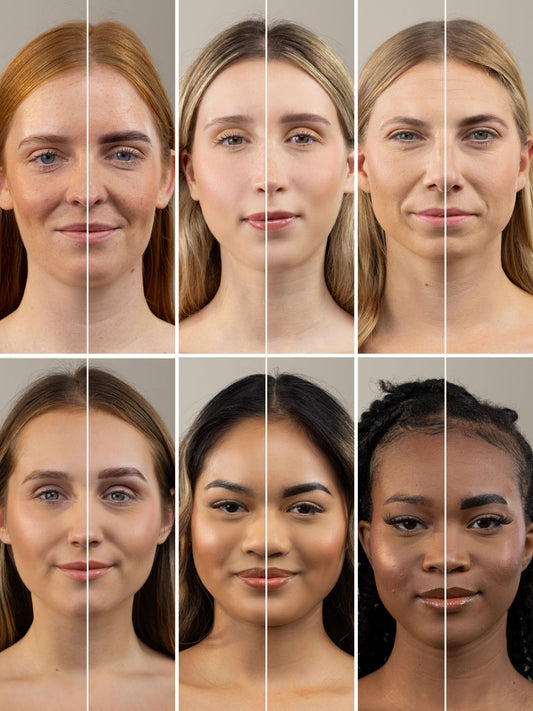
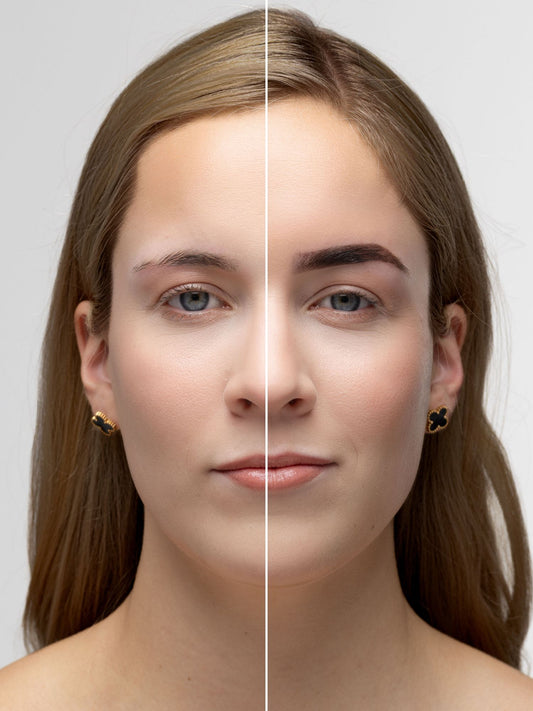
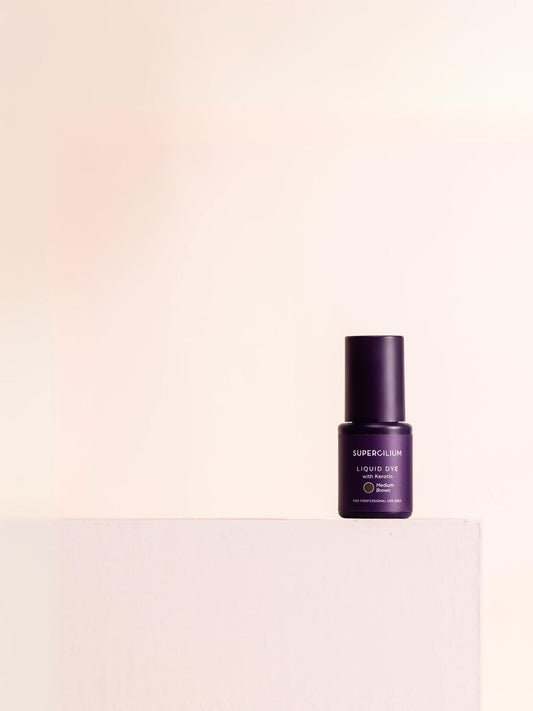
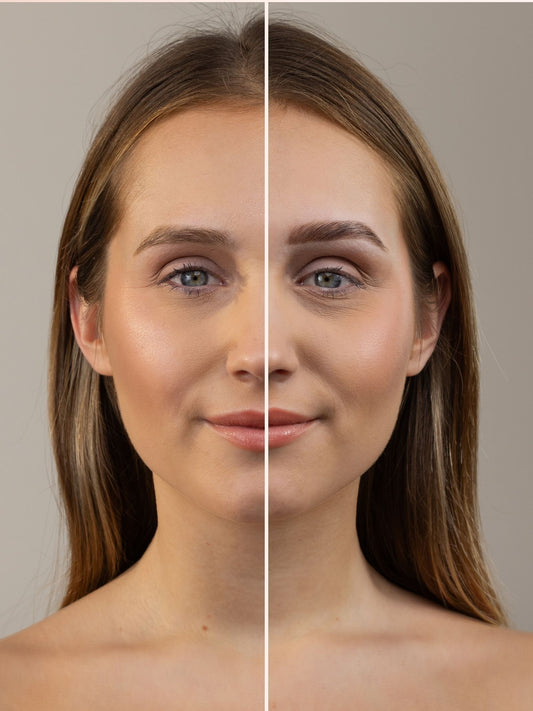
Airbrush brows are the biggest trend in the beauty world, and for a good reason! This technique uses a special machine to spray Liquid Dye onto the brows, creating a super precise and smooth finish. Once you get the hang of it, it's super quick and can easily give you that perfect, crisp brow look with a soft ombre effect. No wonder it’s become a favorite not only among Brow Pros but also in nail salons and other makeup techniques!
The most common mistakes
Mastering Airbrush brows can be tricky, especially when you're just starting out. We often get a lot of questions from beginners and even seasoned pros about how to perfect the technique. But don't worry, we're here to help you out! To make things easier, we've asked our Airbrush Pro, Jenniree, to share the most common mistakes she sees and how you can avoid them. Master Airbrush technique with Jenniree:
1. Wrong movements: Staying in one spot
"The most common mistake with the Airbrush is not moving it during application, causing stylists to stay in one spot until the paint is visible on the eyebrows. They often think this is a quicker technique for more coverage, but it’s absolutely not. It's crucial to keep the Airbrush in motion with a gentle back-and-forth movement. Staying in one place can cause spots and smudges, which I call the 'tiger print effect.' This patchy look is exactly what you want to avoid." But how to move your Airbrush correctly? Continue reading!
Newly added to our Airbrush Course: Mastering the right motion is key. We've added a new section to our course on the proper back-and-forth movements with your Airbrush machine. This technique helps avoid splashing color and creating uneven spots. To see the difference between correct and incorrect movements, check out our video tutorial. Mastering this technique will ensure a smooth and even application every time, giving your clients beautiful Airbrush brows!
2. Spraying too close/far from the eyebrows
"The distance between the airbrush and the client's eyebrows is also very important. I see this mistake being made often. If you hold the Airbrush too close, it can lead to an overly intense amount of paint and an uneven application. On the other hand, if you hold it too far away from the eyebrow, it can cause excessive overspray on the client's face and minimal coverage.” She explains.
“It also depends on the PSI you're using. I always say about 1 to 2 centimeters from the eyebrows is a good estimate." This sweet spot allows for precise control and even distribution of the pigment. By maintaining the right distance, you'll achieve a balanced, natural finish without the risk of over- or under-application.
Newly added to our Airbrush Course: If you accidentally spray too much dye on the skin, don't worry! You can use a Color Corrector to gently remove the excess pigment. For better preparation, apply the Nourishing Defense Balm to the skin before airbrushing. This creates a protective barrier, making it easier to remove any excess dye if needed. This way, you can achieve a more controlled and polished finish with less hassle.
3. Uneven Ombre Brows
"A common mistake I often see with stylists is not stopping at the right time to create an even ombre effect on both eyebrows. As a result, the ombre effect at the front becomes uneven on both sides. I always advise marking a point on both eyebrows where you plan to stop airbrushing. This way, you can create the same ombre effect on both brows." Says Jenniree.
Tip #1: You can use Brow Mapping Paste or our Brow Mapping Pen to create the stopping point. These tools help you define the area and ensure that the ombre effect is consistent on both sides.
4. Brow Stickers removing
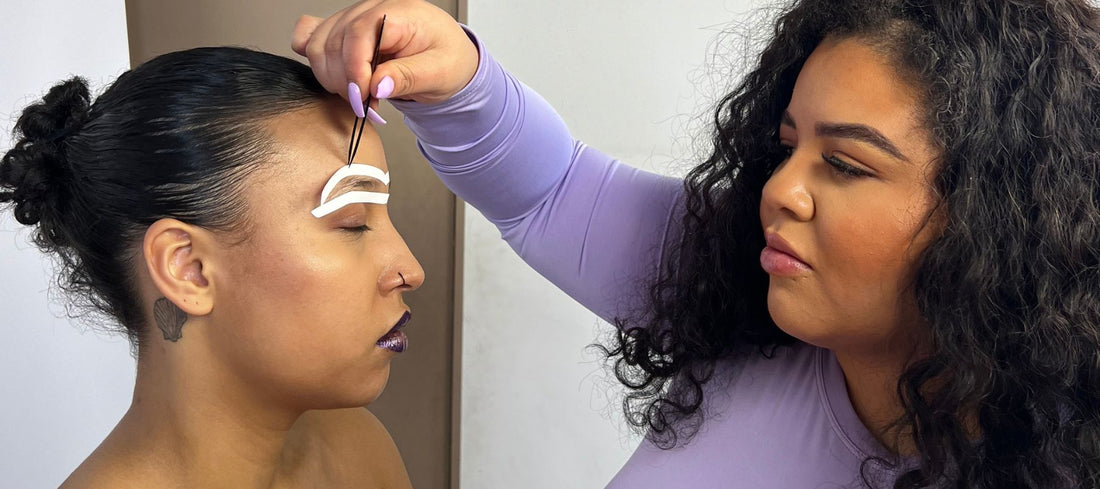
"It may sound strange, because not everyone sees the logic in it, but what I often see going wrong on Instagram is the removal of brow stencils. Always remove the stencil in the direction of hair growth and not against it. The reason for this is that it causes a very uncomfortable feeling for your client. You can compare it to slowly waxing the eyebrows." This is definitely something to remember for your next Airbrush treatment!

Tip #2: For even better precision, use tweezers instead of your fingers to gently lift and remove the stencils. This method ensures a cleaner removal process and helps you maintain control, leaving the brows looking flawless and well-defined.
5. Wrong set up of your Airbrush
Another common issue is assuming that a poor spray pattern or uneven application means the Airbrush Machine is broken. The problem usually lies in the machine's setup, so don’t panic! Whether it's the air pressure, needle adjustment, or pigment loading, the wrong configuration of the machine can result in a less-than-perfect application.
Newly added to our Airbrush Course: We recorded the correct Airbrush machine setup for you, including a handy trick called the '50 cents rule.' The 50 cents rule involves placing a 50 cent coin at the back of the Airbrush, ensuring it aligns with the width of the trigger. This helps set the spray pressure just right—not too high or too low. Smart, right? Enroll in the course to see more tips for your Airbrush machine set up!
What is new in our Airbrush Course?
Whether you're new to airbrushing or you've taken our course before, we've got exciting updates that are perfect for everyone! We've added new content to our Airbrush Course to help you master flawless brows and take your skills to the next level. Here's what's new:
- Removing excess dye: Sometimes, you might spray a little too much dye on the skin. No worries! We've added tips on how to use color correctors to gently remove any excess dye in a video tutorial. See for yourself how easy it is to remove excess dye!
- Machine setup: We've added a new section on setting up your airbrush machine properly. Learn how to check if your trigger is too loose and use the '50 cents rule' to ensure perfect spray pressure.
- Proper movement technique: Learn the right back-and-forth movements to avoid splashing color and creating uneven spots. Our new video shows you exactly how to do it, so you can get that perfect, smooth application every time.
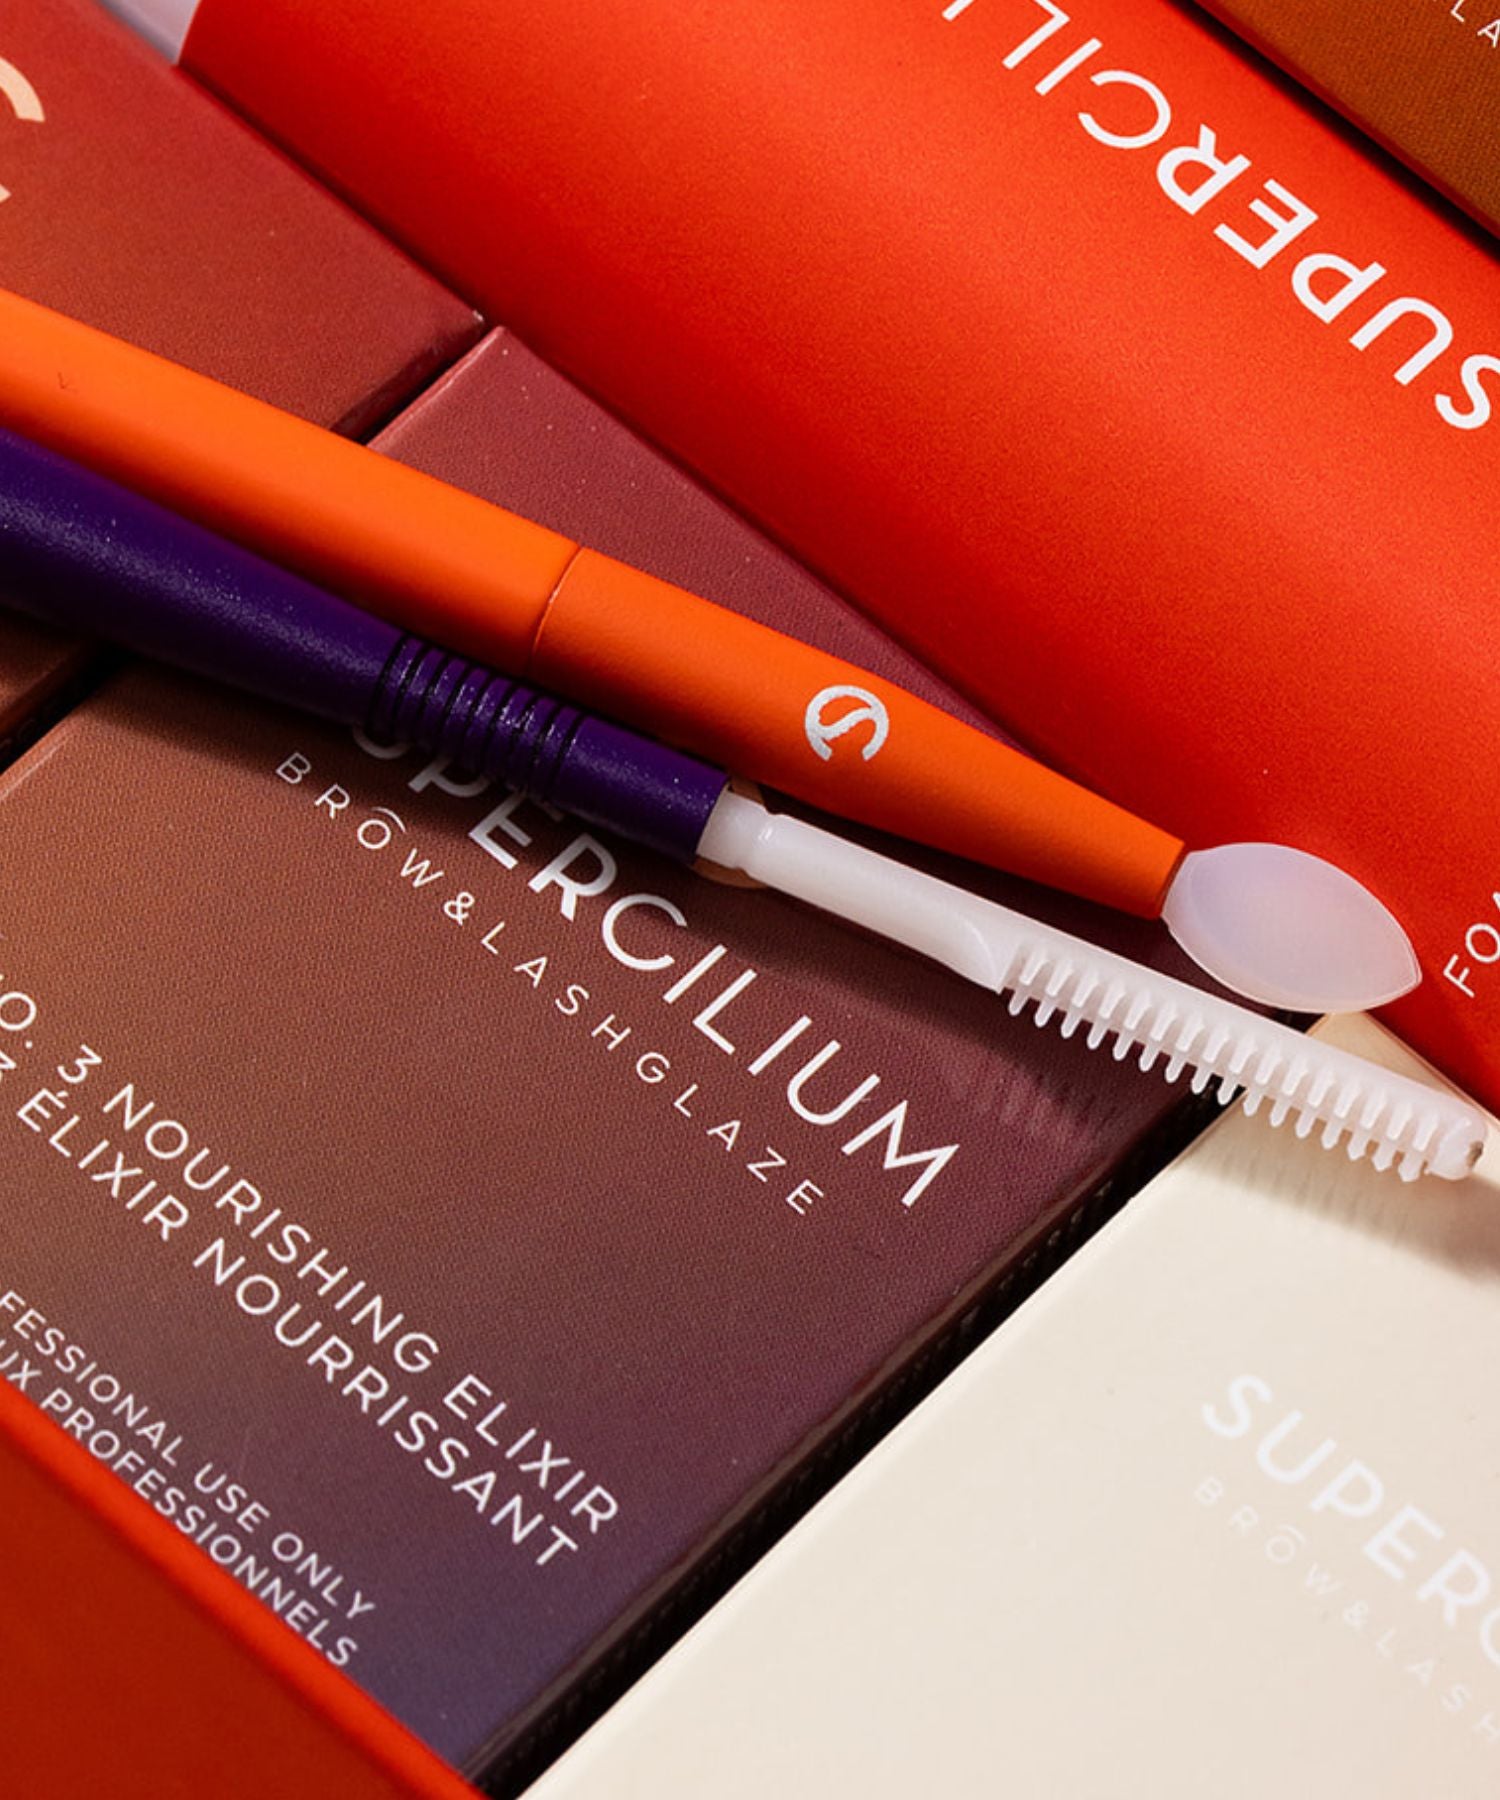
- Combo treatment with Brow Lamination: Our latest video shows you how to combine Brow Lamination and Airbrush in one seamless treatment. Start with Brow Lamination products NR. 1 and NR. 2, then move on to airbrushing, and finish with NR. 3. Watch how to combine two winners in one session for the best results that your clients will love!
Practice makes perfect
Remember, airbrush brows are a new technique, and like any skill, it takes time and practice to master. But don't worry, we're here to support you every step of the way. If you have any questions or need assistance, don't hesitate to reach out to us via email at hello@supercilium.com or on Instagram @supercilium. We're always happy to help!
For more tips and tricks, check out our other blog posts, like How to make your Airbrush Dye mixture and How to clean your Airbrush.

