Video: How to clean your Airbrush
written byLisa Sazonova
In This Article
Why clean your Airbrush?
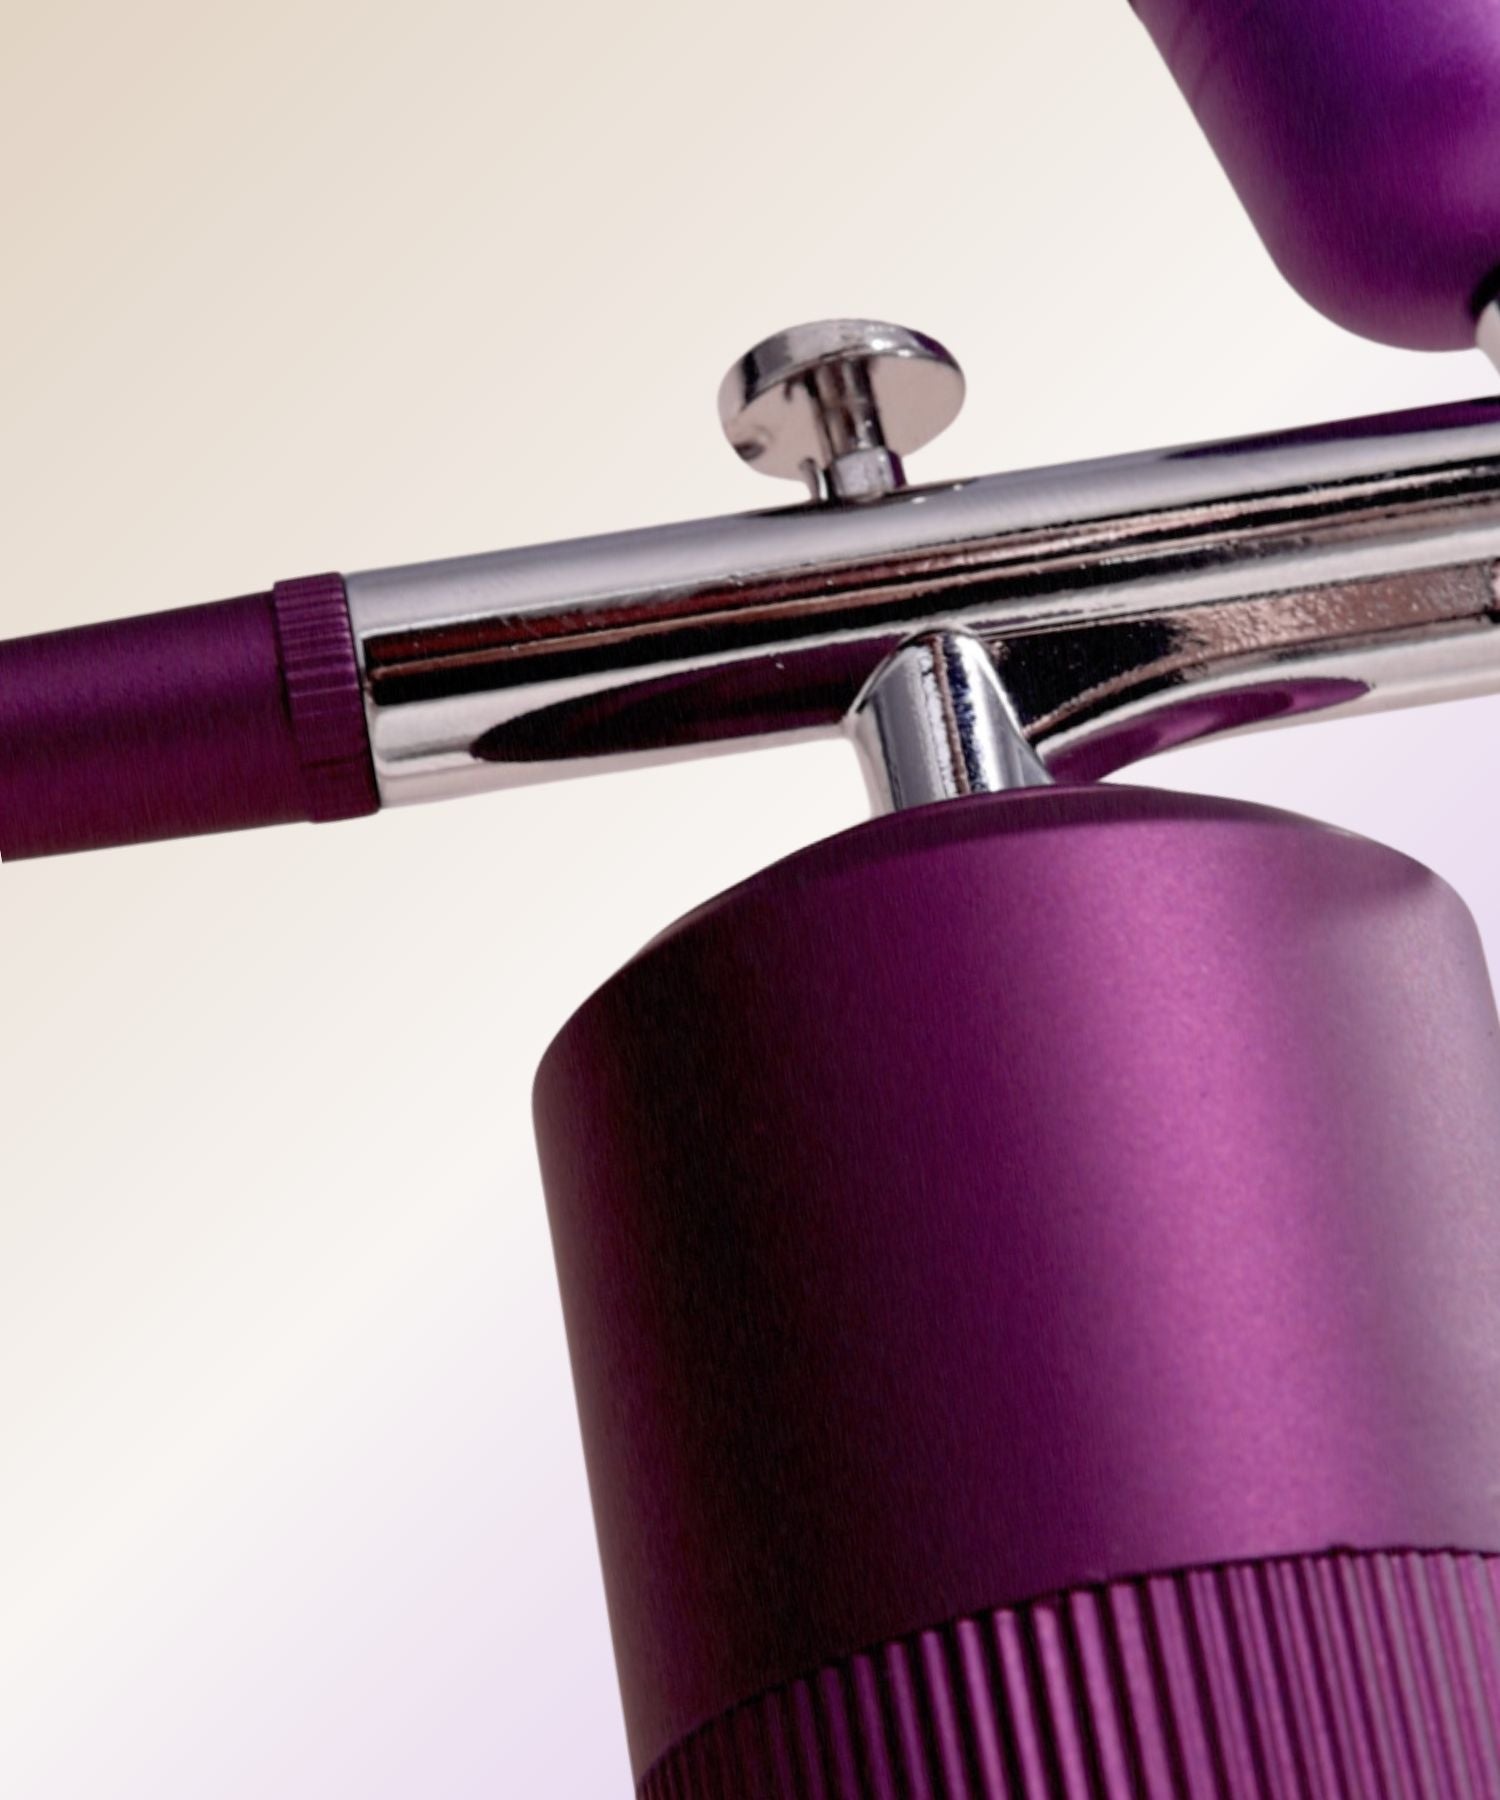
Cleaning your Airbrush keeps it running smoothly and your clients happy. When you don't clean it, leftover dye can cause blockages and mess up your work. The dye has to go through a really tiny hole, so you understand what happens if this isn’t cleaned properly. Cleaning is not really an exciting task and we know this firsthand. While filming the Certified ON AIR Airbrush Course, we discovered that neglecting airbrush maintenance isn't just unfun, it can lead to some serious issues down the line.
So why is cleaning the Airbrush important? Cleaning your Airbrush properly means better results and a longer-lasting machine.
What happens if you don't clean it:
Skipping Airbrush cleaning can lead to many problems and you don't want frustrated clients or a bad reputation, right? That's why cleaning is key! But what can actually happen?
- Color contamination: Residue color from previous clients can mix with new colors, leading to inconsistent or unintended shades in your current treatment.
- Clogging: Build-up of dye residue can clog the nozzle or needle, resulting in uneven spray patterns and disrupted application.
- Bacterial growth: Without proper cleaning, bacteria can thrive in the moist environment of the airbrush, posing a risk of infection for your clients.
- Decreased performance: A dirty Airbrush is less efficient and precise, making it harder to achieve the desired results and prolonging the treatment time.
- Potential damage: Over time, accumulated residue can corrode internal components of the airbrush, leading to malfunctions or even permanent damage if left unchecked.
Each of these issues can compromise the quality and safety of your brow treatments, ultimately affecting client satisfaction and your professional reputation.
Step-by-Step guide to cleaning your Airbrush:
Before diving into the cleaning process, make sure you have all the essential supplies within reach. You should have cotton pads or swabs, distilled water, alcohol or airbrush cleanser, and a cleaning brush by hand. We'll walk you through the two primary cleansing routines for your airbrush: the End-of-Day cleanse and the In-Between-Cleanse. Let's get started!
In-Between-cleanse = after every treatment:
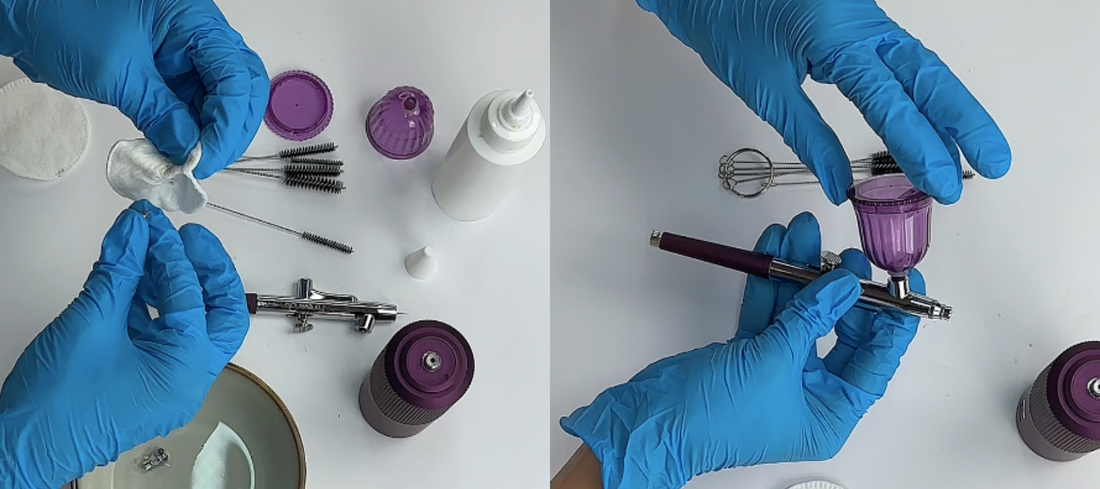
- Remove the leftover dye from your cup with a cotton pad. Add clean or distilled water to your cup and spray it as you would normally do it with dye. Spray it onto a paper towel to get rid of any leftover dye. Spray until the cup is empty.
- Now it’s time to back flush, to make sure you get rid of any leftover residue. To do this, fill your cup again with water. Cover the nozzle at the front with a paper towel or just your finger. In this way, the air is going back to your cup. When you see bubbles in your cup, the backflushing is working. Remove the water and clean again with a cotton pad.
- Fill your cup with alcohol or Airbrush cleanser. Spray it again until the cup is empty.
- Remove the cup and clean the hole. This will remove the final residue of the dye.
- Clean the outside of your airbrush. Don’t forget to clean the nozzle. Add the cup again, and your airbrush is ready for the next appointment!
PRO TIP: Make sure to not skip this step. If you don't cleanse your machine properly, the warranty rules don't apply.
End-of-Day Deep Cleanse
At the end of every day, you first follow the steps of the in-between-cleanse. After that, you need to clean every part separately. For this, you need to pull apart your Airbrush: Remove the cup, nozzle cap & needle cap.
-
Follow all steps of the In-Between-Cleanse.
-
Remove the cup, needle cap, and nozzle cap. Add all parts to a little alcohol bath and let it soak for a while.
-
While the spare parts can soak into the alcohol bath, clean the outside of your Airbrush with a cotton swab or paper tissue. Also, clean the needle, but be careful to not hurt yourself!
-
Take the spare parts from your bath, and clean them with a cotton pad or cotton swab drenched in alcohol. Use the brush to clean the hole of the dye cup. Dry all parts with a paper tissue.
-
After you have cleaned all the separate parts you can put it back together. Now it’s ready for a new day of creating airbrush brows magic!
Remember, regular cleaning keeps your Airbrush in top shape and your clients smiling!
How to store your Airbrush
Make sure to stash your Airbrush in a clean, dry spot when it's taking a break. Disconnect it from the air source and don't forget to pop on the needle cap to shield that precious tip. Remember, steer clear of storing your Airbrush with any makeup or cleaner lingering inside. This simple step helps prevent clogs and keeps your Airbrush in top-notch shape for its next performance!
Care for your Airbrush
Handle your airbrush with the utmost care to keep it in prime condition. Treat it like the precision instrument it is, avoiding any drops or impacts that could harm delicate parts, especially the needle. Just as you'd handle a valuable tool, be gentle and cautious. This approach ensures that your Airbrush maintains its performance and longevity over time. By handling it with care, you're investing in its durability and reliability.
FREE Care Leaflet
Don't forget to download our comprehensive leaflet on Airbrush care! This handy guide summarizes step-by-step instructions and valuable tips for maintaining your Airbrush in top condition. From daily cleaning routines to troubleshooting common issues, this leaflet covers it all.
Keep it on hand as a quick reference whenever you need guidance on caring for your Airbrush. Download the leaflet today and ensure your Airbrush stays in peak condition for all your professional endeavors.
Download your free leaflet here.
Ready to master Airbrush Brows?
Ready to take your airbrush skills to the new heights? Dive deeper into the art of Airbrush techniques with our Certified ON AIR Airbrush Course! Whether you're a PRO or just starting out, this course is designed to elevate your expertise and unlock new possibilities in brow artistry.
Led by industry experts Elisa and Jenniree from the Netherlands, the Certified ON AIR Airbrush Course offers comprehensive training that covers everything from the basics to advanced techniques. With step-by-step instructions, practical demonstrations, and insider tips, you'll gain the confidence and skills needed to master the art of Airbrush brows.
Throughout the course, you'll learn the ins and outs of the Airbrush Hybrid Brows trend, including how to create seamless, crisp, and beautiful ombré brow looks. From mastering the Airbrush application process to troubleshooting common issues, you'll gain invaluable knowledge that will set you apart in the industry.
But that's not all! In addition to technical training, the course also provides business tips to help you boost your salon and attract more clients. Learn how to market your Airbrush services, price them competitively, and create a memorable experience for your clients.
Don't miss out on this chance to become a certified Airbrush brow artist! Enroll in our Certified ON AIR Airbrush Course today and take your career to new heights. And don't forget - always have your Airbrush clean and ready-to-go!

