
The 6 benefits of Liquid Dye
written byŽaneta Mlčáková
In This Article
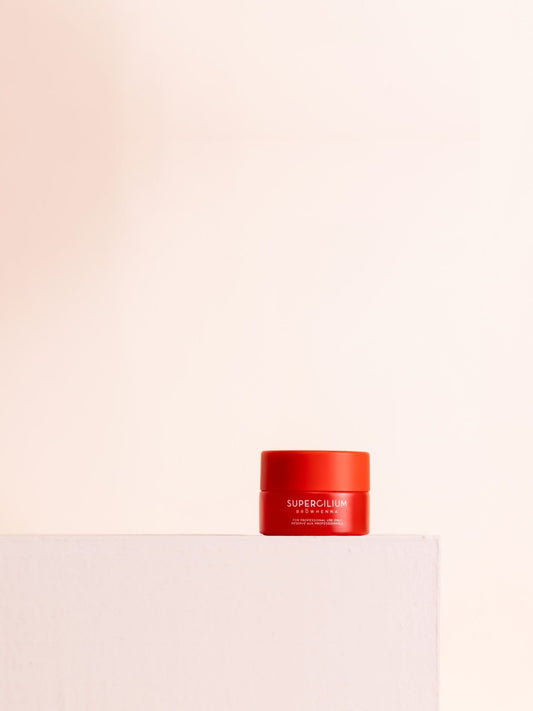
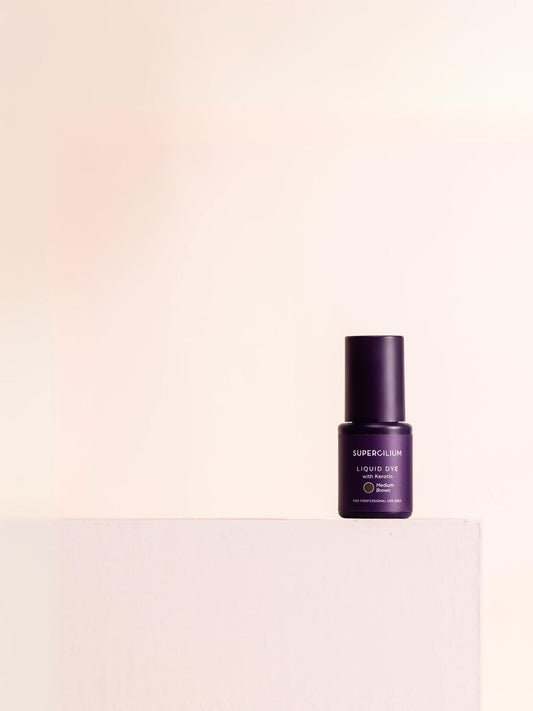
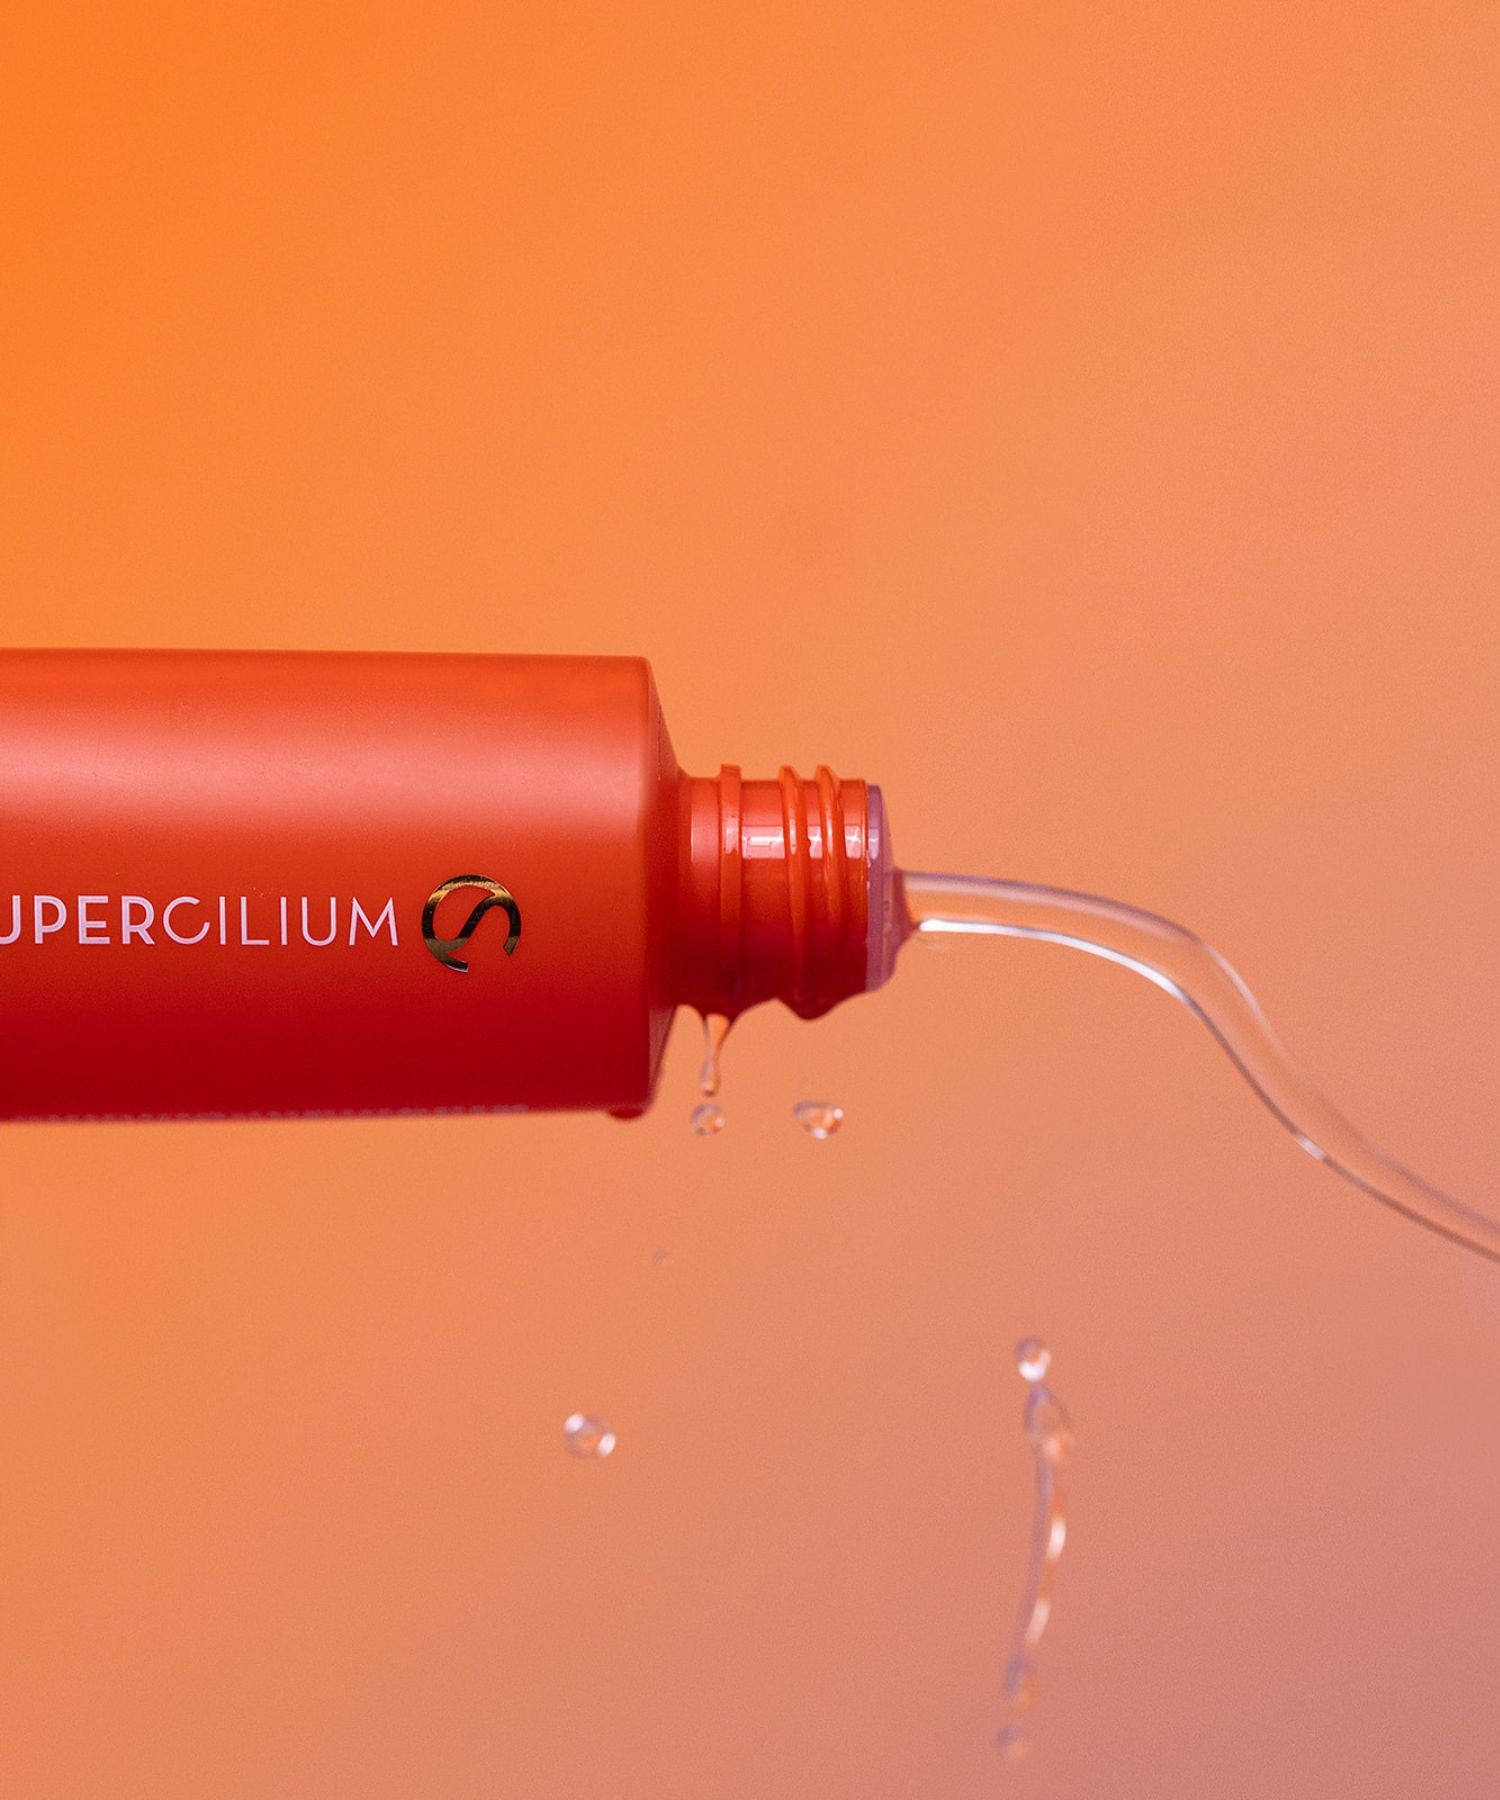
What is Liquid Dye?
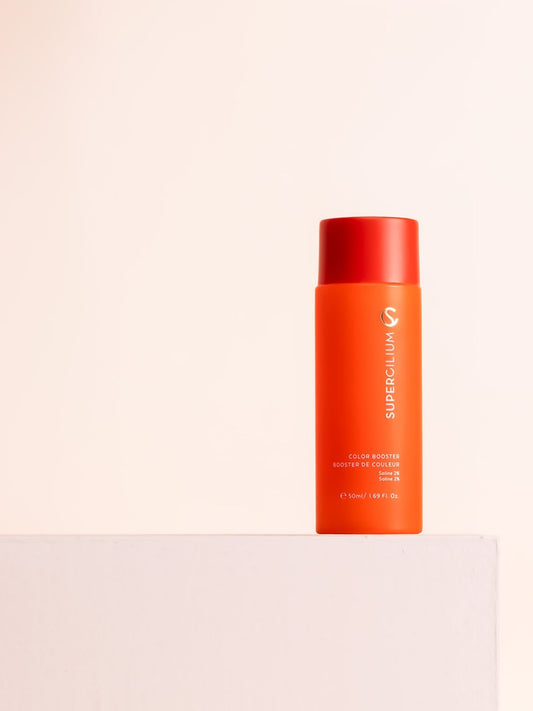
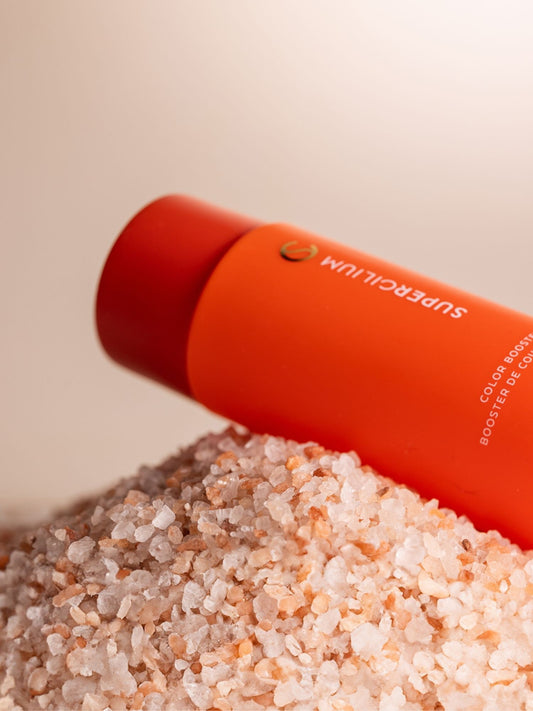
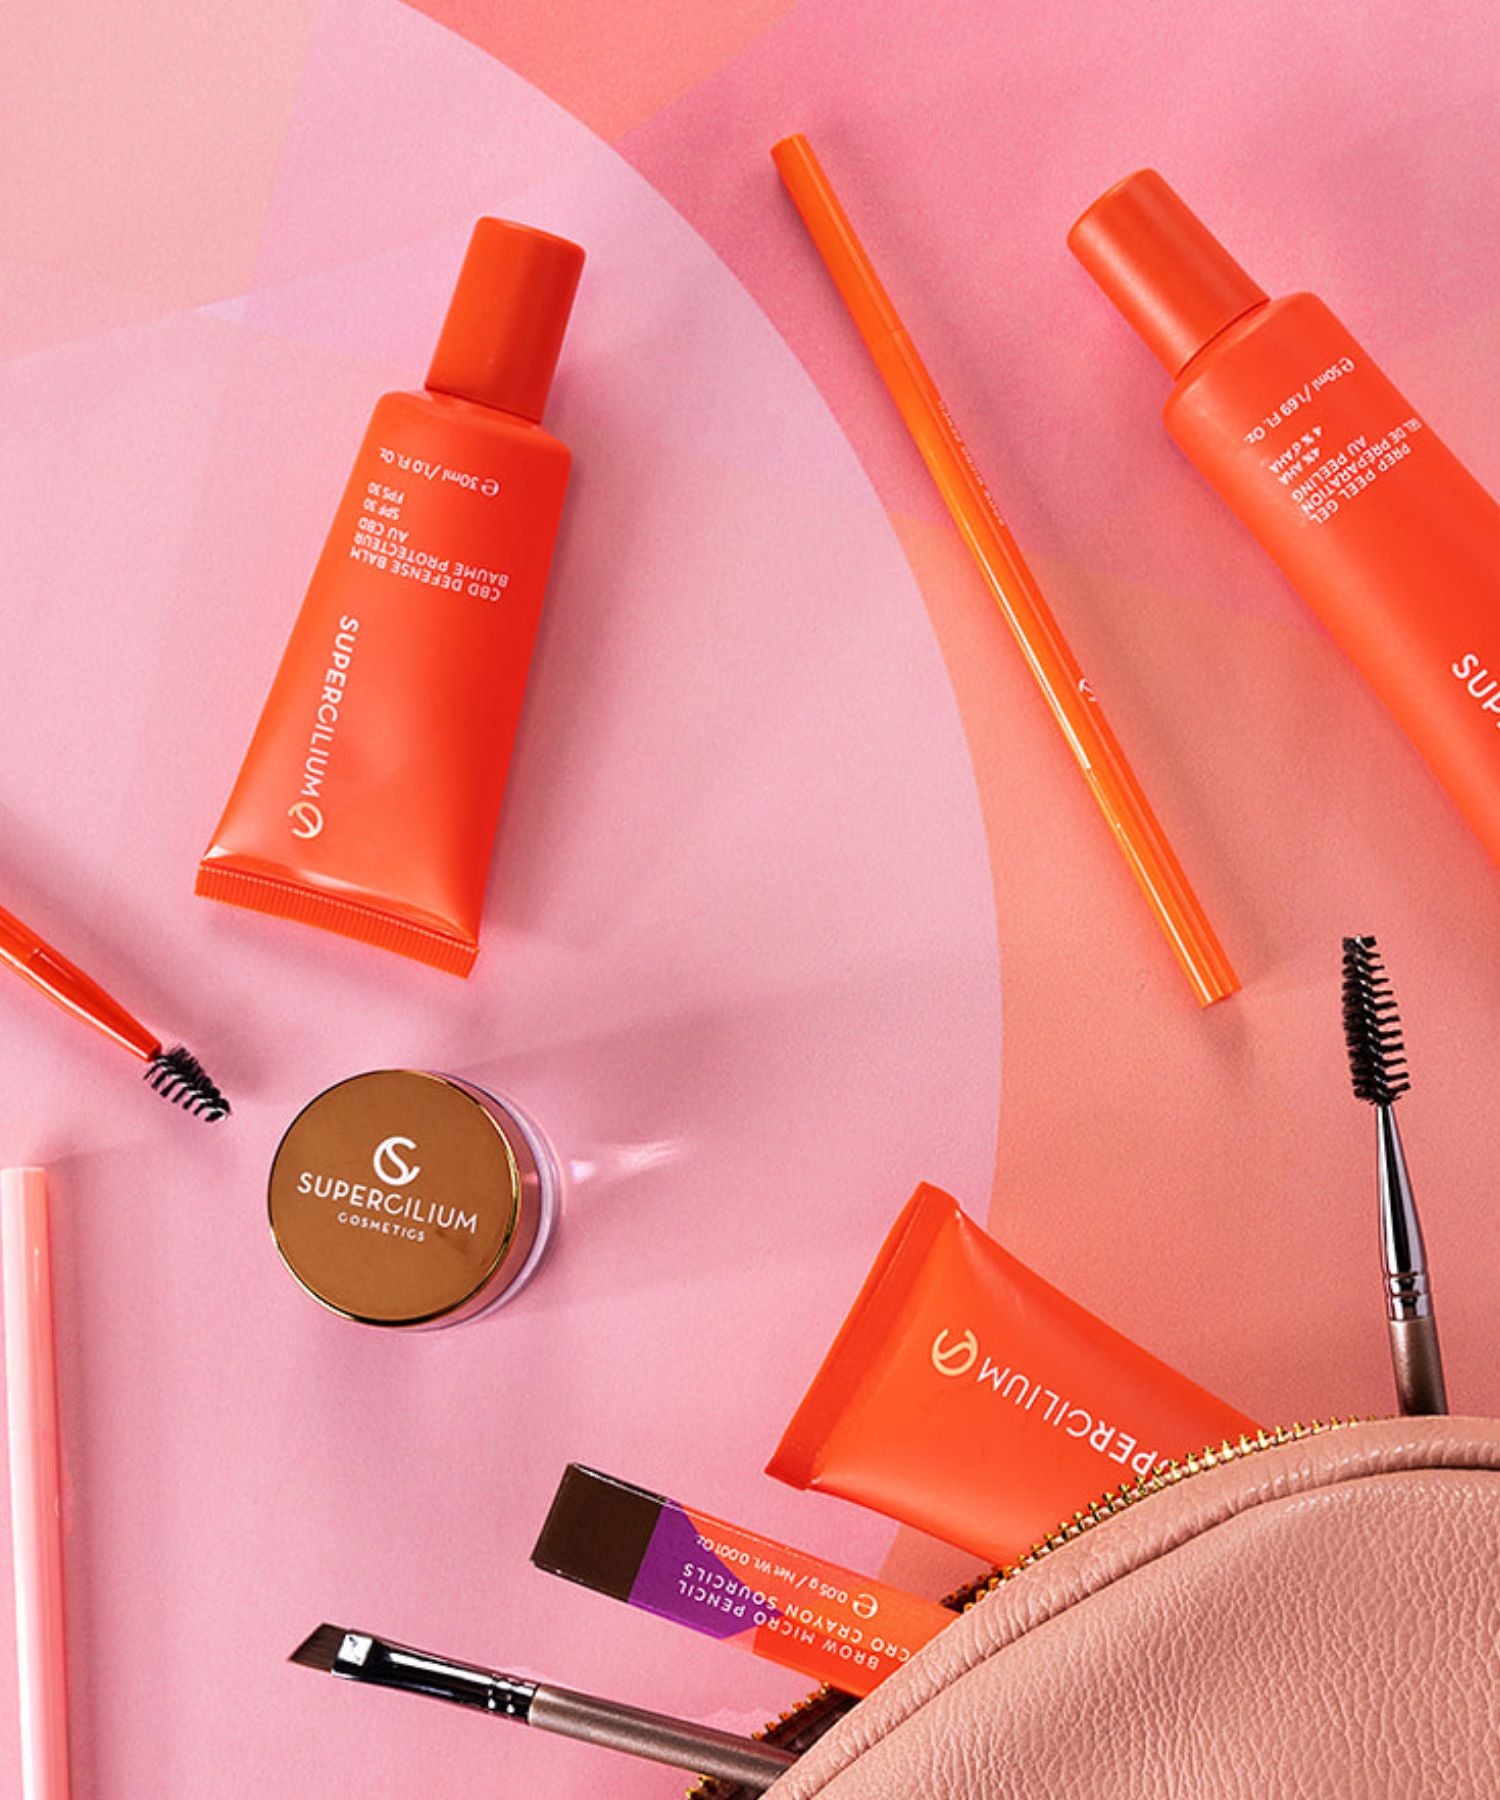
Liquid Dye is nothing short of a revolution in the eyebrow dye world! This formula, packed with keratin, not only delivers bold, long-lasting color but also nourishes and strengthens brow hairs. It’s the ultimate way to give your clients flawless brows that stay healthy.
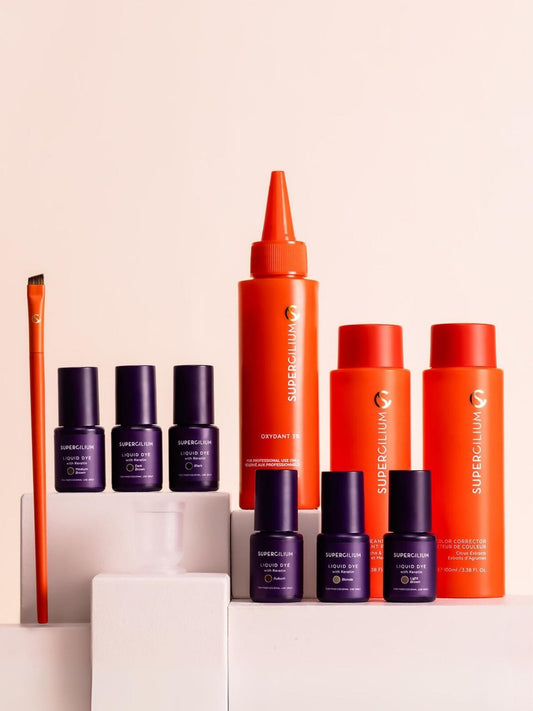
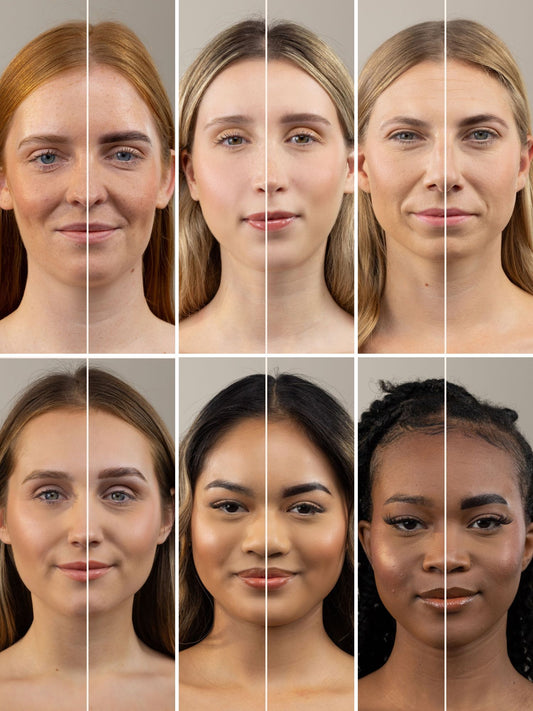
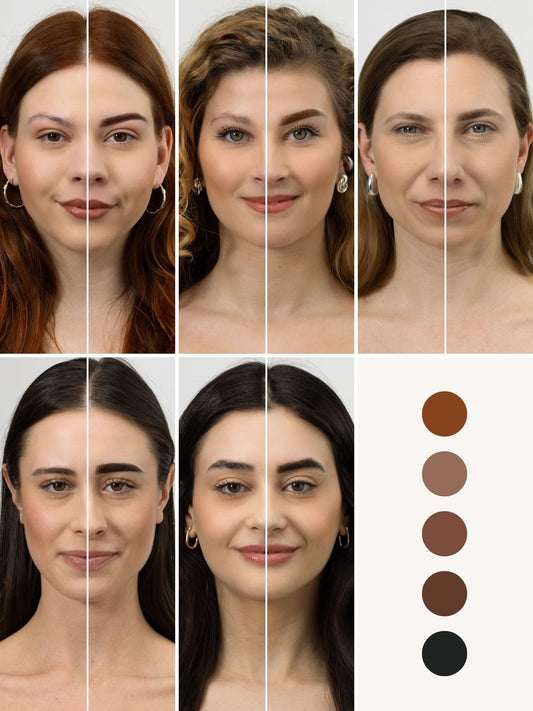
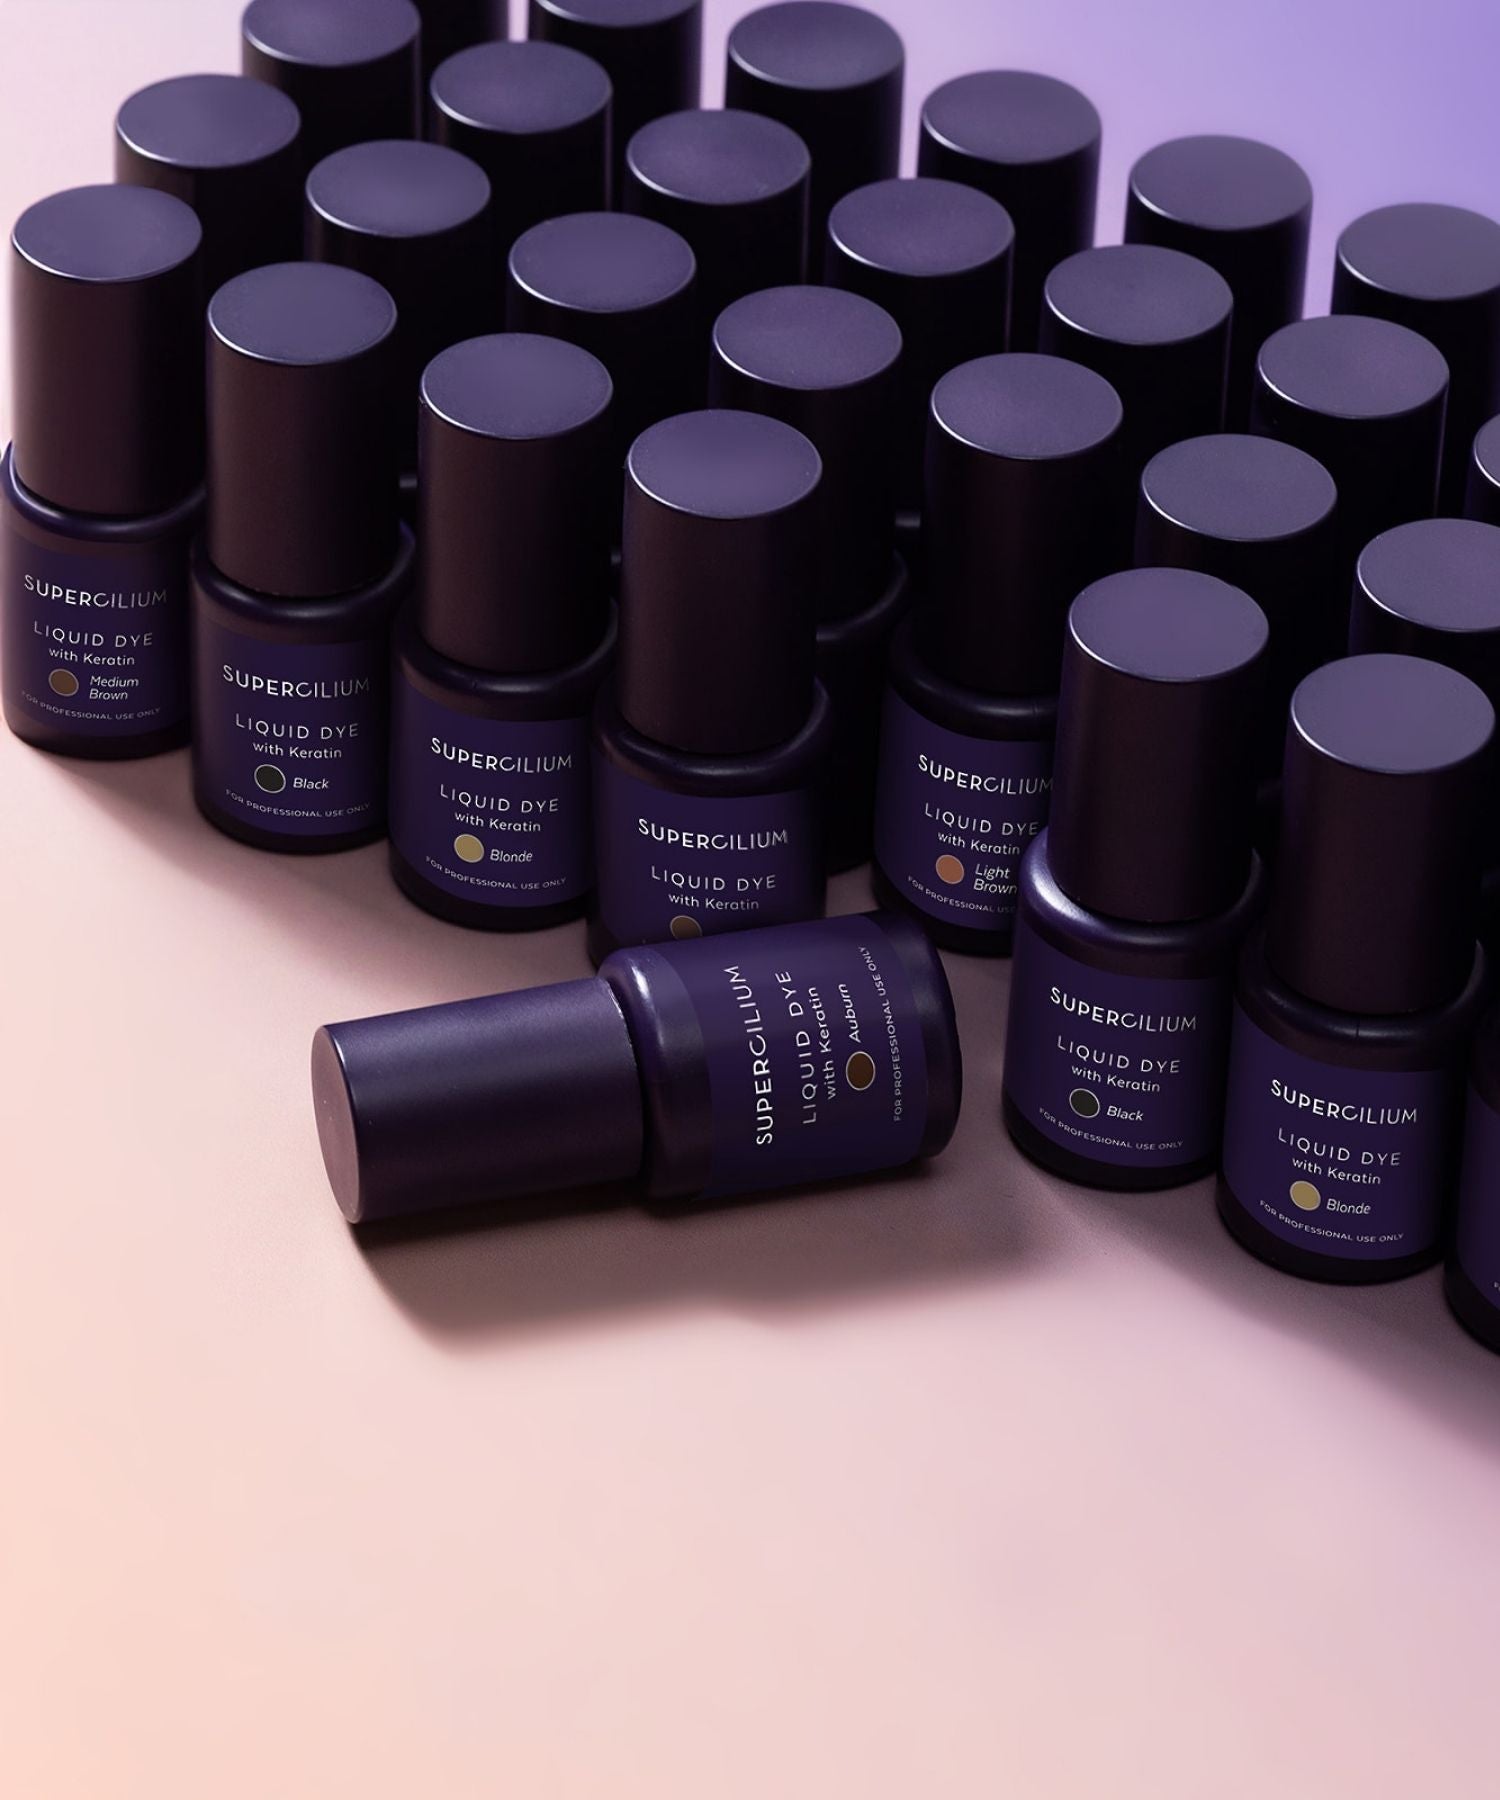
We’ve developed six beautiful, versatile shades that can be perfectly matched to any client’s natural brow or lash color. Whether they want a soft, natural look or something more defined, Liquid Dye gives you the freedom to create exactly what they’re dreaming of. The shades include:
- Ash Blonde
- Light Brown
- Medium Brown
- Dark Brown
- Black
- Auburn
Plus, it can be used for both brows and lashes. How great is that?
Why Keratin?
Keratin is a game-changer for your brow treatments. Our Liquid Dye is infused with Keratin, a key protein that naturally strengthens and nourishes the brow hairs during the coloring process. This added boost of Keratin helps protect and repair the brows, ensuring they stay healthy and strong while delivering vibrant, long-lasting color. With Liquid Dye, your clients not only get bold, flawless brows but also the added benefit of healthier, well-nourished hair. And trust us, they love it!
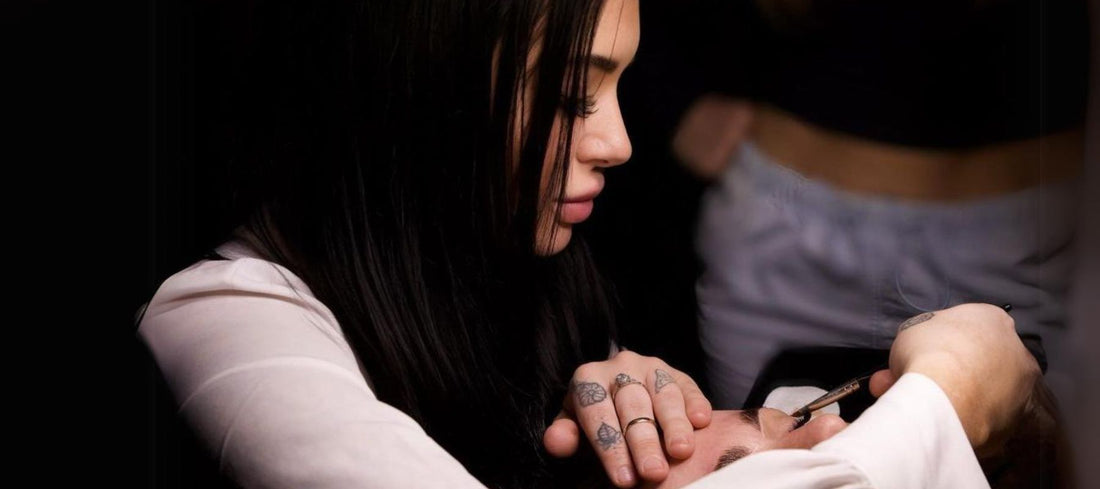
Meet the Liquid Dye Master: Alexandra
Alexandra (on Instagram as @xelabrows) is based in Scottsdale, Arizona. Known as Arizona’s natural brow specialist and a true master of Liquid Dye, Alexandra is here to reveal her secrets on how to make the most of this must-have product! From application techniques to tips on ensuring long-lasting results, she’s got the insider knowledge to help you up your brow game. Keep reading!
Benefits of Liquid Dye
Brow artists everywhere are obsessed with Liquid Dye, and for good reason! Let’s break down the key benefits that make this product a true game-changer in the brow industry.
1. Keratin power
Liquid Dye doesn’t just deliver stunning color—it’s also infused with keratin to strengthen and nourish the brows and lashes during the treatment. Your clients will love the healthy, bold brows they walk away with, and you’ll love that you’re giving them long-lasting results while caring for their natural brows.
2. Quick developing time
Liquid Dye’s quick-developing formula makes it a go-to for busy artists. For brows, it develops between 2-10 minutes, depending on the desired intensity and results. Want an ombré effect? Here’s a quick breakdown:
- Tail: 6-10 minutes
- Middle part of the brows: 4-6 minutes
- Beginning of the brows: 2-4 minutes
For lashes, the processing time is just 5 minutes! This speed and flexibility let you deliver flawless, long-lasting results in no time.
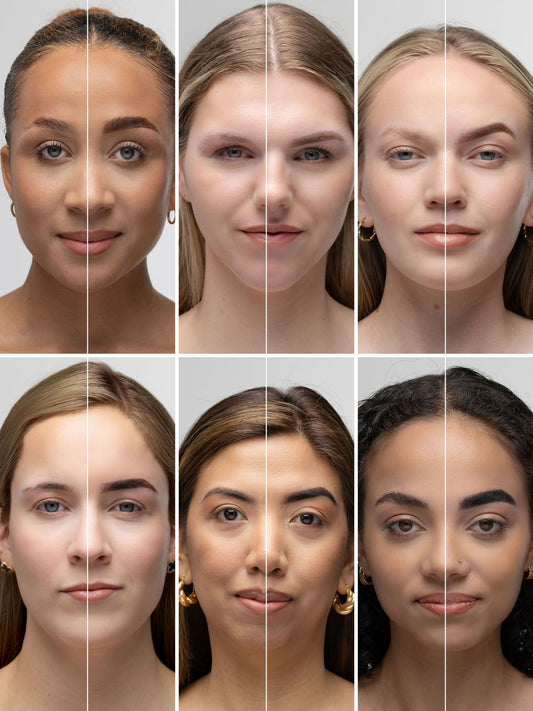
 3. Custom colors for every client
Pro Tip #1 from Alexandra: "A little bit of dye goes a long way—so for a more natural look, always go one shade lighter than the brow hair. For a darker, bolder result, use the same color that reflects their hair color and add just a couple of minutes of processing time from what we would do for a natural brow. This ensures a more vibrant color and a better stain!"
Don’t be afraid to play with color! Enroll in our Certified Liquid Dye Course to learn how to mix eyebrow dye colors like a pro.
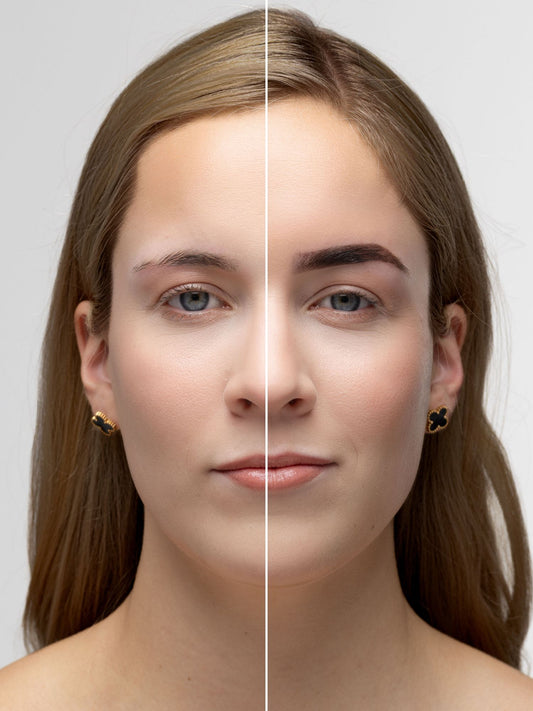
4. Natural and long-lasting
When it comes to Liquid Dye, clients can’t get enough of the natural, flawless finish it delivers. The eyebrow dye stains the skin under the brows for up to 11 days and colors brow hairs for up to 6 weeks, leaving lashes beautifully tinted and brows looking full and fresh. The best part? Your clients walk out with a look that lasts, so they keep coming back for more!
Pro Tip #2 from Alexandra: She advises applying thin layers and using a stamping technique for precision, especially along the bottom of the brow. This method helps you create clean, straight lines with a smooth finish. By using thin layers, you can build up the color without overdoing it, ensuring a long-lasting, natural result that looks vibrant for weeks.
5. Compatibility with Lamination and Airbrush
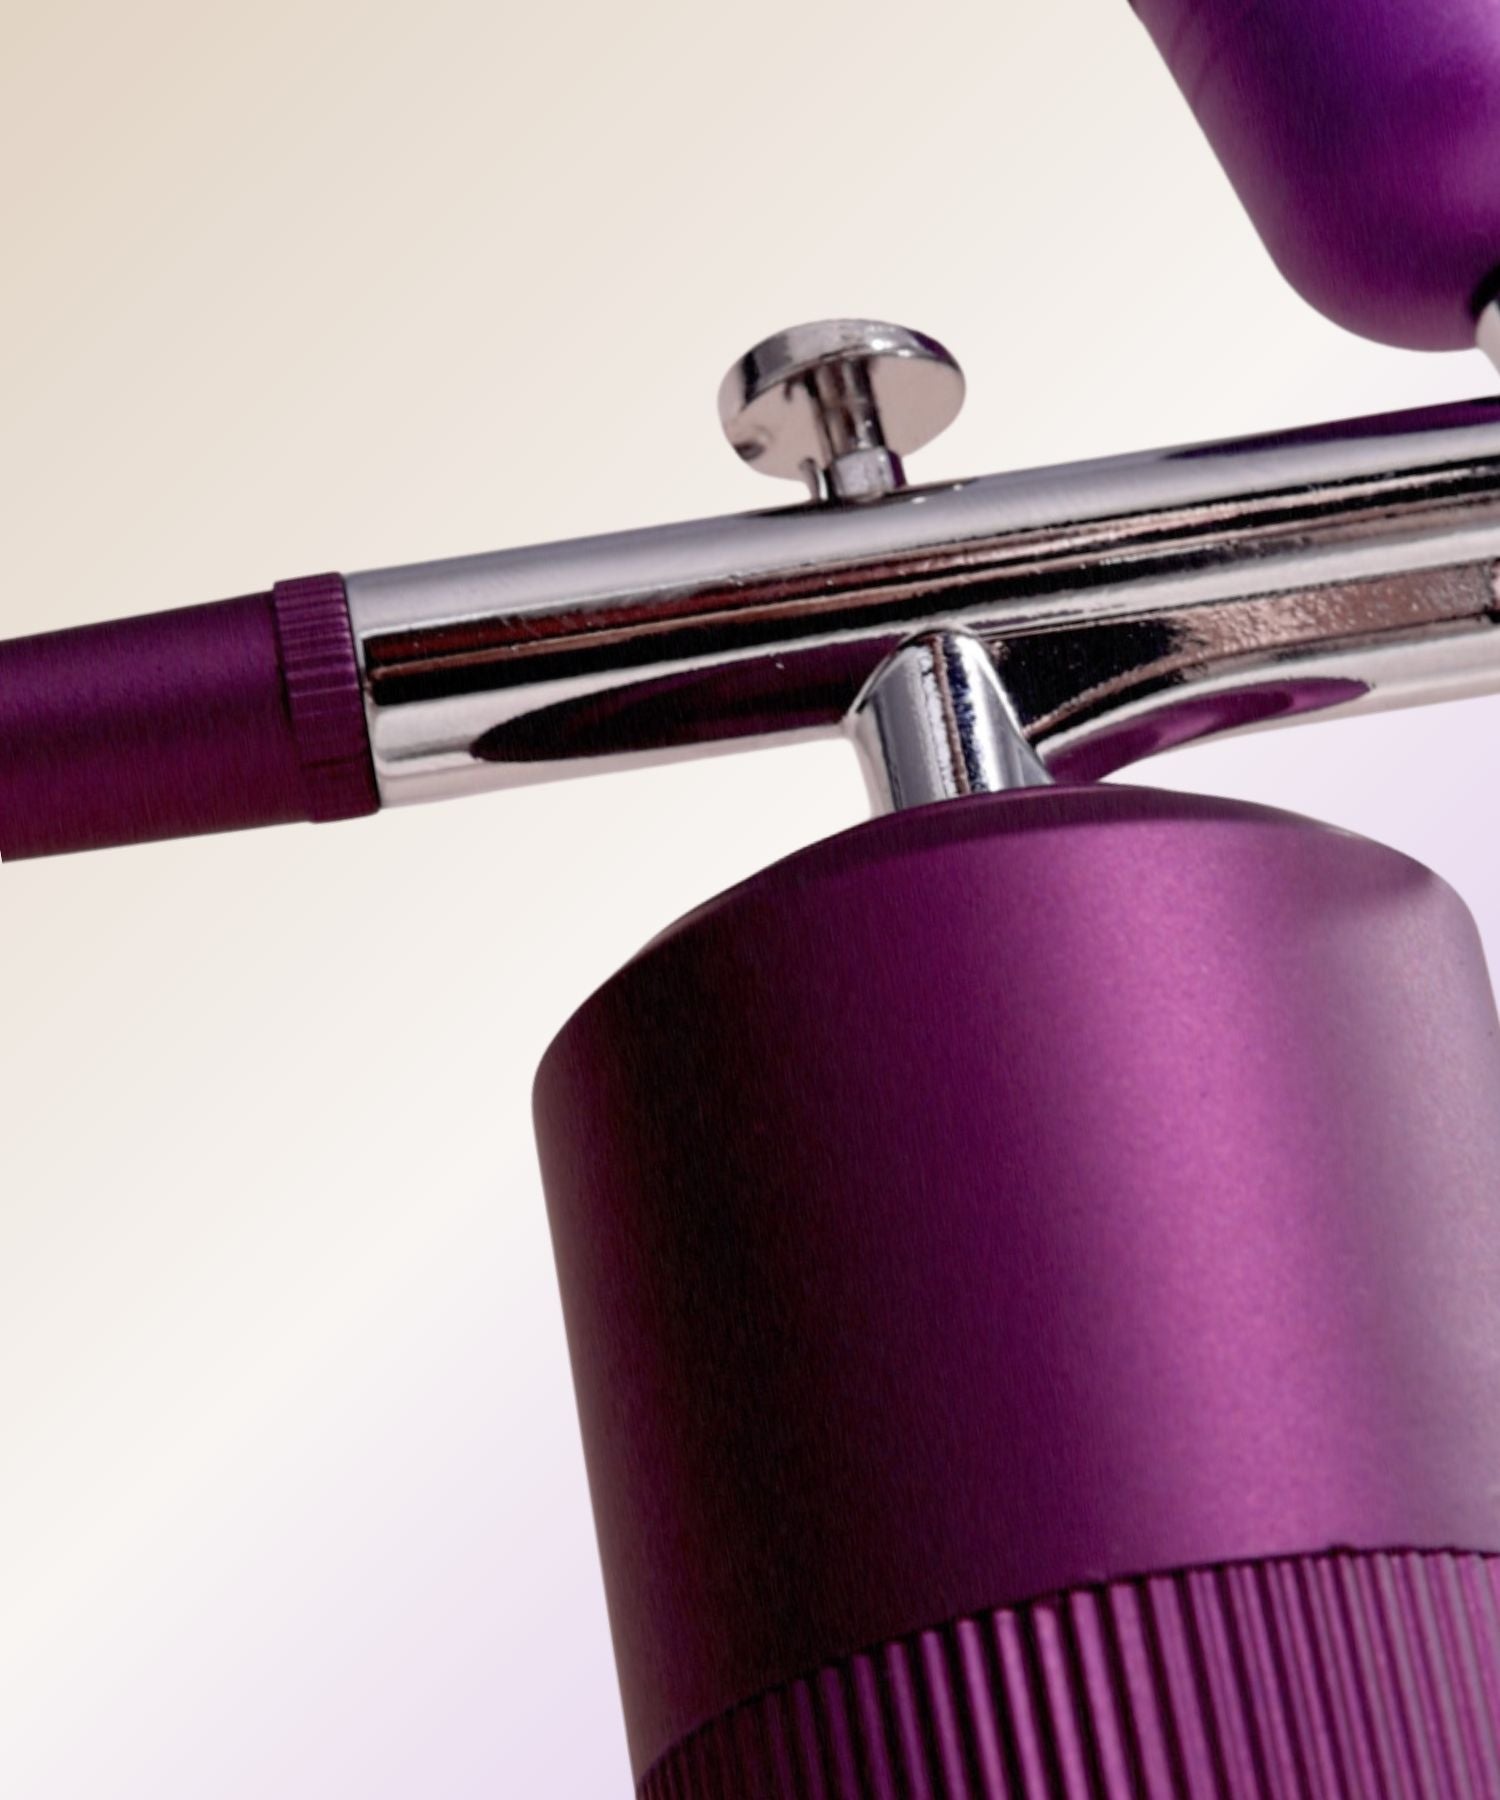
What makes Liquid Dye so amazing? It’s not just the rich color—it’s how effortlessly it fits into your treatment routine, especially when paired with Brow Lamination or Airbrushing.
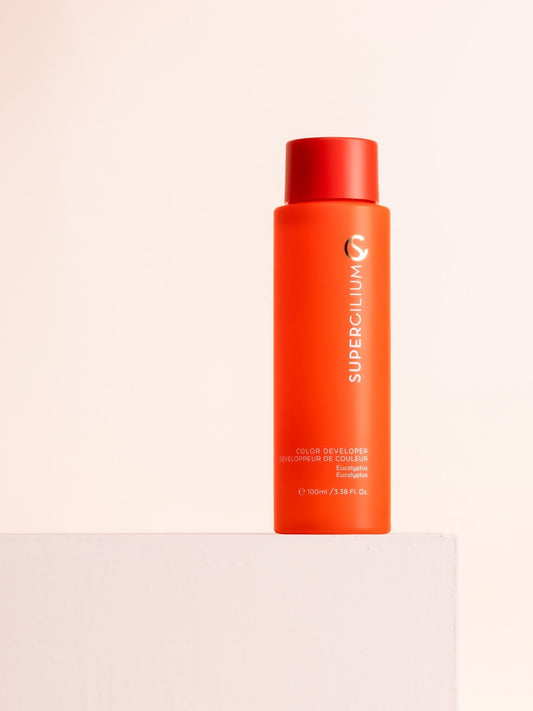
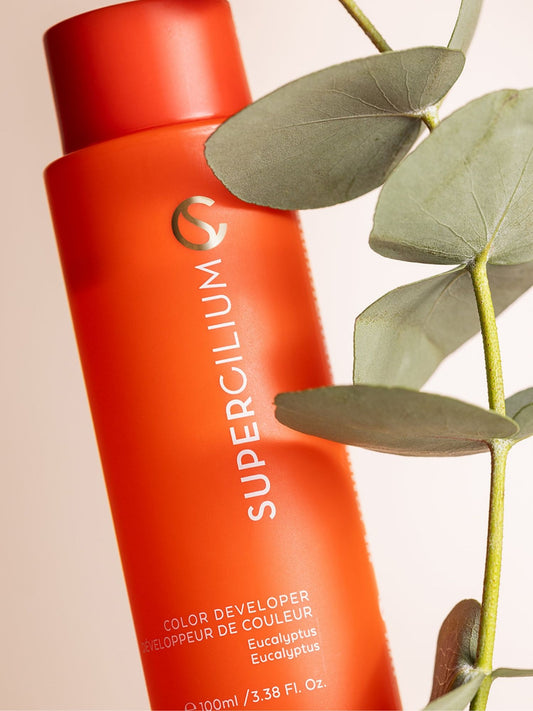
Liquid Dye + Airbrush is a match made in brow heaven! Its liquid formula glides through the Airbrush, giving you a smooth, flawless application. When you mix it with an Airbrush Developer, the consistency is perfect for achieving precision and control. Brow Artists love how quick and easy it is to create natural-looking results, all while speeding up their process.

And when combined with Brow Lamination, Liquid Dye takes your treatments to the next level. Imagine giving your clients two of the most popular brow treatments in one go! Laminated brows with rich, long-lasting color—that’s a winning combo. Want to dive deeper into how these two best-selling treatments work together? Read more about it here.
6. Easy to mix
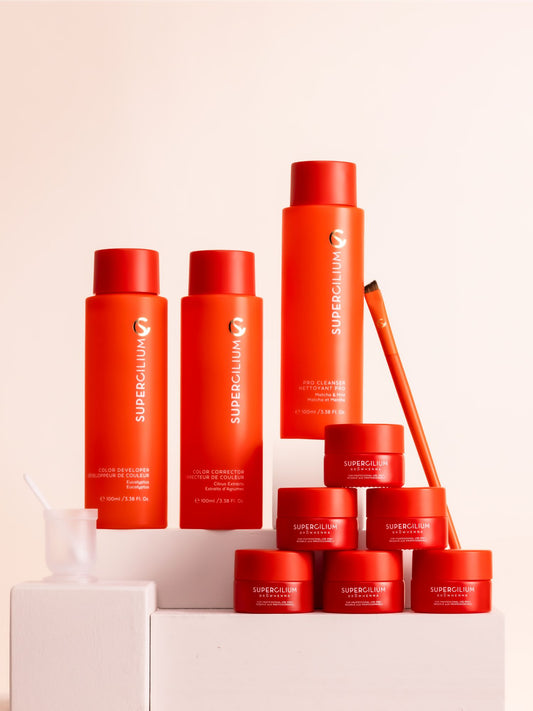
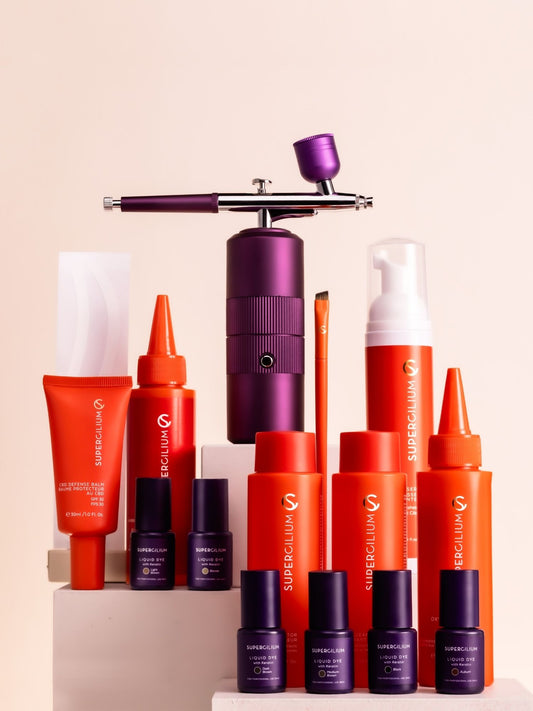
One of the things we love about Liquid Dye is how simple it is to mix for the perfect application. All you need is Liquid Dye and our Cream Developer. The ideal mixing ratio is 2 drops of Liquid Dye with 1 drop of Cream Developer. This creates a creamy paste that’s smooth, easy to apply, and gives you full control over your application.
The consistency is key for delivering even coverage, whether you’re working on brows or lashes. Plus, this quick and simple mixing process ensures you can move efficiently between clients while still achieving flawless results.

Liquid Dye application tips from Alexandra
Alexandra is a huge fan of Liquid Dye, and it’s easy to see why! She shares some of her favorite techniques that make it a versatile and powerful product in her brow toolkit:
- Apply thin layers: Start with thin layers of dye to build up the color without overdoing it. Alexandra teaches her students that less is more. This makes for smoother, more even results!
- Stamp for precision: Instead of freehanding lines, Alexandra recommends stamping the color in, especially along the bottom of the brow. "Stamping helps create a straighter, cleaner line and gives you more control," she advises.
- Brush for a natural look: For a softer, natural look, Alexandra suggests brushing the tint towards the upper part of the brow with a mascara wand. This lightens the overall effect and ensures a more subtle finish.
- Go bold with stamping: If your client prefers a bold look, you can stamp the entire brow for a more defined effect. "Stamping is key to maintaining control and achieving a clean, strong result," Says Alexandra.
Inspired by Alexandra’s tips? You can follow her incredible work at @xelabrows for more brow inspiration and expert advice.

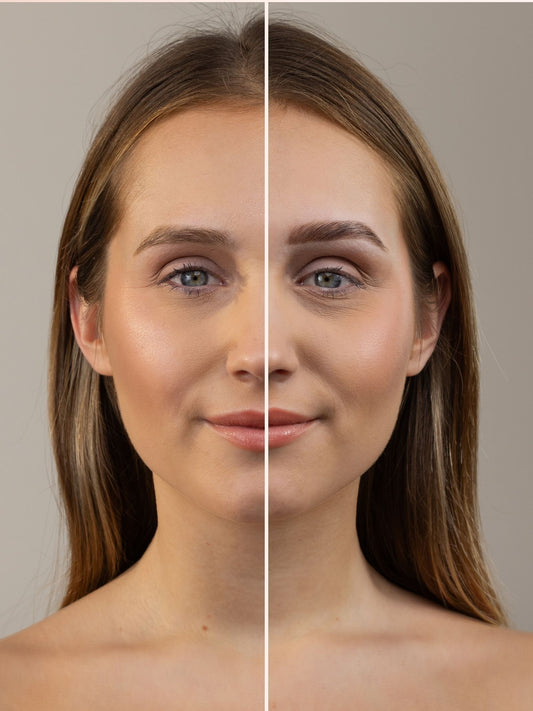
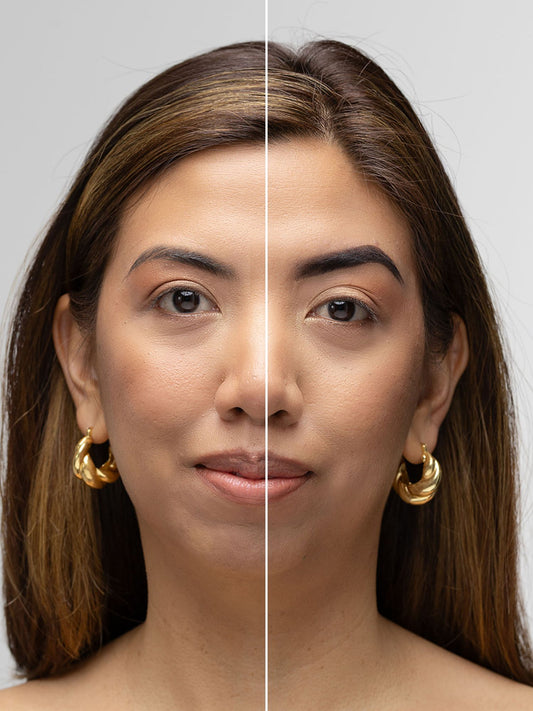
Look at this amazing before & after brow photo by Alexandra! Loving the combination of Liquid Dye and Eyebrow Lamination.
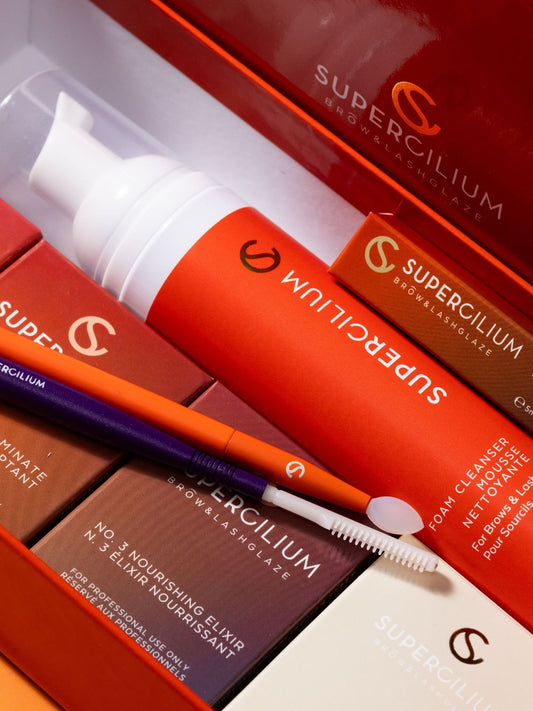
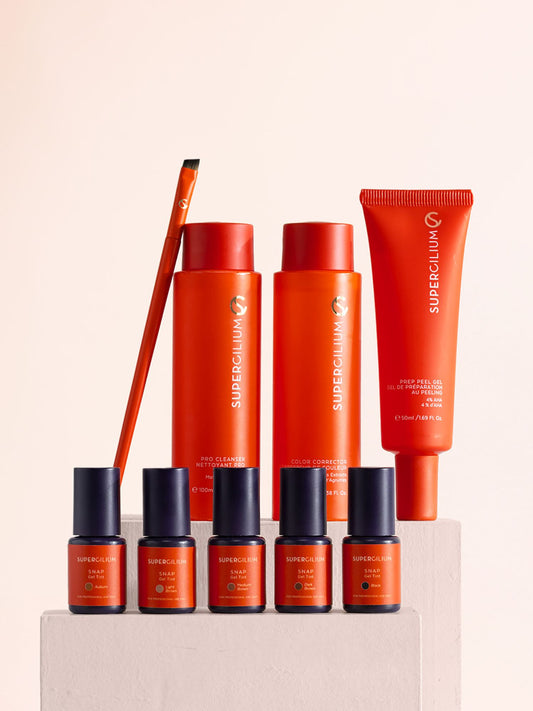
Ready to start creating flawless, long-lasting brows with Liquid Dye? Explore our Liquid Dye Starter Kit and see for yourself why brow artists love it. It’s packed with everything you need to get started, whether you’re a beginner or a seasoned pro.