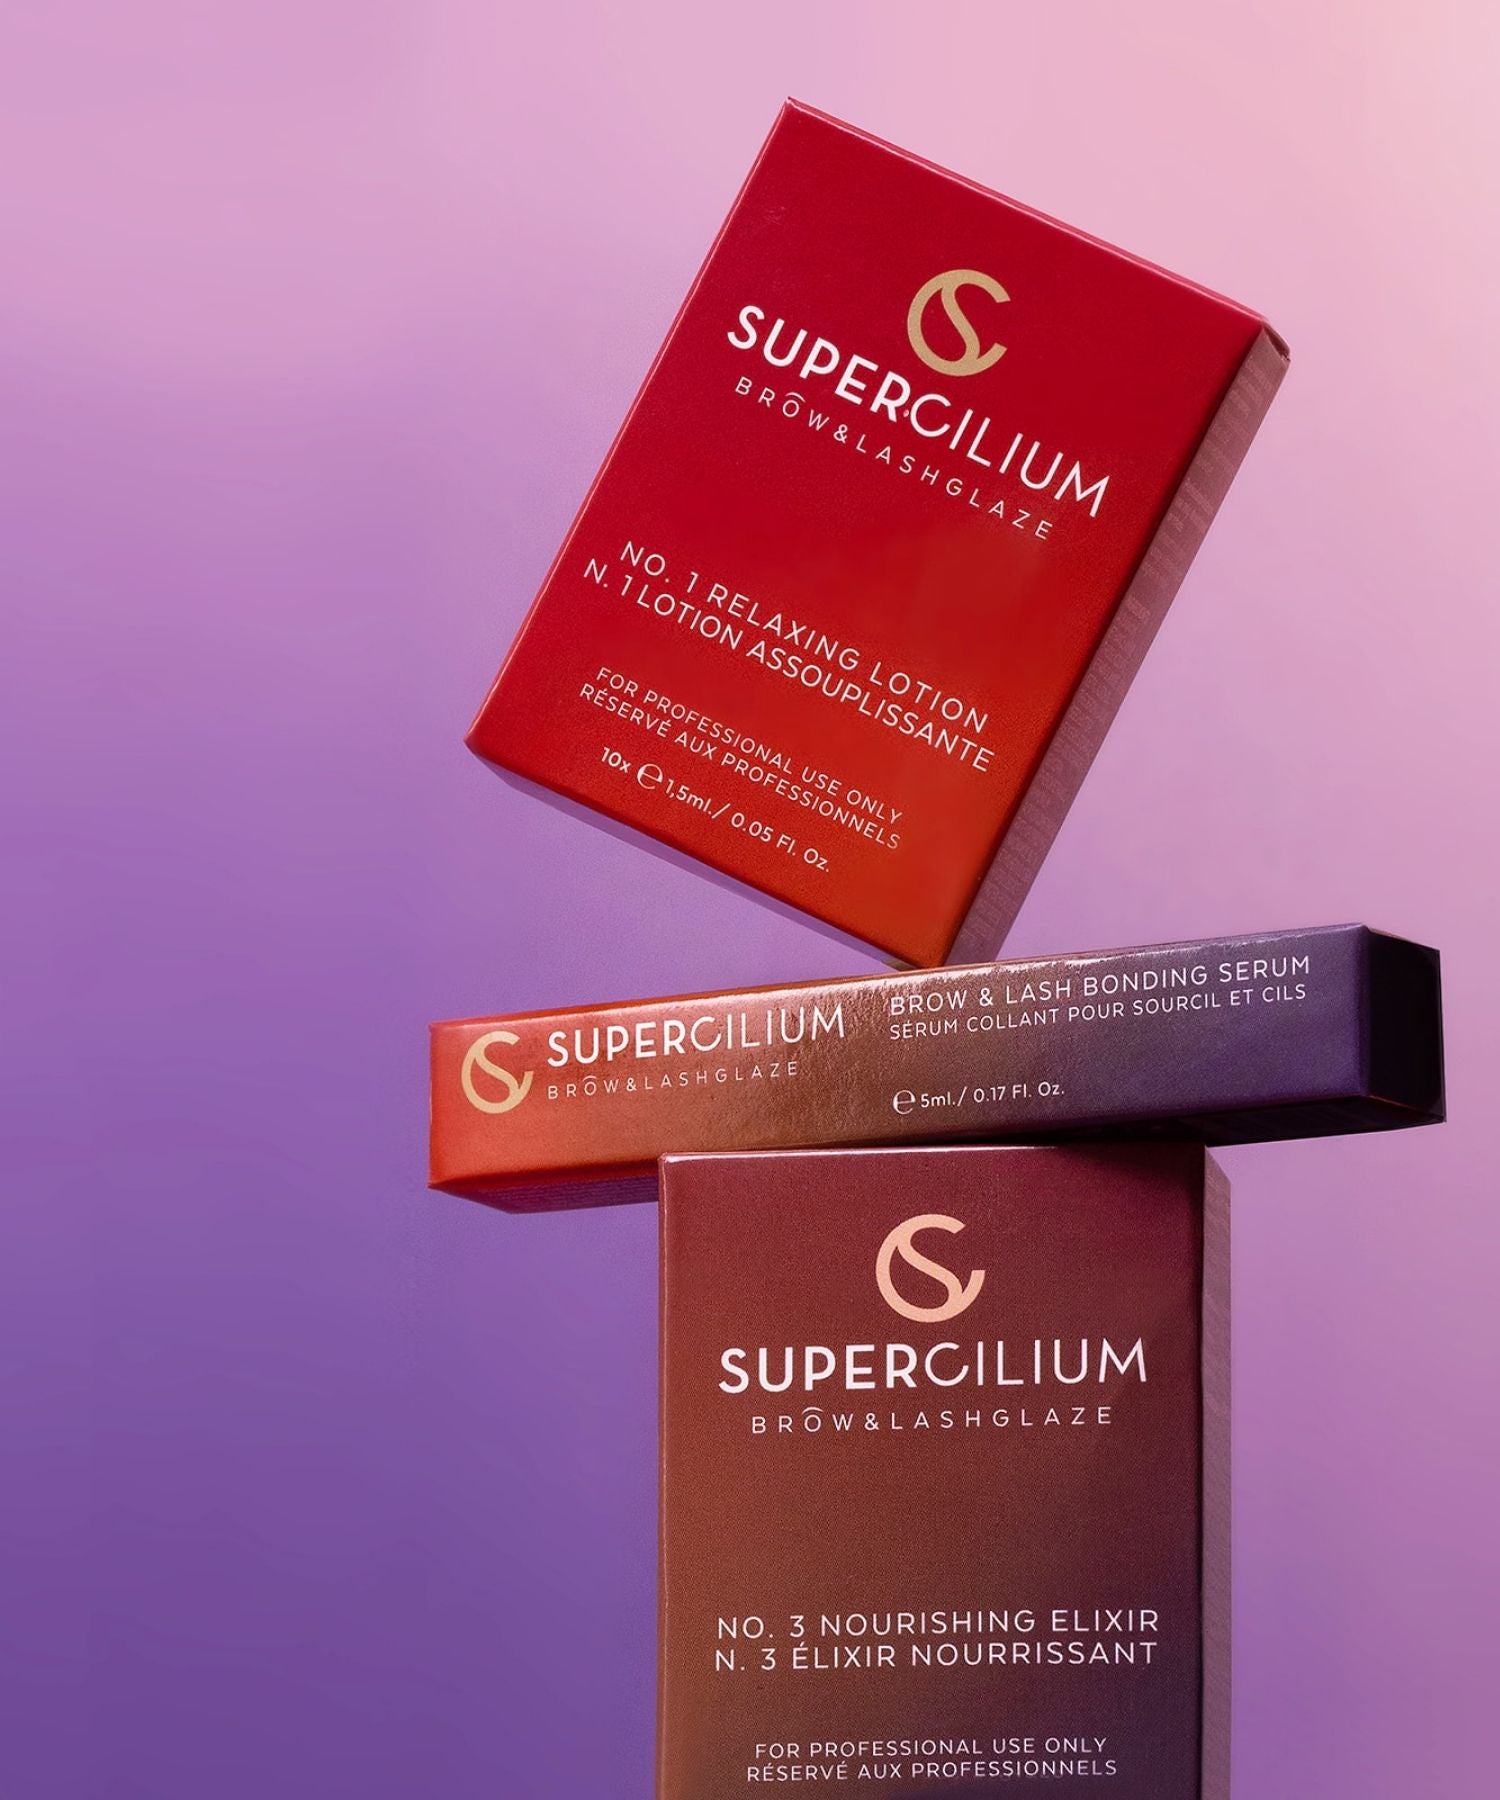
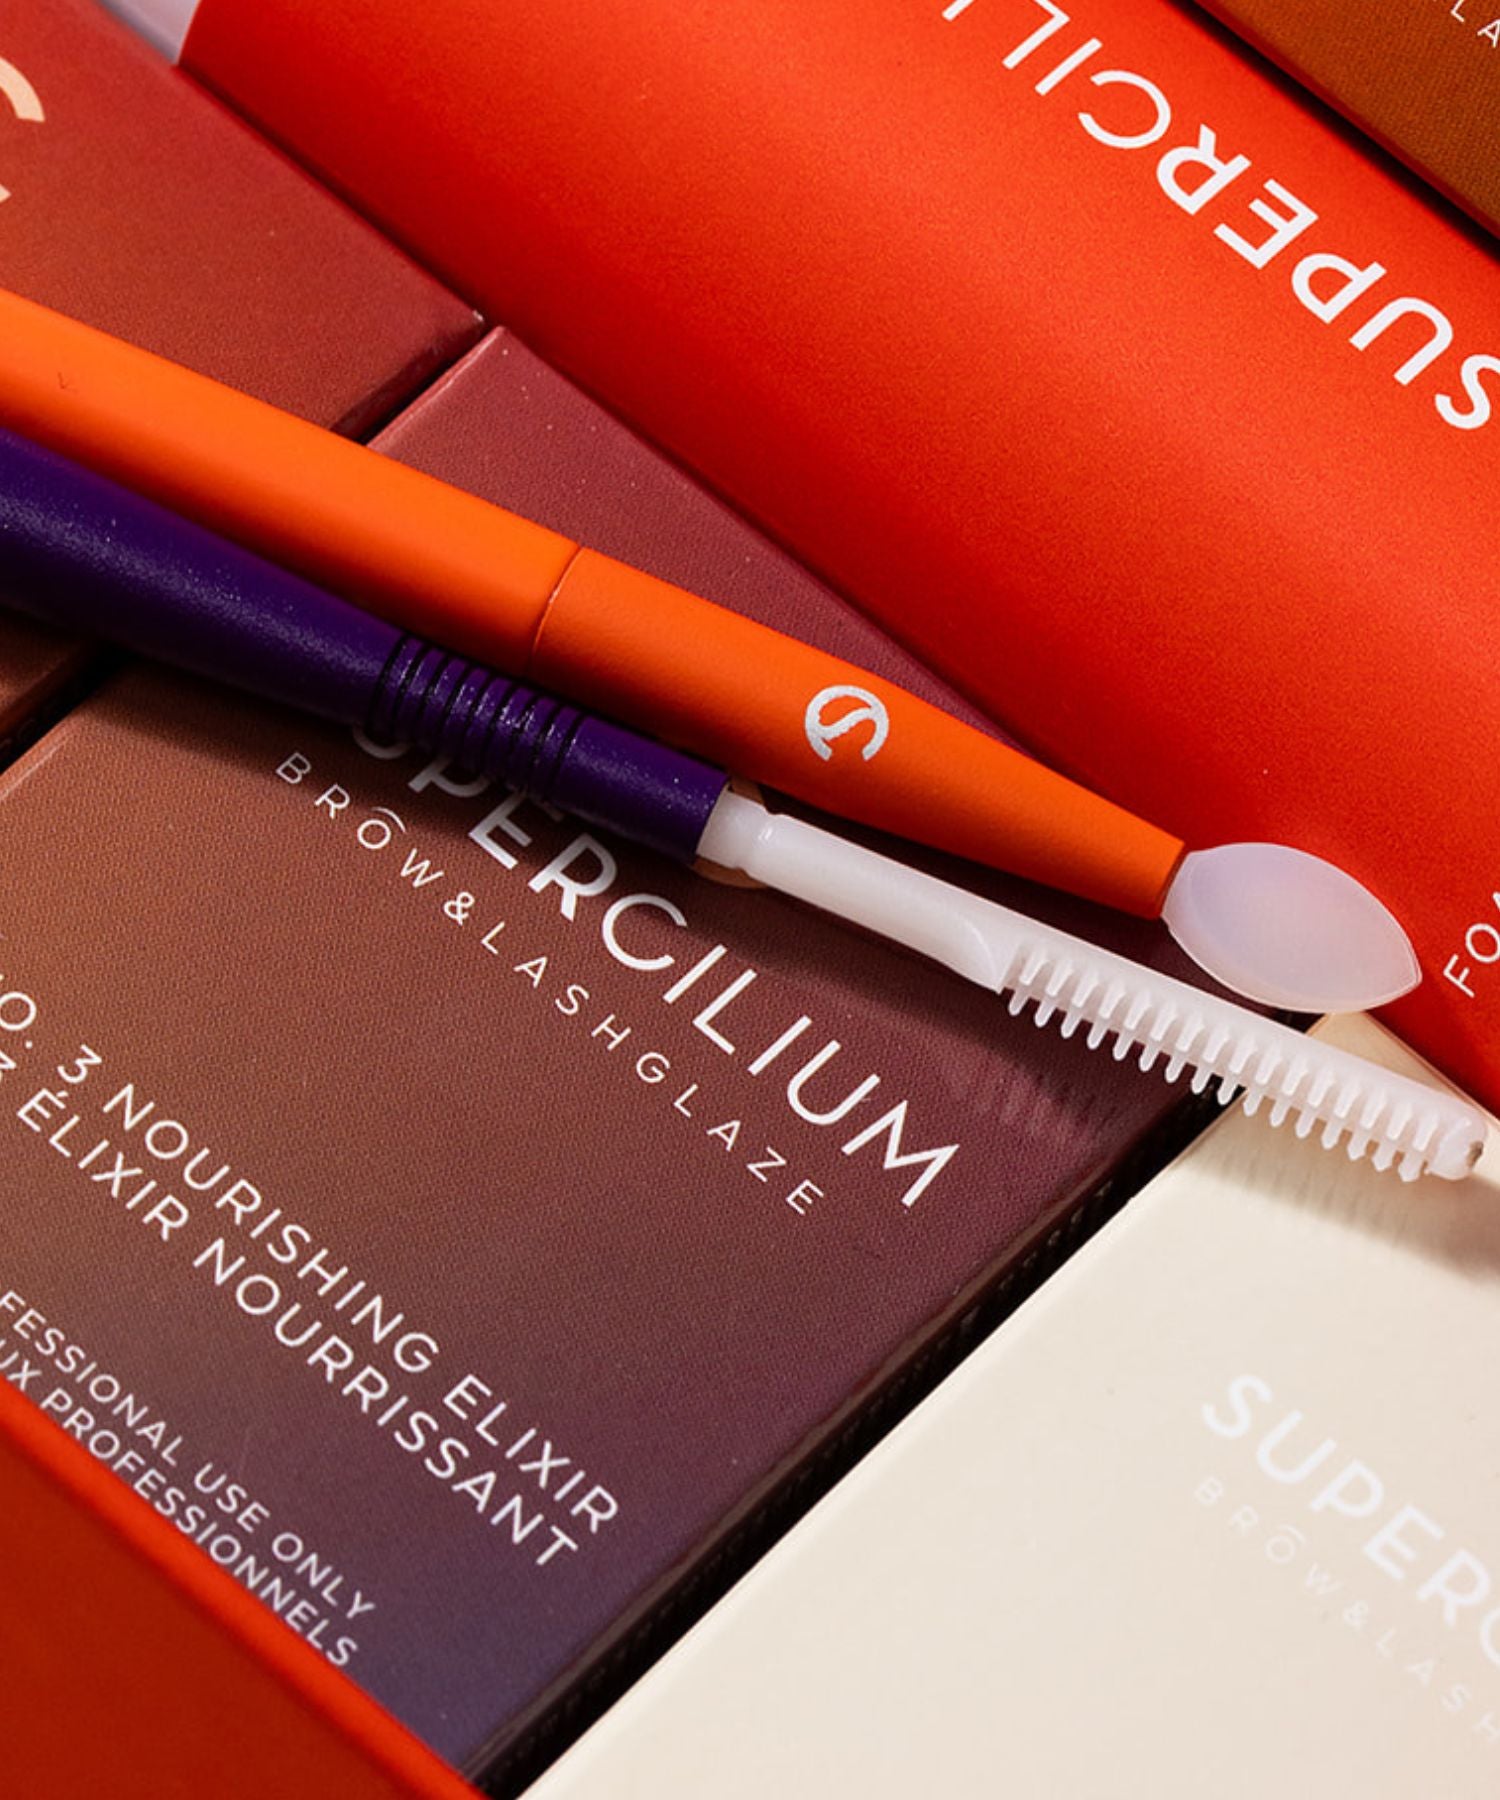
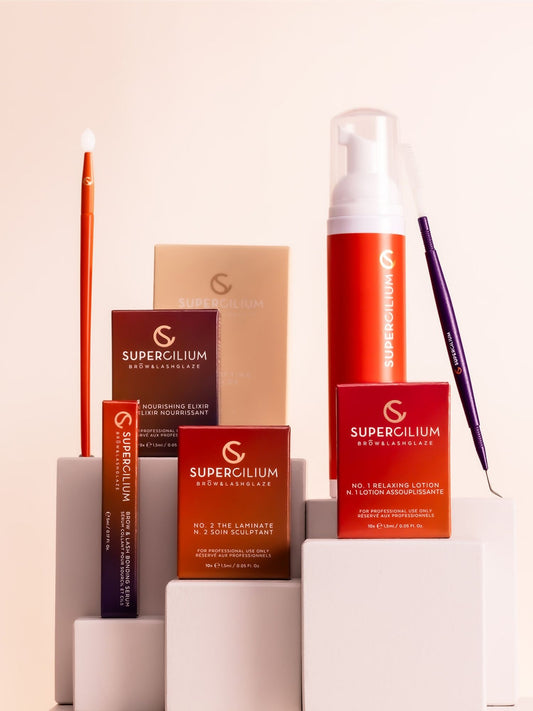
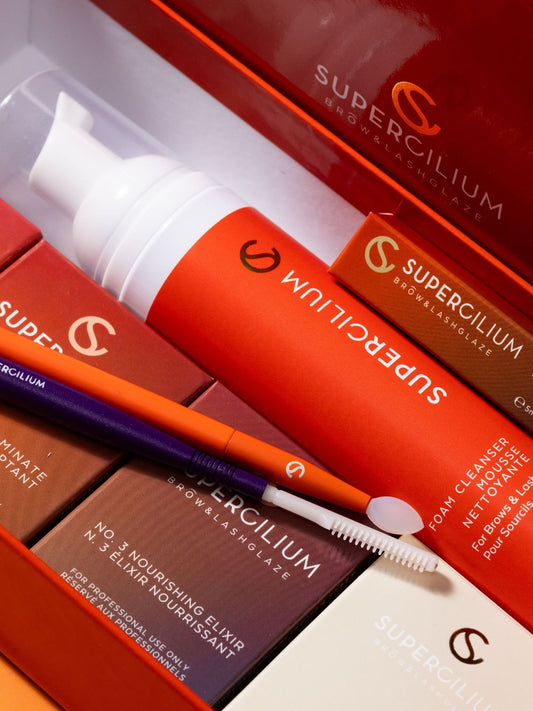
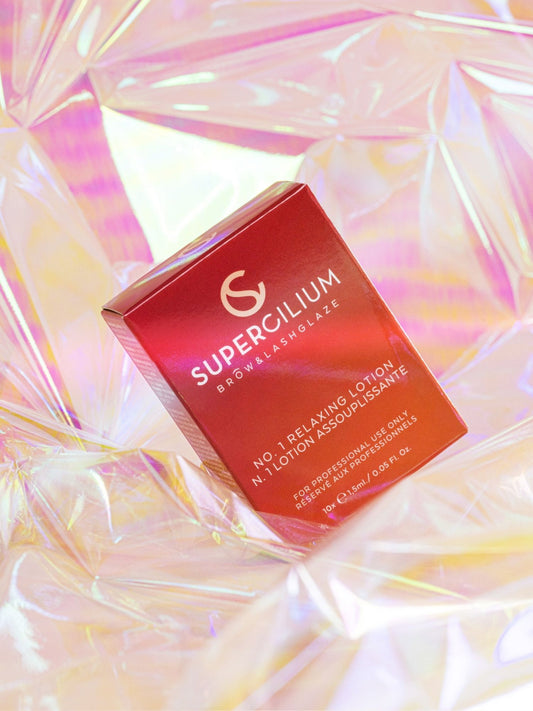
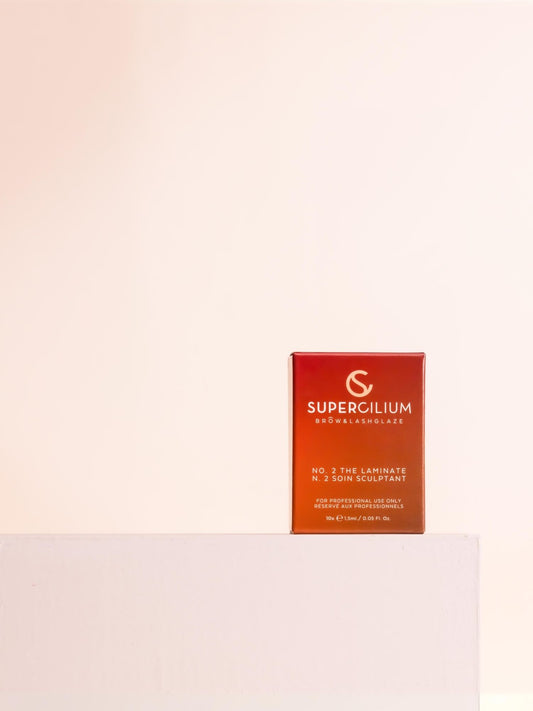
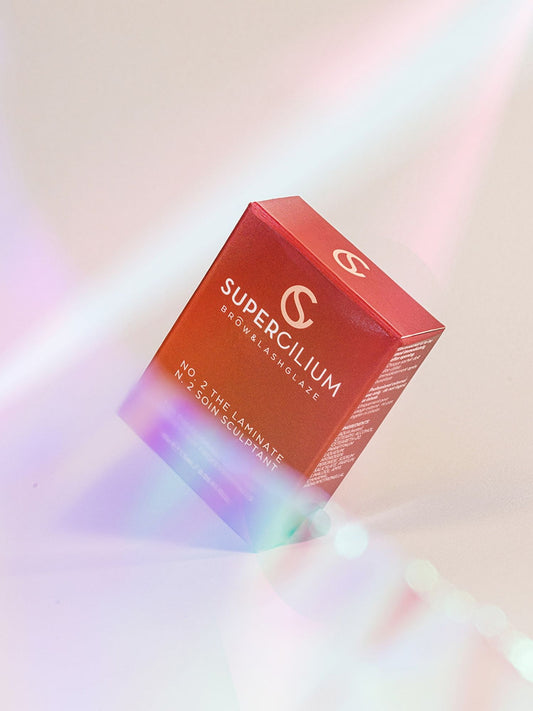
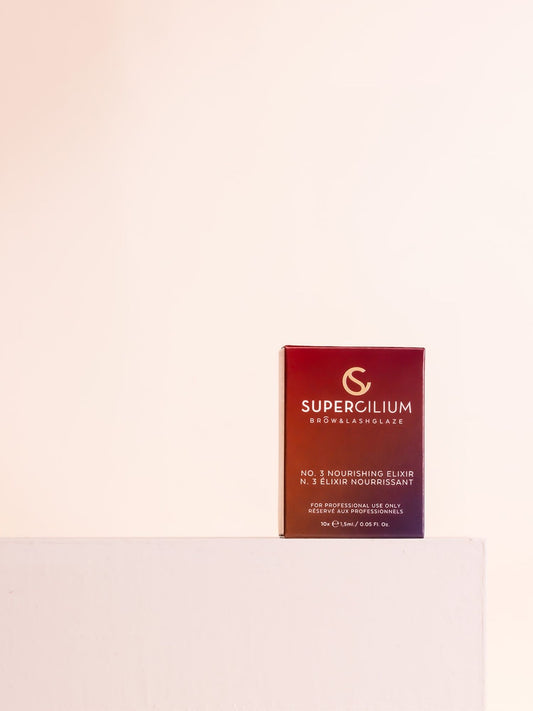
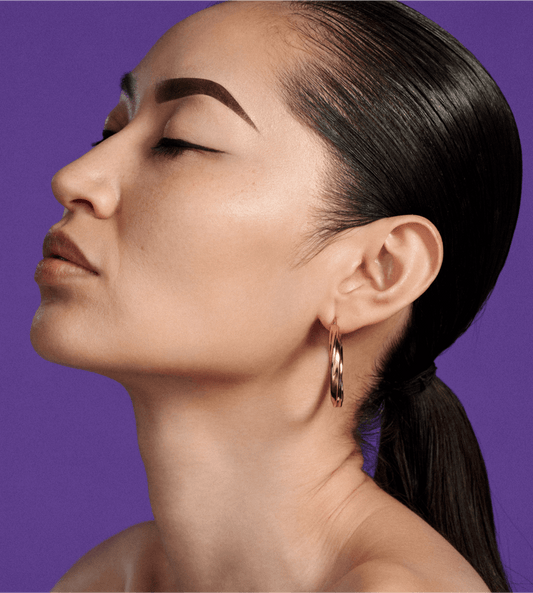
The three-step process consists of a solution that softens the hairs of the eyebrows, a laminate to fix the new shape of the brows, and a nourishing elixir. The treatment acts as a kind of perm for the eyebrows, giving them a beautiful, thick and expressive look. Another advantage is that the final result looks very natural. It is about the same as if you had shaped your eyebrows with a Brow Gel.
With just three easy steps you can perform a brow lamination and archive flawless brows:
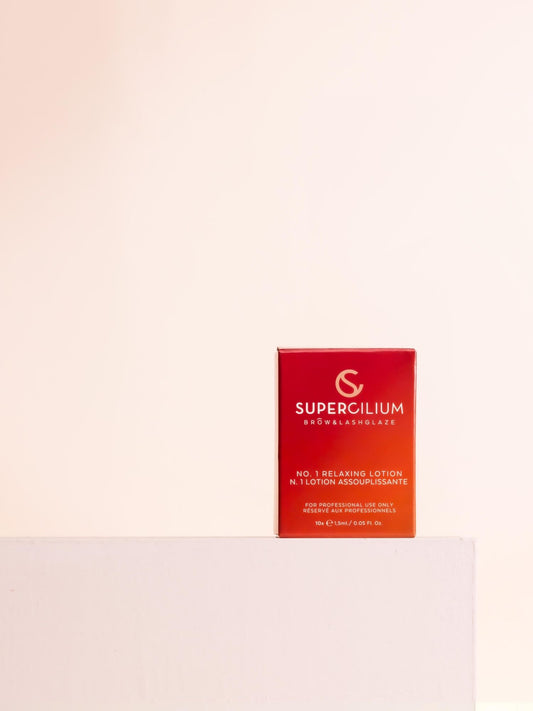
- Step 1: Apply a few drops of No. 1 Relaxing Solution to the brows with a micro brush and brush the brows into the desired position. After 5-7 minutes, you can remove the product with a cotton pad.
- Step 2: Apply No. 2 The Laminate to the brows and brush the brow hair into the desired position. This step is where the lamination process is happening. After 5-9 minutes, remove with a cotton pad as well.
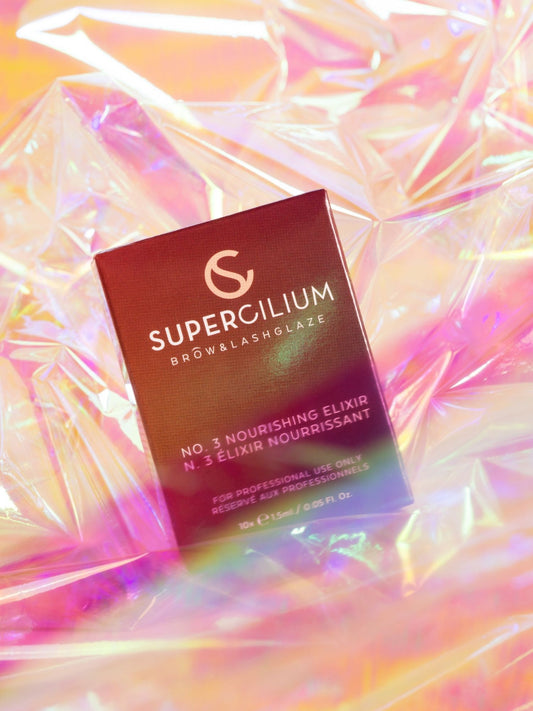
- Step 3: Apply No. 3 Nourishing Elixir. This lotion moisturizes the hair, restores hair structure, stimulates hair growth and helps protect brow hairs from negative external influences.
NOTE: There are some cases when you'd better not do the lamination treatment. For example, if your client has acne around the eyebrows. The same goes for damaged or irritated skin around the eyebrows.
AFTER-CARE FOR LONG-LASTING RESULTS
In order for the beautiful brows you created to stay in shape, it is important for the client to know all the aftercare steps that should be followed. The following points for long-lasting brow lift results are especially important:
- Avoid skin contact with water for the first 24 hours after brow lamination, as this can weaken the effectiveness of the materials used.
- Avoid sleeping directly on your face after the brow lift, and turn on your back if possible.
- Avoid warm and humid places like saunas, steam rooms, and hot tubs. Generally, avoid high temperatures after treatment to achieve long-lasting results
Check supercilium Brow Care collection to take good care of those brows after any treatment!
LAMINATION TREATMENT FOR THE LASHES
If you already love using our Brow Glaze to laminate your client's brows, we have good news for you. Now, with our new and improved formula, you are able to double the lash lift treatment and use it as a lash lifting product as well.
Lash lifting is a great alternative to regular makeup products like mascara and lash extensions. If the lashes aren't dramatic enough with regular mascara but you also don't want the super dramatic look or maintenance of extensions, a lash lifting treatment is the perfect middle way for you! Lash lifting doesn't actually add more length to your own lashes, but rather it does give it a curl and lift. The result gives the illusion of length and eyes that are open wide. It definitely adds a nice touch to your regular everyday look and gives you a natural, non-dramatic way of making your eyes pop more.
HOW TO PERFORM A LASH LIFTT WITH THE BROW LAMINATION KIT
Our Professional Prow Lamination Kit can be used for both brows and lashes! If you want to archive the ultimate lash lift, there are a few steps you should follow and brow lamination products you need:
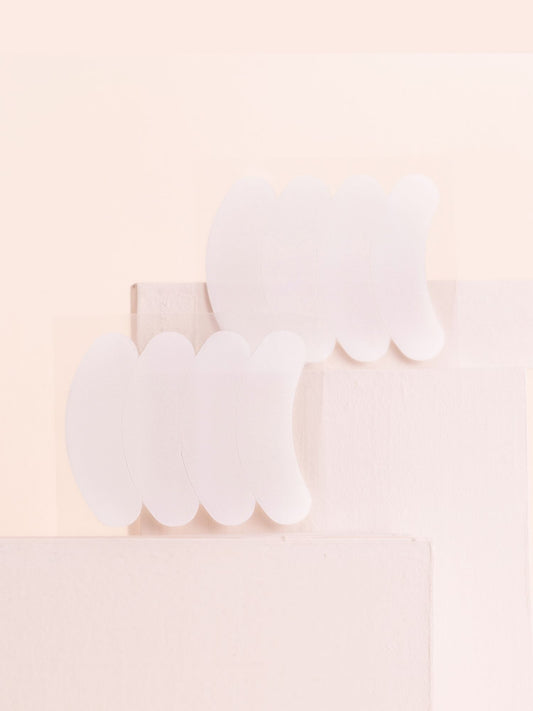
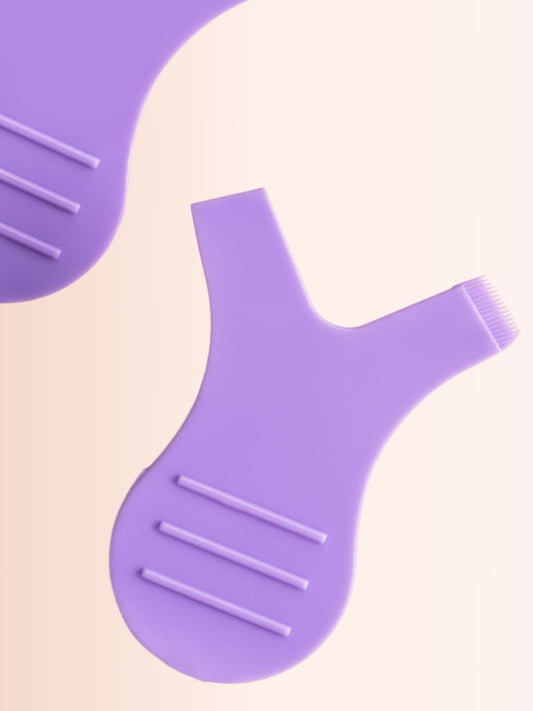
Start by placing a collagen pad under each eye ensuring your clients’ bottom lashes are secured under them. Choose the appropriate Lash Shields based on the client’s desired result, trimming to fit as required. The width of the lash shields can be trimmed in length using scissors to enable the perfect fit on the lash lid. Our high-quality and reusable silicone shields are perfect for Lash Lifting Treatments. They allow you to shape the lashes into the new desired shape. Small Shields in size S will add a more glamorous, dramatic curl to the eyelashes. Size M gives eyelashes a medium curl and we recommend using them on medium or long eyelashes. Size L gives eyelashes a natural-looking curl and we recommend using them on medium, long, and very long eyelashes. The shields are also part of the Lash and Brow Lamination Kit.
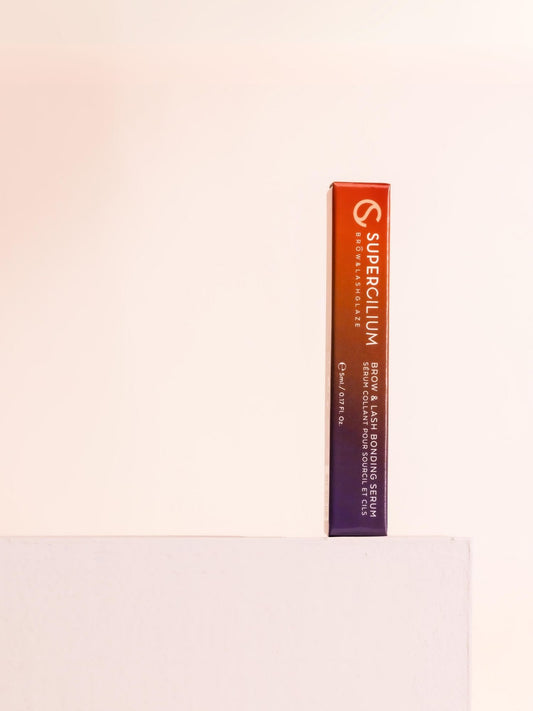
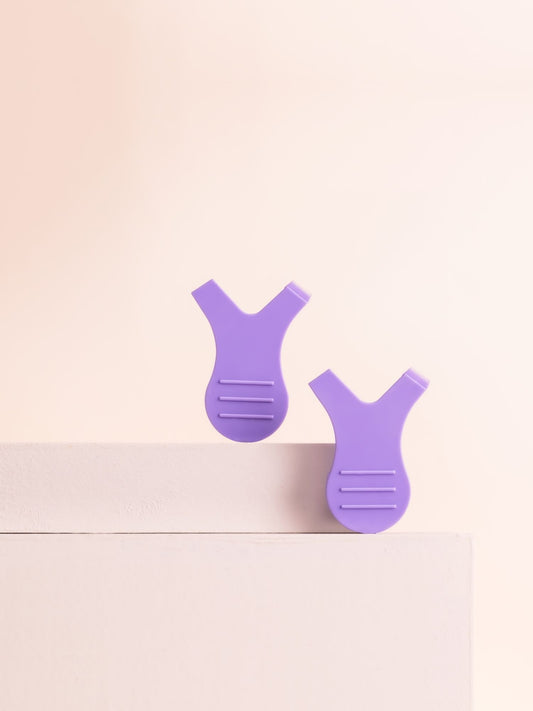
Next, apply the Brow & Lash Bonding Serum to the back of the shield and place it in position on the eyelid close to the root. Hold in place for 20 seconds. Then carefully apply Brow & Lash Bonding Serum to the shield in small sections and lift the lashes from the root using the lash tool and attach them to the shield, gradually move along the shield until all lashes are bonded to the shields.
After that, add a small amount of No. 1 Relaxing Solution from root to 1/3 up the lash for a lift and maximum 1⁄2 way up lash for lift and slight curl using a micro brush. You can find the processing times in our manual when you purchase the Brow Glaze!
Remove it using a clean micro brush and then apply No. 2 The Laminate to the same area where the lash lifting cream was applied using a micro brush.
Remove using a clean micro brush and for the final step spread No. 3 Nourishing Elixir over the lashes using a micro brush, gently releasing the lashes from the shield.
In our blog, we explain you in even more detail what the benefits aof brow and lash lamination are and what you have to bear in mind when performing the treatment.
Curious about other Supercilium collections? Explore them below.
Brow Henna: Give your customers the pleasure of gorgeous brows staining the skin up to 2 weeks and the hairs for 6 weeks
Hybrid Dye: The best alternative to our Brow Henna.
Brow Tools: The best brow tools that help you to achieve the best results with every treatment.
Brow Brushes: All brushes you need to wow the brows.
Brow Care: Flawless brows start with good brow care.
Best Sellers: Explore our best sellers now!

